I haven't posted on my terrain project in a while, but since the voting has happened, I can now show my next steps.
First up is painting. The painting recipe is pretty simple: base coat of yellow ochre craft paint, slathered on quite thickly.

Next step is a dry brush with Folk Arts 963 Camel, and the base dust colour is set.

Had to do some patching to fill gaps
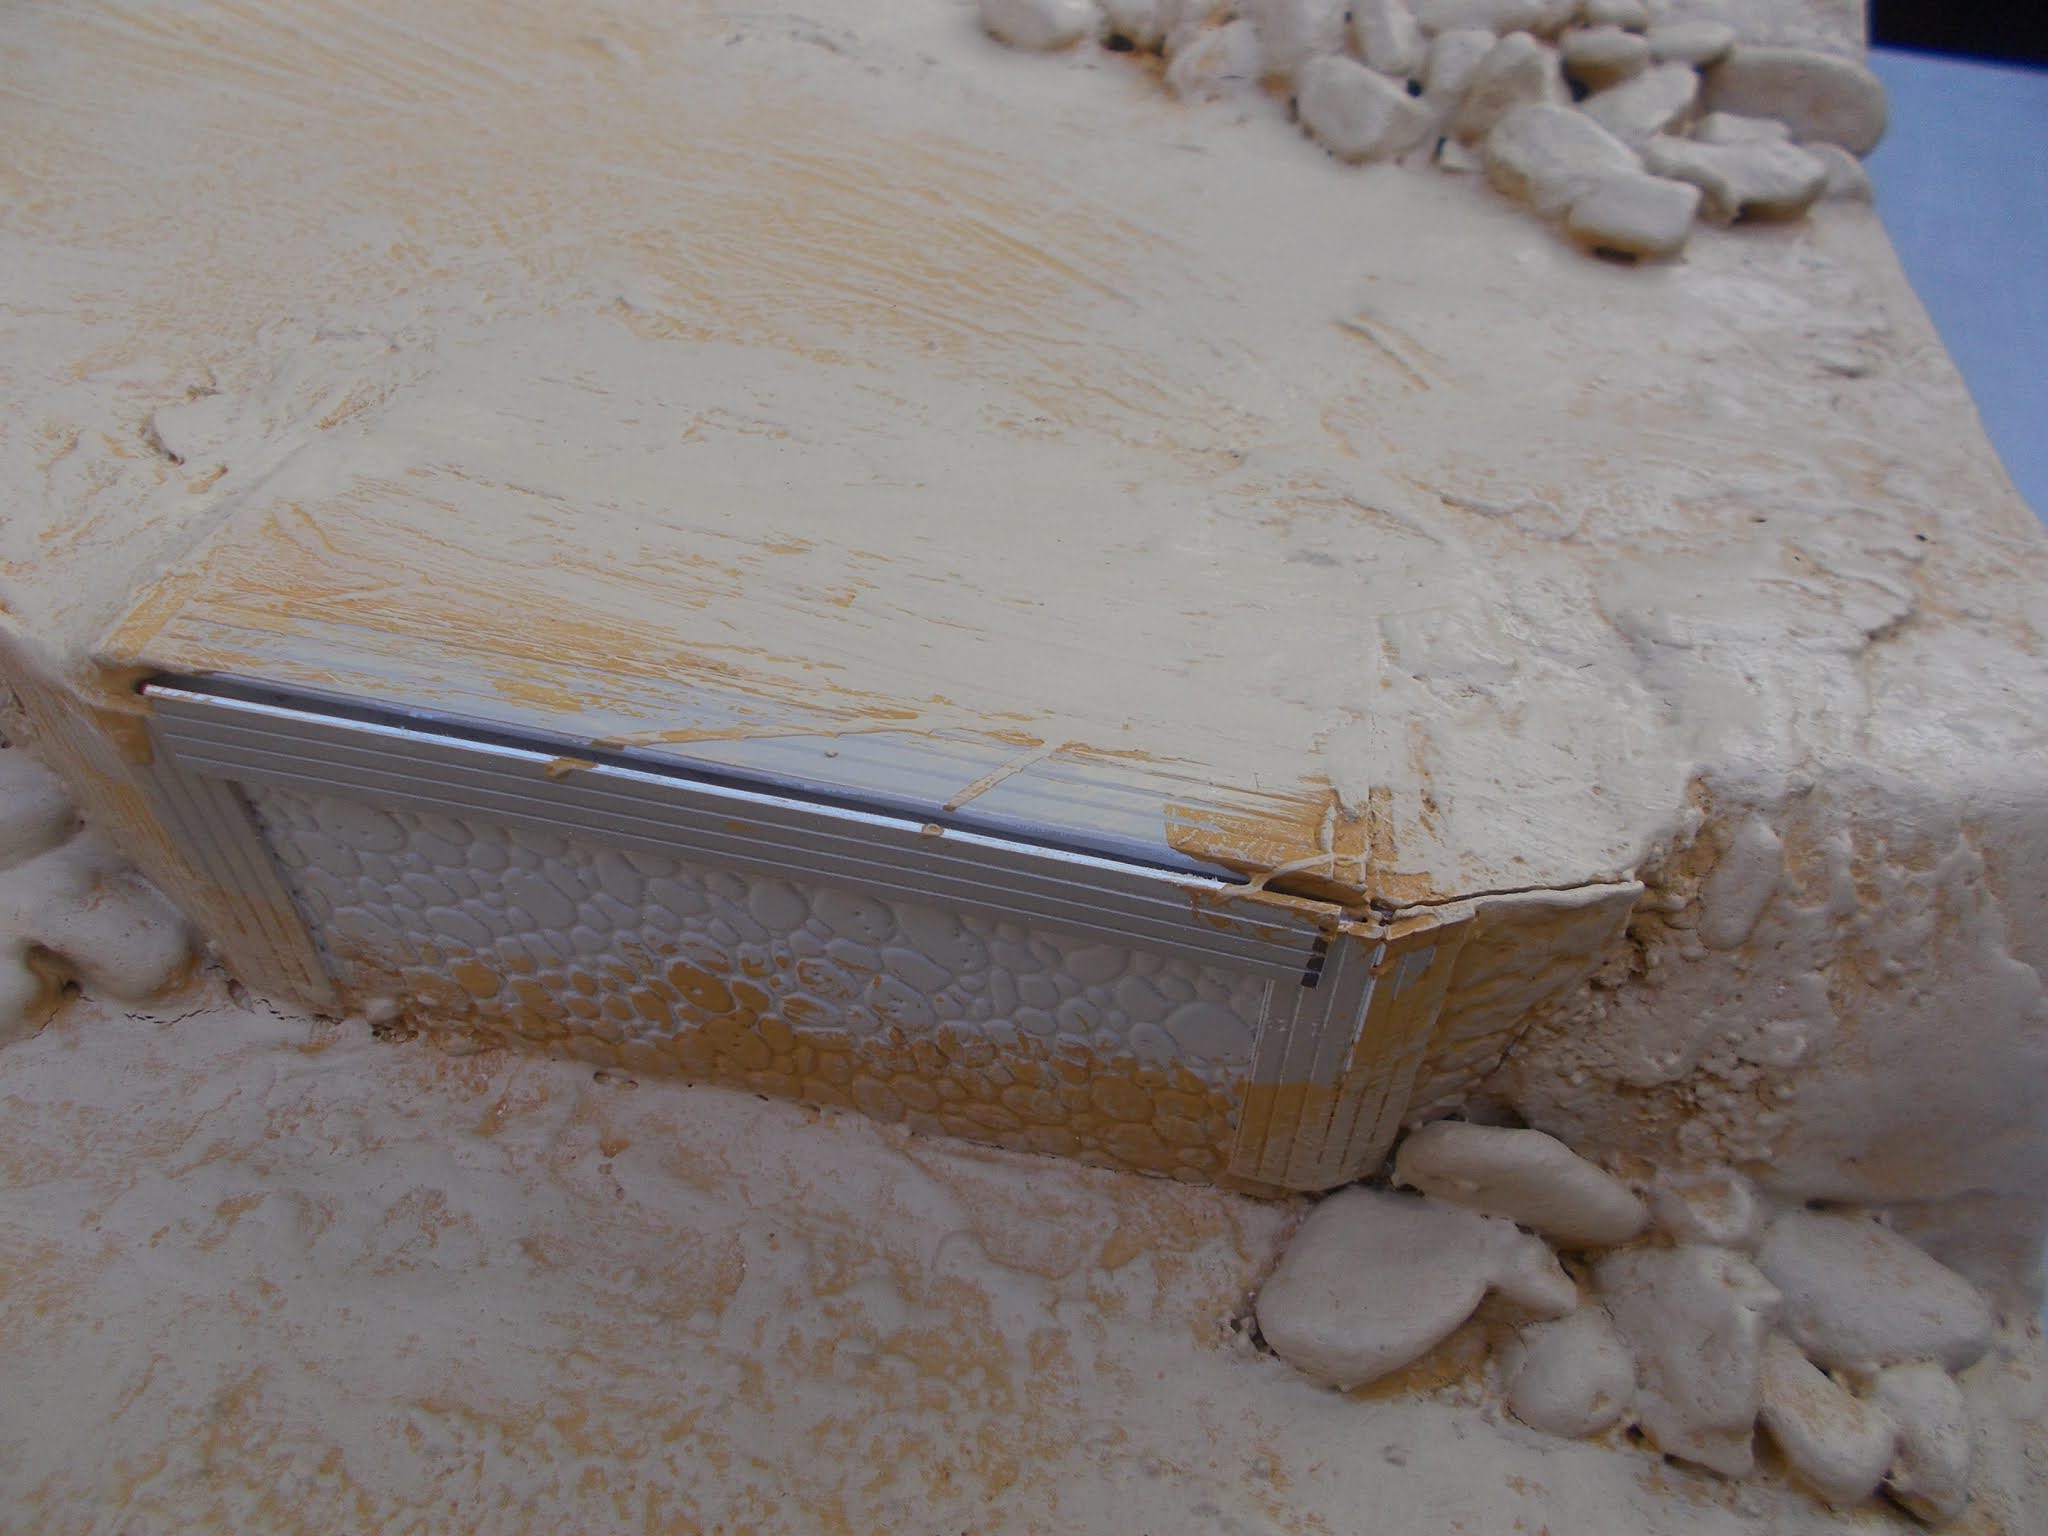
Which of course led to more paint to cover the patches.

Once I got the base paint coat down, I got started on the roads. To simulate the paved surfaces I used pieces of black felt from the craft store, with plastic bases so that I can blue tac them in place if I find they move around too much. So far I haven't needed the blue tac, but it's still an option.

Duct tape is also good for backing.


For vegetation, I gradually layered up a combination of moss (for the bushes under the bridge), a collection of tufts scattered around, and a variety of static grass shades (green, light green and harvest gold).


Vegetation was a process, completed over many, many steps.


You can see the telephone poles that I made for this project, as well as the paved road and Bailey bridge.
The very ugly joint where the boards come together needed to be addressed. The straight lines do not look at all natural.


Step one was to build a piece of difficult terrain by cutting a sheet of MDF to a suitable size and shape, and cover with plaster, small rocks and sand.

Then add paint and vegetation as with the main boards.

This blends in nicely and covers the junction of all four boards, but still leaves the remainder of the joints. And yes, I have built additional difficult terrain to add to my BSC difficult terrain project!
So I experimented with some other solutions, for example trees or small terrain bases, but I fixed on felt strips as the path forward.

I took the strips, cut the edges to give them irregular edges and then painted them and added some static grass.


You can also see the extra work I did on the roads - I dusted up the road edges with some paint, and shaved the joints down a bit.
Finally I tried a few different setups to show different time periods, including
Al-andalus, ca 1050 AD

NWF, ca 1889

Afghanistan border patrol ca 2010


As you can see, some of these combos work better than others!
I also had to do something about storage. I found a large storage bin at Canadian Tire, a 210 L storage bin. It's big enough to hold the four boards when they are tipped on their sides.

I don't know what is more impressive- the project or the fact that you can fit it into a large roughneck!😁 I really like how you did the vegetation especially: how it is clumped together in irregular patches and around the base of the cliffs and in perfect colours for any semi-arid enviroment. It all looks very natural and realistic.
ReplyDeleteThanks, Codsticker! Another reason for the roughneck is to make it possible for me to transport the scenery to the club once game nights start up again. But the whole thing is pretty darned heavy so I'll also be relying on my dolly 8-)
Delete