Showing posts with label The Men Who Would Be Kings. Show all posts

Saturday, 28 September 2024

1885 North West Rebellion

 Last weekend, Doug invited Arthur and me over for an 1885 Northwest Rebellion game between Canadian Government forces and a combined army of Métis and Cree riflemen.  Arthur and I took the Government forces while Doug took the Métis and Cree.  The rules for the scenario were Dan Mersey's The Men Who Would Be Kings, with special rules added by Doug.  The main element added was that successful hits add pins to the receiving unit, but each hit only has a one in six chance of causing a casualty. In addition, Métis and Cree had limited ammunition - Doug knew how many shots each of his groups could fire, but the Government forces could only guess based on the amount of fire they were receiving. All figures from Doug's collection.

The North West Mounted Police, who were deployed as mounted infantry. 

Louis Riel, whom the Government forces are trying to apprehend.

Canadian column, with York and Simcoe Battalion, supply wagons and the Gatling Gun and limber.  You can find some photos of the York and Simcoes in 1885, including images of them in their 'home service helmets', at this website: https://greysimcoeforesters.wordpress.com/2016/04/13/york-simcoe-battalion-1885/


Métis sharpshooters open up on the approaching column.


The Gatling gun slowly deploys.  The Gatling was great fun - it took forever to get it in place, by which time it was no longer needed!  Once, I managed to deploy it, only to find it was out of range, so I needed to limber up and move again on the following turn.


Cree warriors fire on the advancing Queen's Own Rifles on the other end of the front.

Undeterred, the QOR continue their advance...

And engage the Cree in close combat.


The way forces were set up, the Government forces were poor shots but had better close combat skills and, importantly, number (generally twice as many men in the Government units as in each warrior group), so there was an incentive to push forward to contact rather than get caught in a firefight.

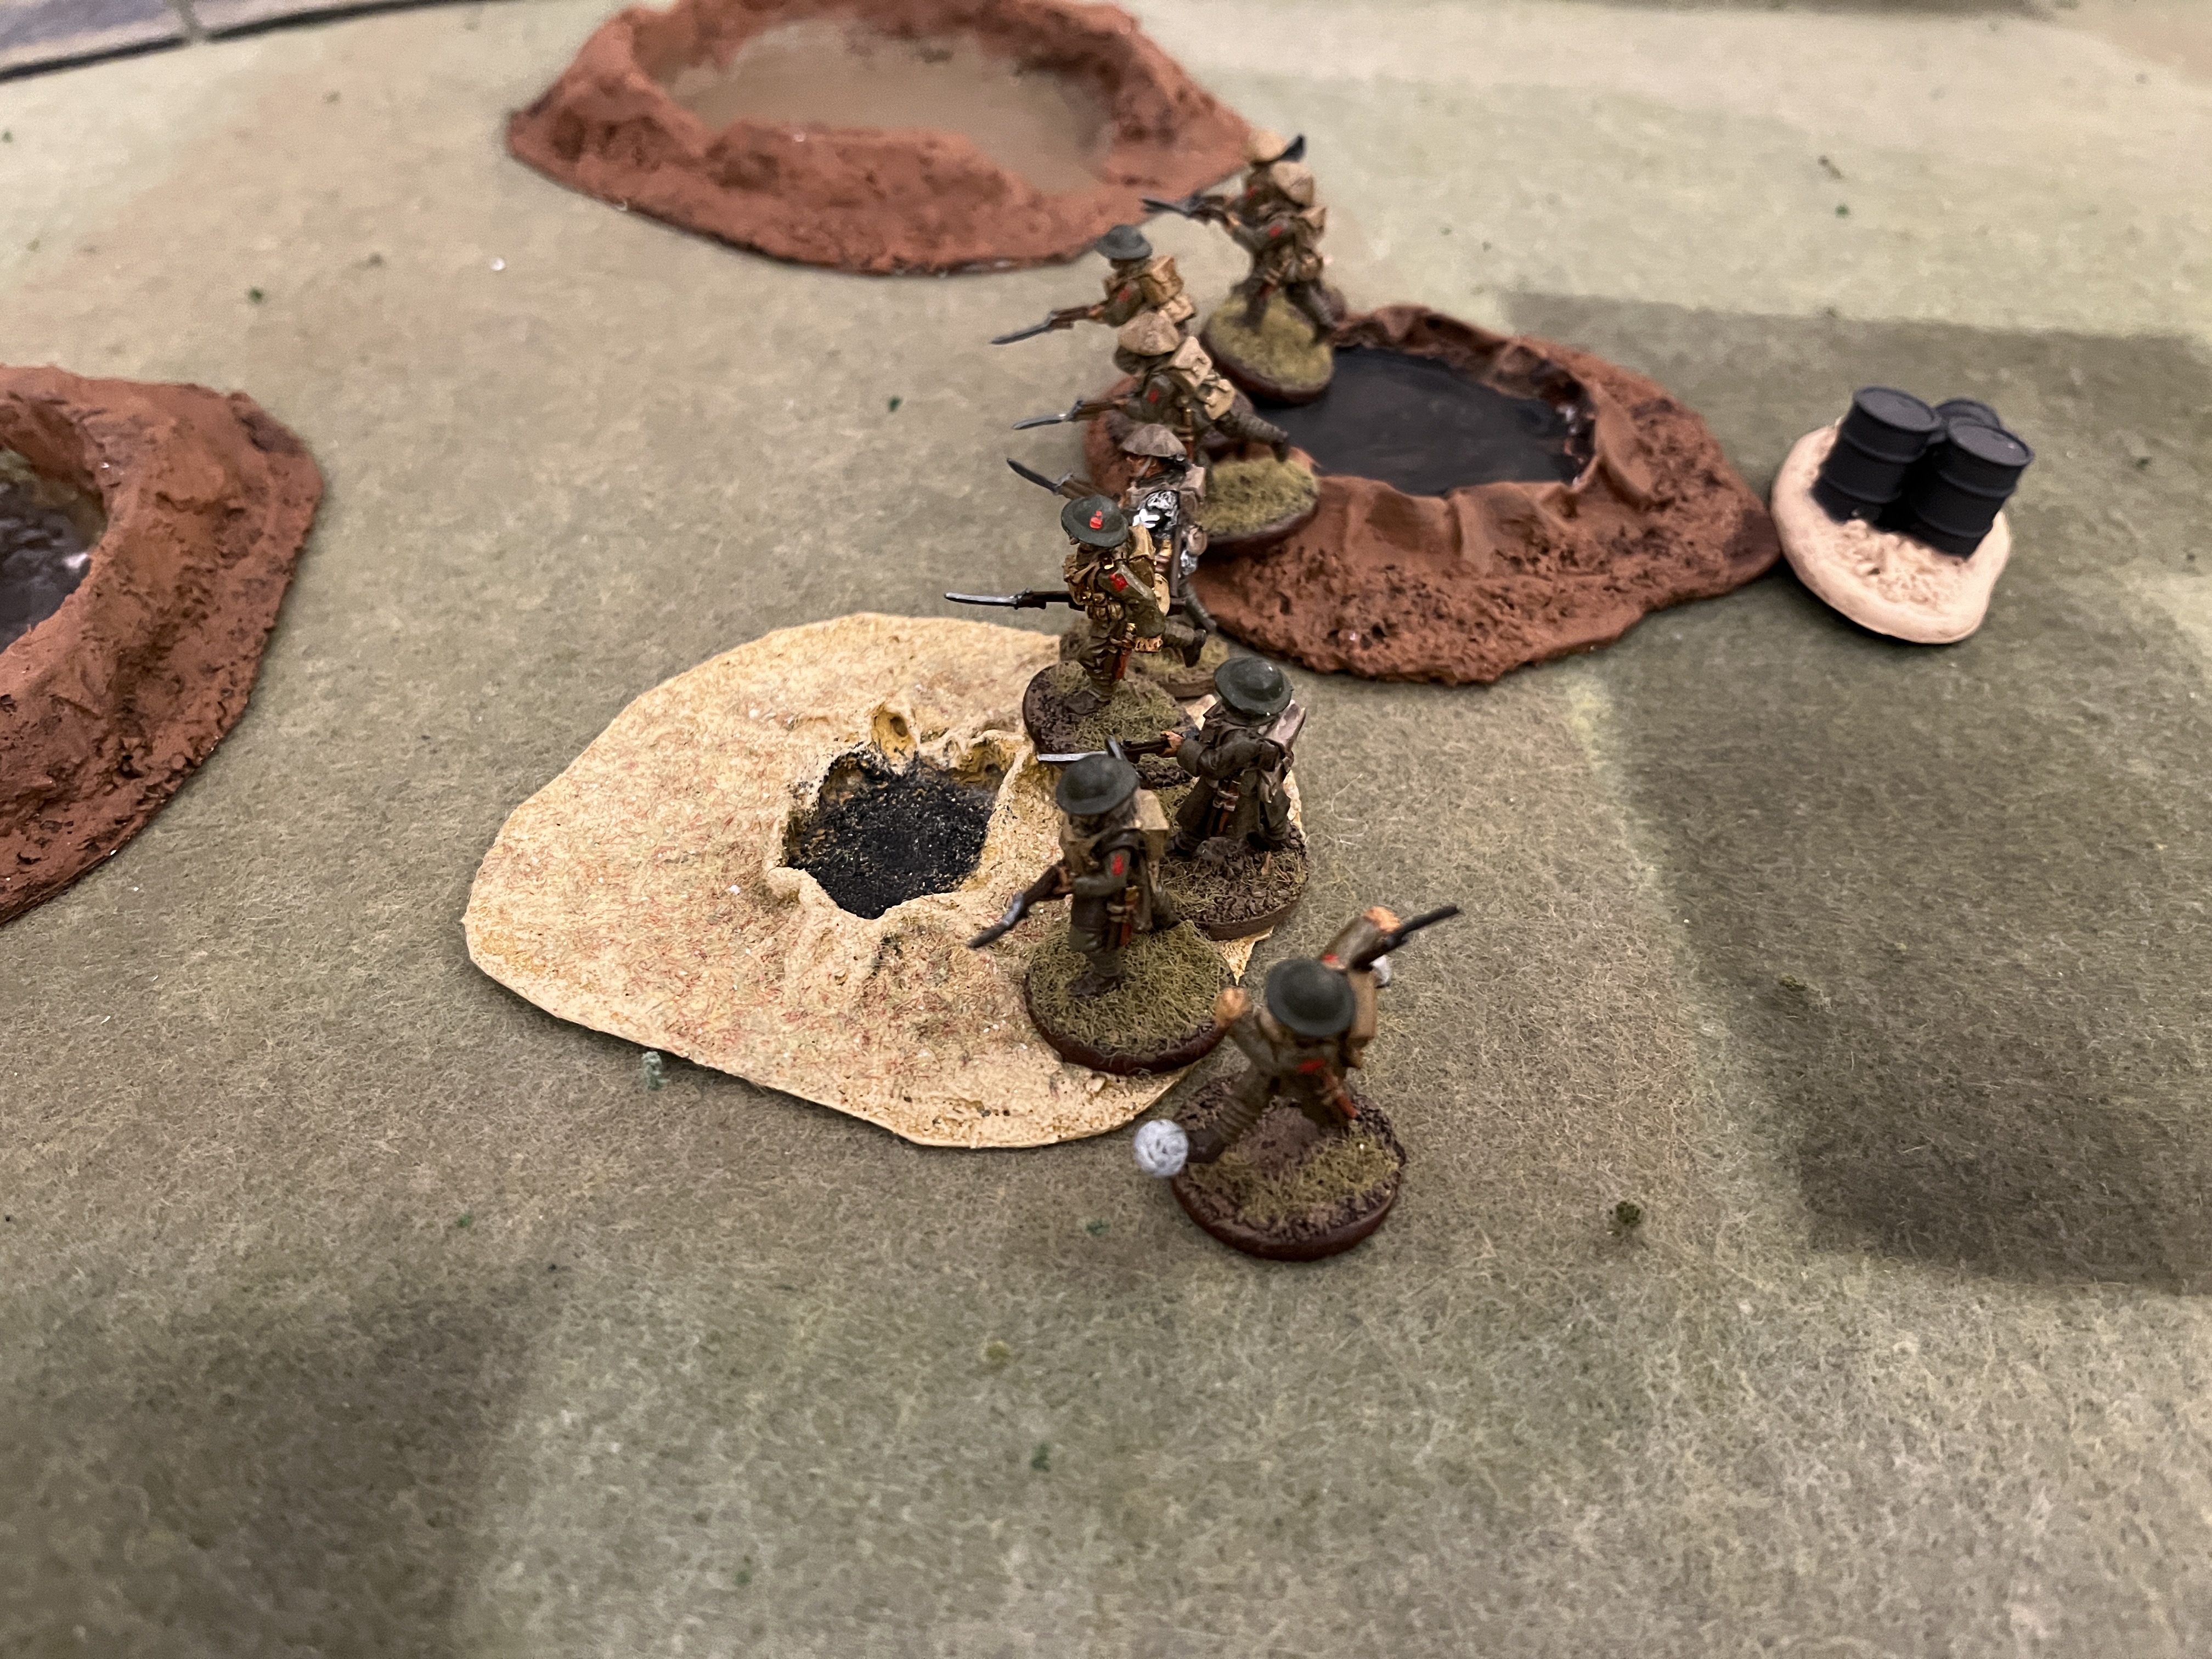
At the other end of the battlefield, the Yorks and Simcoes capture the Métis rifle pits.


Finally, despite setbacks as many of the Government forces were suppressed by fire from the Métis and Cree, the Mounties apprehend Riel!  This was a great redemption for the Queen's Cowboys as they had fled early in the game but rallied and came back to capture Riel.


Monday, 6 May 2024

Weekend games

 Busy gaming weekend for a second week in a row!  Arthur and I went to the Trumpeters' May meeting at Bonsor on Friday, where we hosted an Afghan bash with The Men Who Would Be Kings, then on Saturday Sam and Doug came over for another go at Training the Entente with an attack on a strongpoint, and on Sunday Tyler and Oliver came over for a round of Settlers of Catan.  Sorry, no photos of the Catan game!

Friday night's game featured an expedition of the British Indian Army into Afghanistan.  The Afghan regular army starts off holding the heights in the centre of the board, where they hope to hold out against the British and Indian troops until their tribal allies come to the rescue.


Kevin's brigade swings to the left, while Arthur's brigade charges headlong at the hill.


Rattray's Sikhs advance, led by their piper/


Gordon Highlanders advance,


Supported by the Royal Artillery!


Afghan regulars hold the heights.


Gordons and Sikhs are pinned by artillery and rifle fire from the Afghans.


But then return fire from the Brits pins the Afghans!


On the British left, Kevin's brigade forms a battle line to face the advancing tribal warbands.


Afghan regular cavalry led by the Emir.


Defiance from the mountain top!  The browncoats wave their flag.


Gurkhas advance led by Billy Fish.


Afghan cavalry wipe out the 29th Baluchis,


then confront the 16th Bombay Infantry!  (looks bold, but the cavalry were subsequently wiped out by Indian firepower).  No more photos from the flank, but the Afghans pushed back the British and Indians, then moved to reinforce the mountain top.


Even reduced to two men, the Gordons charge and defeat the Afghan artillery!


Sorry, no more photos from Friday night, but the Gordons were wiped out, then the Gurkhas and Sikhs captured the heights.  We called it then for time, but the matter was not decided:  The battered remaining Sikhs and Gurkhas would have had a hard time holding the heights against the tribesmen, who were just about there to save the day!

On Saturday, Sam and Doug came over for some WWI Chain of Command.  This was a repeat of scenario 1 of Training the Entente from Stout Hearts and Iron Troopers.  Here is the battlefield with the white markers on the crossroads that the CEF have been instructed to capture.


The situation after the patrol phase.


Jumpoff points set out.


Riflemen advance with their footballer kicking the ball along to encourage the team!


German defenders prepare to defend their trenches.


Rifle grenadiers lay down fire on the Germans in the trenches.


CEF approach with tactical movement, subjected to fire from the German medium machine gun.


Canadian bombers use the shell craters for cover.


Canadian rifles lay down covering fire (the white smoke) as the Lewis gun section advances.


Germans in the trenches keep up defensive fire while the CEF tries to suppress them.


Canadian bombers throw their hand grenades (aka 'bombs').


Rifle section and Lewis gun section attack and overrun the German MMG, then push forward toward the German jumpoff point.


It was a hard fought battle, but the Canadians had a good battle plan, and followed it successfully.  Sam noted after the battle that we made a minor error with covering fire - it is supposed to only be in effect for the current phase, but I had allowed it to continue for several phases.  I don't think it made an overall difference in the result.  Looking forward to having another go at WWI CoC soon!  Next week, though, we will be joining in Lisa's Bolt Action Stalingrad campaign.  Battle report sometime next week.


Friday, 22 March 2024

Battle of Batoche (1st day) AAR

 Doug invited Arthur and me over to try out his 1885 Northwest Rebellion recreation of the first day of the Battle of Batoche.  Doug used a variation of The Men Who Would Be Kings.  He noted that the casualties in the campaign were quite low, but the amateurish Canadians had a hard time achieving their goals despite an overwhelming advantage in men and materiel.

What Doug did was count 'hits' as 'pins'.  Using the standard TMWWBK process for requiring a certain number of successes depending on circumstances like range and cover, each standard 'hit' is actually a 'pin'.  The unit must then pass a morale test modified by the number of pins.  Only after the morale test is made is there a test for actual casualties, by rolling dice equal to the number of pins, with only '1's counting as a casualty.  So there were many morale checks but only a few casualties.


Here is the table layout, typical aspen parkland.  The famous St-Antoine de Padoue church and rectory on the left, and the wagon representing the Canadian militia's 'zareba' or fortified campsite. 


90th Winnipeg Rifles advance, but take a pin from the Metis firing from the gunpit on the left.


The Winnipeg Rifles flee, with the log markers representing the pins that they've accumulated.  The puffs in front of the rifle pits are markers to show how often the Metis have fired - important to track as they are subject to limited ammunition!


The second squad of Rifles takes three casualties from some deadly Metis firing.


And now the Gatling gun opens on the Metis defenders!


The Bolton's Scouts patrol to locate the Metis rifle pits.  Rifle pits are hidden unless their occupants fire, or unless Canadian forces come within 6".


Metis defenders.  Note the Metis sash on the figure on the left.


Canadian artillery has fled the table, but the Rifles have rallied and resumed their advance.  10th Royal Grenadiers are visible to the right of the Gatling.


Metis riflemen keep up their fire.


2nd Lt Howard's Gatling keeps up fire.


10th Royal Grenadiers


Boulton's Scouts continue their ride, revealing the rifle pits, but getting a bit shot up in the process.


Out of ammo, Metis abandon one of their rifle pits.


Their morale weakened, but having revealed the Metis rifle pits, Boulton's Scouts fall back to their own lines.


Metis fall back from their rifle pits.


Winnipeg Rifles charge the withdrawing Metis.  Ironically, the Winnipeggers lost the skirmish, but both sides failed their morale checks and both fell back!


At this point, we had to wrap things up for the night.  The result was more or less similar to the first day of the real battle, with much inconclusive skirmishing, and the Canadian militia being easily spooked by relatively little or ineffective fire from the Metis rifle pits.

I enjoyed Doug's amendments to the rules - the Canadian militia spooking at each little bit of rifle fire from the Metis seemed very apt!  I feel that Doug has a winner here.  I'm looking forward to seeing more of this project.

Here are a few photos from our 'special correspondent' (aka Arthur playing with the camera settings!)