Saturday 11 May 2024

Bolt Action Stalingrad

 Last night, Lisa, Sam and Gord came over to play the next scenario in Lisa's ambitious Bolt Action Stalingrad campaign.  The game was Scenario 16 - Lyudnikov's Island, defence of the Barrikady Factory, November 1942.  Arthur (with support from Gord) commanded the Red Army forces defending the factory against a German assault commanded by Sam, and I led the other German force tasked with holding off Lisa's Soviet relief force.

Here's the table - Arthur's force defended the upper left, while Lisa's reinforcements came in from the right.


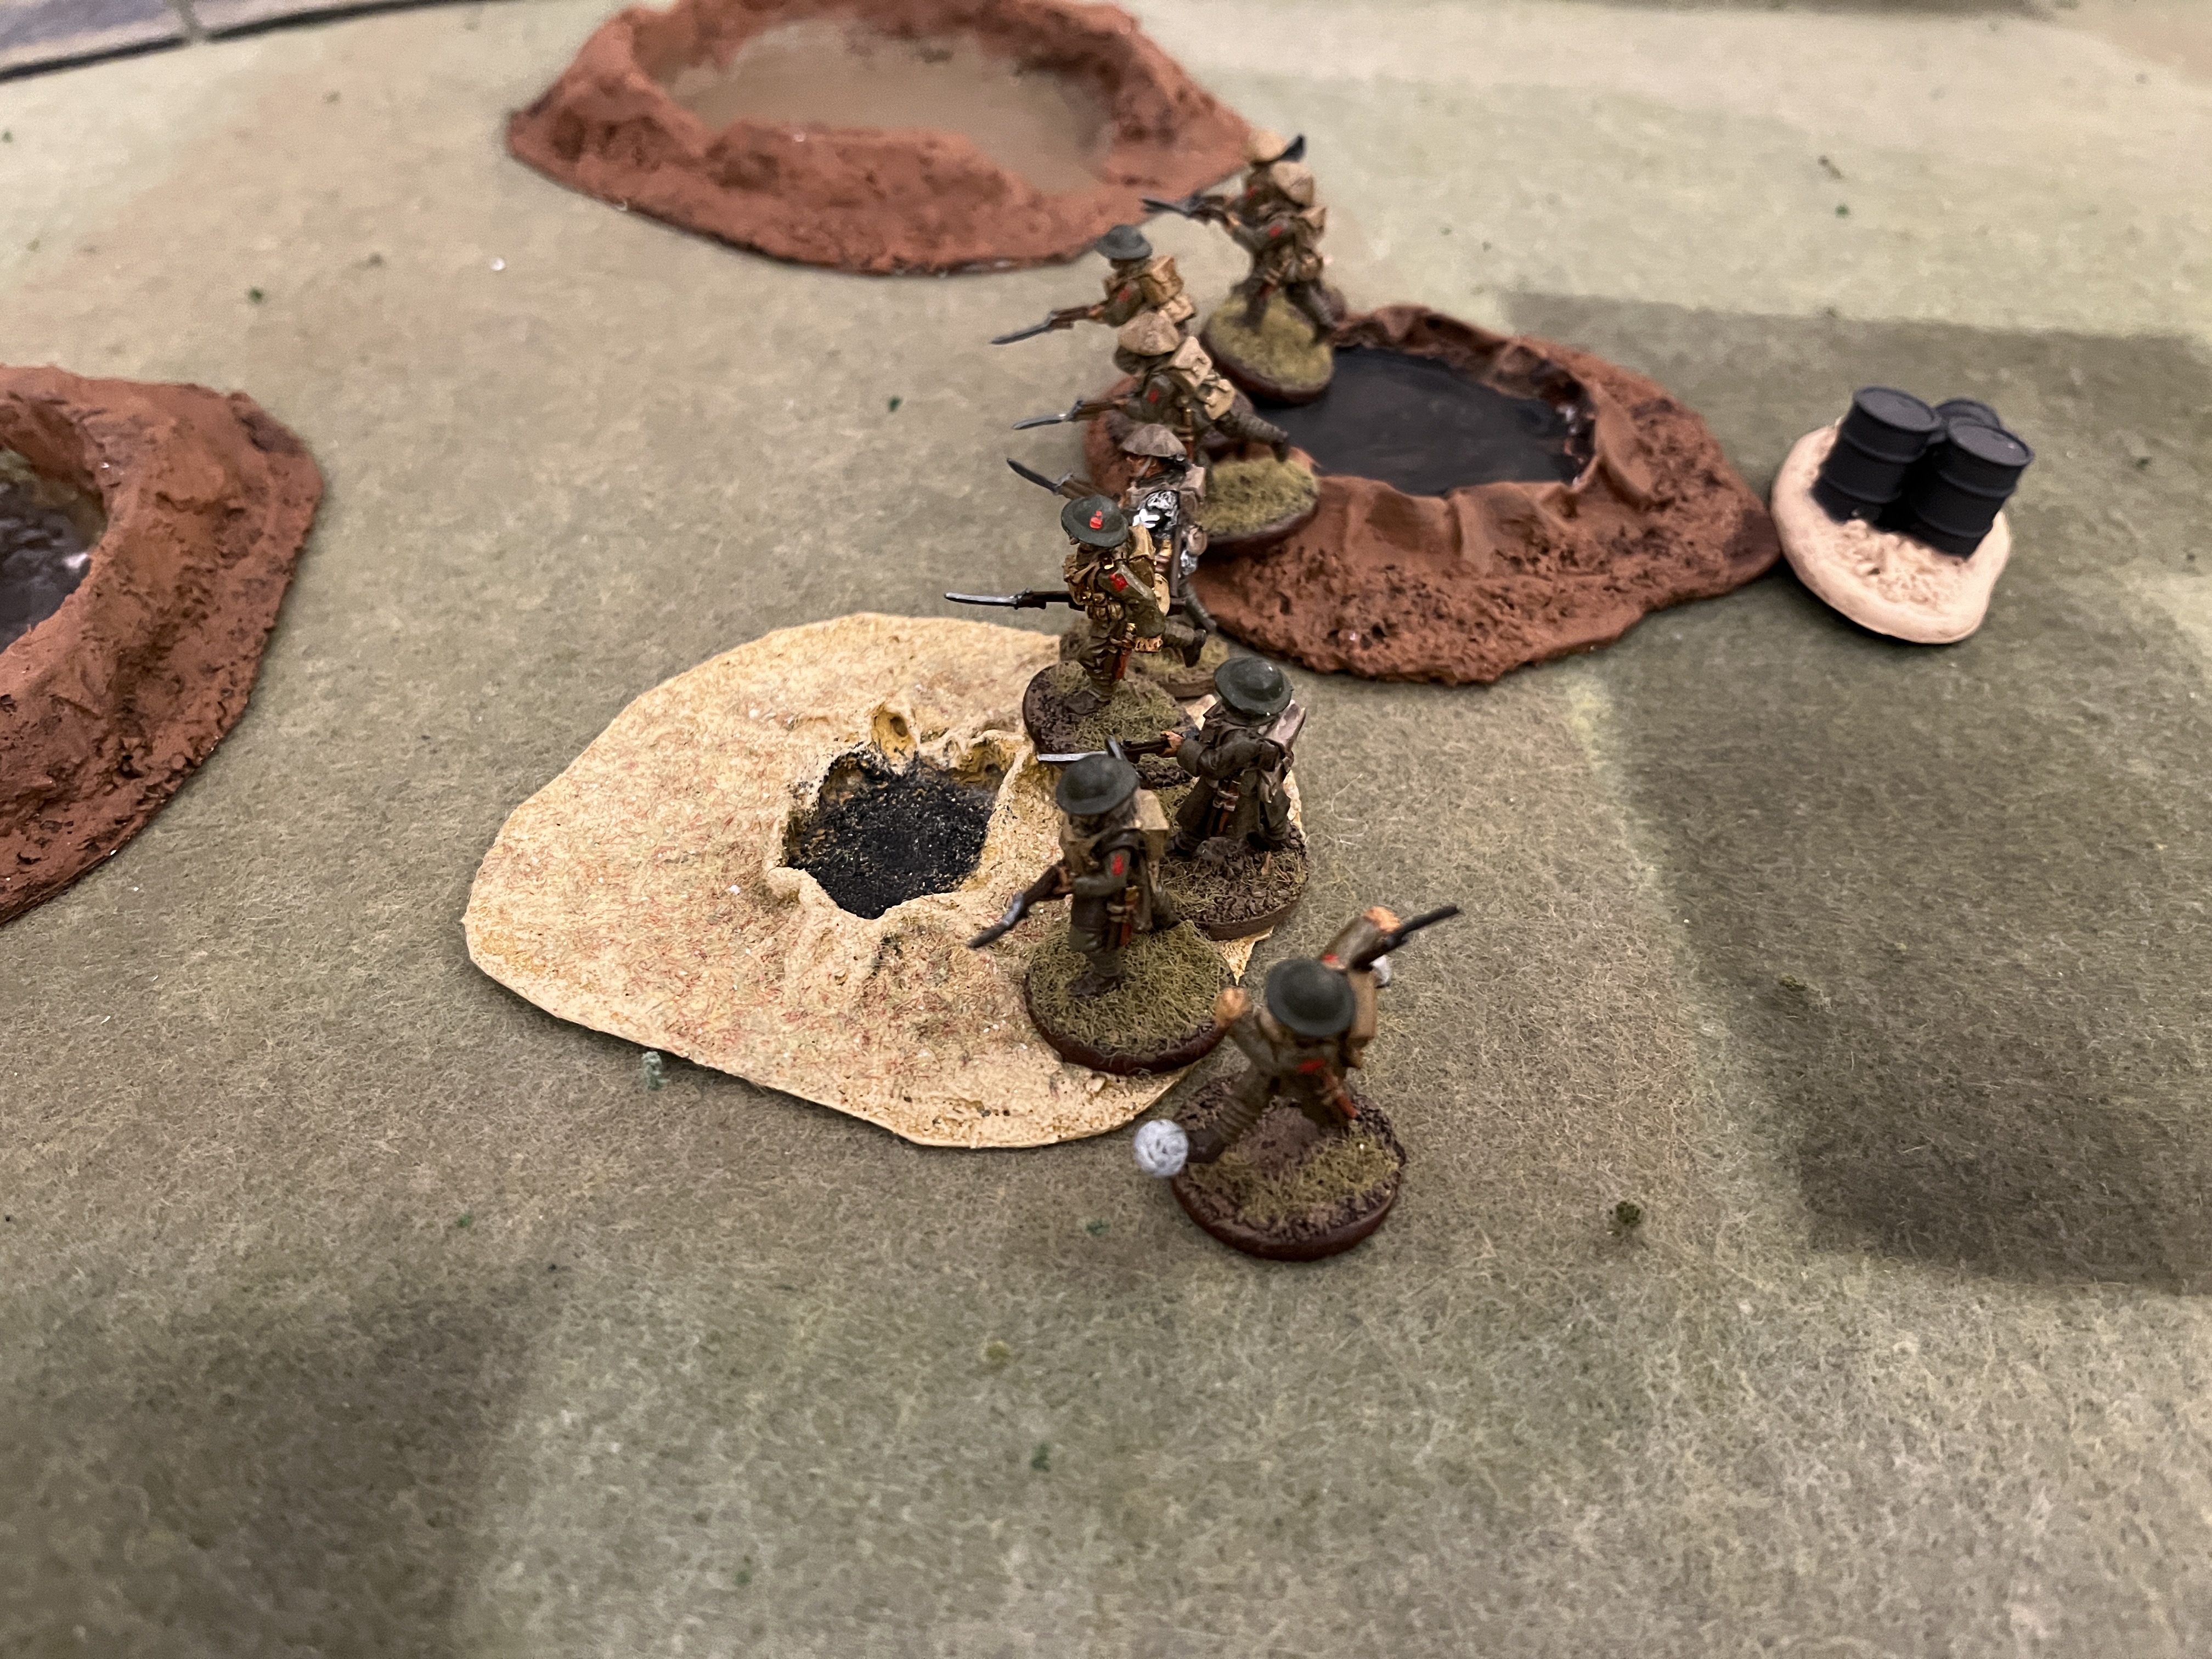
German Shtrafbattalion deploys.


German pioneers.


Brand new Soviet conscripts hunker down in a ruined house as the German Panzer III passes on the other side of the wall.


German pioneers advance.


Maxim gun covers the approaches to the Barrikady factory.


The surprisingly effective Red Army anti-tank rifle team.


Flame-throwing T-34 comes on the table.  This beast wiped out a squad of my infantry in a single blast!


These were the green Russian conscripts that wiped out my other squad of German regular infantry, also in the first turn.  The first turn for me was unnerving, as all my regular forces were wiped out, leaving only my 'specialists' (pioneers, MMG, infantry gun, 2 cm mortar and a Panzer III).  I thought I was done!


Big yellow turn counting die on the roof of the building.  Heavy action at the far end of the table, but I was focussed on stopping the Red Army reinforcements.


Pioneers hold off the Soviet attackers inside the ruined warehouse.  They lost their flamethrower with a particularly effective shot early in the game, making it yet another game where the poor fellow was taken out before getting a shot off!


Here is one of my heroes of the game: having previously taken out the T-34, the Pz  III is about to gun down the Soviet squad.


A Russian squad attempted to flank my defenders, but ended up pinned by my MMG team.


Fierce action in front of the Barrikady factory!


Having taken out the Soviet MMG and one of the infantry squad, the PzIII attacked into the building.  The die shows that the Soviet medium mortar has zeroed in on it, so it is getting ready to move out of the line of fire.


Fierce firefight between Soviet airborne SMG squad and the German pioneers.


Soviet veterans defeat the German pioneers in desperate hand to hand combat.


German MMG provides covering fire for the attack on the Barrikady factory.


PzIII burst through the warehouse and was ready to attack the pinned Soviet rifle squad, but the game ended before this plan could be enacted!


At game end, the firefight between the Soviets and Germans at the warehouse was still unresolved. The German medic had turned out to be surprisingly effective, cancelling several casualties caused by the Soviets.


At the Barrikady factory, the Soviet veterans still held the building.  The German panzer has been immobilised by the Soviet ATR.  This photo looks bad for the Soviets, but...


the panzer has exposed it's weaker flank armour to the ATR team!


The game came to an end at this point.  It was a very bloody game, with significant casualties on both sides.  Although the reinforcements failed to break through the German lines, the Red army was deemed to be the winners as the defenders had held on to the Barrikady.


Monday 6 May 2024

Weekend games

 Busy gaming weekend for a second week in a row!  Arthur and I went to the Trumpeters' May meeting at Bonsor on Friday, where we hosted an Afghan bash with The Men Who Would Be Kings, then on Saturday Sam and Doug came over for another go at Training the Entente with an attack on a strongpoint, and on Sunday Tyler and Oliver came over for a round of Settlers of Catan.  Sorry, no photos of the Catan game!

Friday night's game featured an expedition of the British Indian Army into Afghanistan.  The Afghan regular army starts off holding the heights in the centre of the board, where they hope to hold out against the British and Indian troops until their tribal allies come to the rescue.


Kevin's brigade swings to the left, while Arthur's brigade charges headlong at the hill.


Rattray's Sikhs advance, led by their piper/


Gordon Highlanders advance,


Supported by the Royal Artillery!


Afghan regulars hold the heights.


Gordons and Sikhs are pinned by artillery and rifle fire from the Afghans.


But then return fire from the Brits pins the Afghans!


On the British left, Kevin's brigade forms a battle line to face the advancing tribal warbands.


Afghan regular cavalry led by the Emir.


Defiance from the mountain top!  The browncoats wave their flag.


Gurkhas advance led by Billy Fish.


Afghan cavalry wipe out the 29th Baluchis,


then confront the 16th Bombay Infantry!  (looks bold, but the cavalry were subsequently wiped out by Indian firepower).  No more photos from the flank, but the Afghans pushed back the British and Indians, then moved to reinforce the mountain top.


Even reduced to two men, the Gordons charge and defeat the Afghan artillery!


Sorry, no more photos from Friday night, but the Gordons were wiped out, then the Gurkhas and Sikhs captured the heights.  We called it then for time, but the matter was not decided:  The battered remaining Sikhs and Gurkhas would have had a hard time holding the heights against the tribesmen, who were just about there to save the day!

On Saturday, Sam and Doug came over for some WWI Chain of Command.  This was a repeat of scenario 1 of Training the Entente from Stout Hearts and Iron Troopers.  Here is the battlefield with the white markers on the crossroads that the CEF have been instructed to capture.


The situation after the patrol phase.


Jumpoff points set out.


Riflemen advance with their footballer kicking the ball along to encourage the team!


German defenders prepare to defend their trenches.


Rifle grenadiers lay down fire on the Germans in the trenches.


CEF approach with tactical movement, subjected to fire from the German medium machine gun.


Canadian bombers use the shell craters for cover.


Canadian rifles lay down covering fire (the white smoke) as the Lewis gun section advances.


Germans in the trenches keep up defensive fire while the CEF tries to suppress them.


Canadian bombers throw their hand grenades (aka 'bombs').


Rifle section and Lewis gun section attack and overrun the German MMG, then push forward toward the German jumpoff point.


It was a hard fought battle, but the Canadians had a good battle plan, and followed it successfully.  Sam noted after the battle that we made a minor error with covering fire - it is supposed to only be in effect for the current phase, but I had allowed it to continue for several phases.  I don't think it made an overall difference in the result.  Looking forward to having another go at WWI CoC soon!  Next week, though, we will be joining in Lisa's Bolt Action Stalingrad campaign.  Battle report sometime next week.