I have jumped on the Too Fat Lardies bandwagon, and purchased their brand new Infamy, Infamy rules for "Large Scale Skirmishes in the Ancient World". The focus of the game is on Romans vs Barbarians, with a sideline in Roman Civil Wars, like the war between Caesar and Pompeii, or Anthony vs Octavian, or the Year of the Four Emperors. So after receiving my 'full bundle' package in the mail, I slapped a bit of paint on the poker chips:
And then decided to use the card deck for my first game, and maybe try the poker chips later. (I,I has an activation system similar to Sharp Practice, where each leader gets to act when his card or his poker chip is drawn)
The focus of the game is on the Romans, and it has lots of special rules to accommodate Roman drill, especially for the armies of the late Republic (the time of Julius Caesar and the civil wars), and for the early Empire (including the conquest of Britannia and the Year of the Four Emperors). However, I don't have any suitable Roman figures at the moment (although I considered using my Late Romans as a proxy for EIR). Instead, I pulled out my old WAB Gauls, blew off the dust and decided to field them for a bit of Gaul on Gaul.
One of the nice things in I,I is that the TFL have decided to differentiate between Gauls, Germans and Britons, rather than just lumping them all together under the single banner of 'barbarians'. So the Gauls come off as being a sort of pre-feudal group, with noble warriors mounted on horses, or on foot, supported by a levy of warriors and some more common folks. They feel a bit like a medieval host, rather than barbarian mobs. I split my Gauls into two groups.
Blue force are Gauls, formed around a core of noble cavalry, well armed and armoured, with a supporting group of nobles on foot leading two groups regular warriors, along with some slingers and tribal (skirmish) cavalry.
Facing them is Red force, the Belgae. These are all on foot, and include noble warriors with three groups of regular warriors, some tribal levy, slingers and for fun, two groups of naked fanatics! Because where's the fun in a Gallic army if there aren't any naked fanatic warriors?
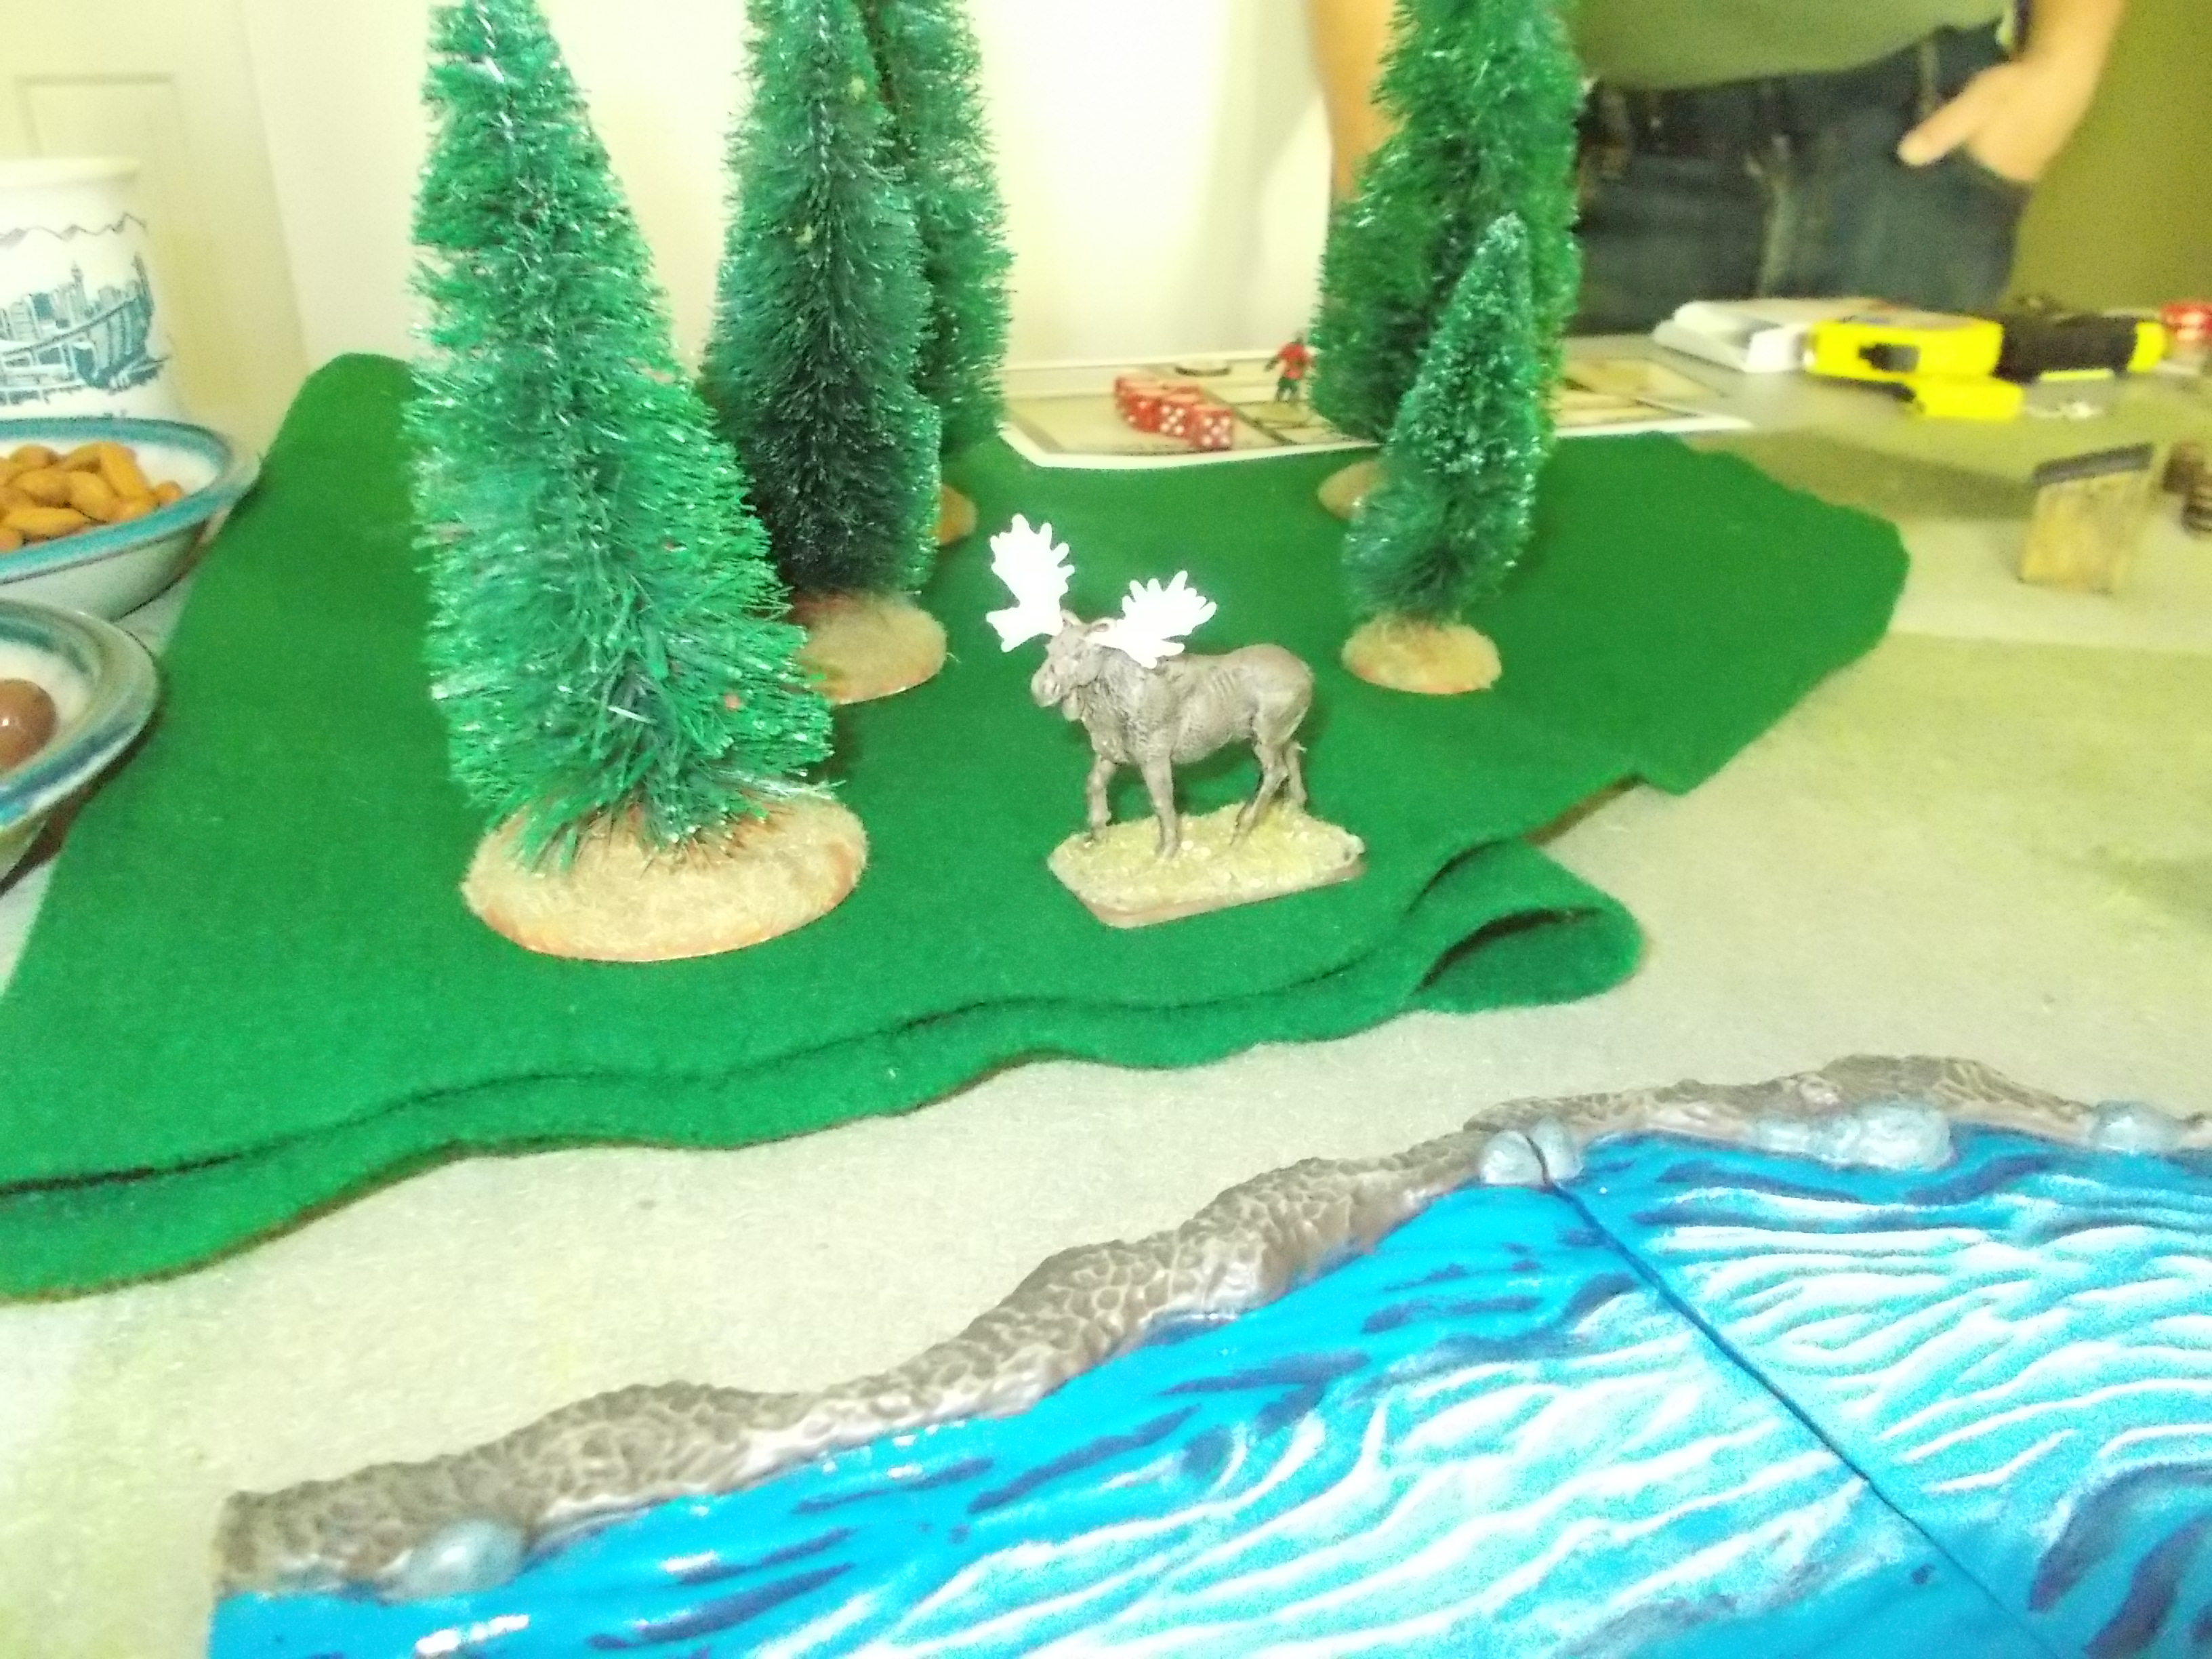
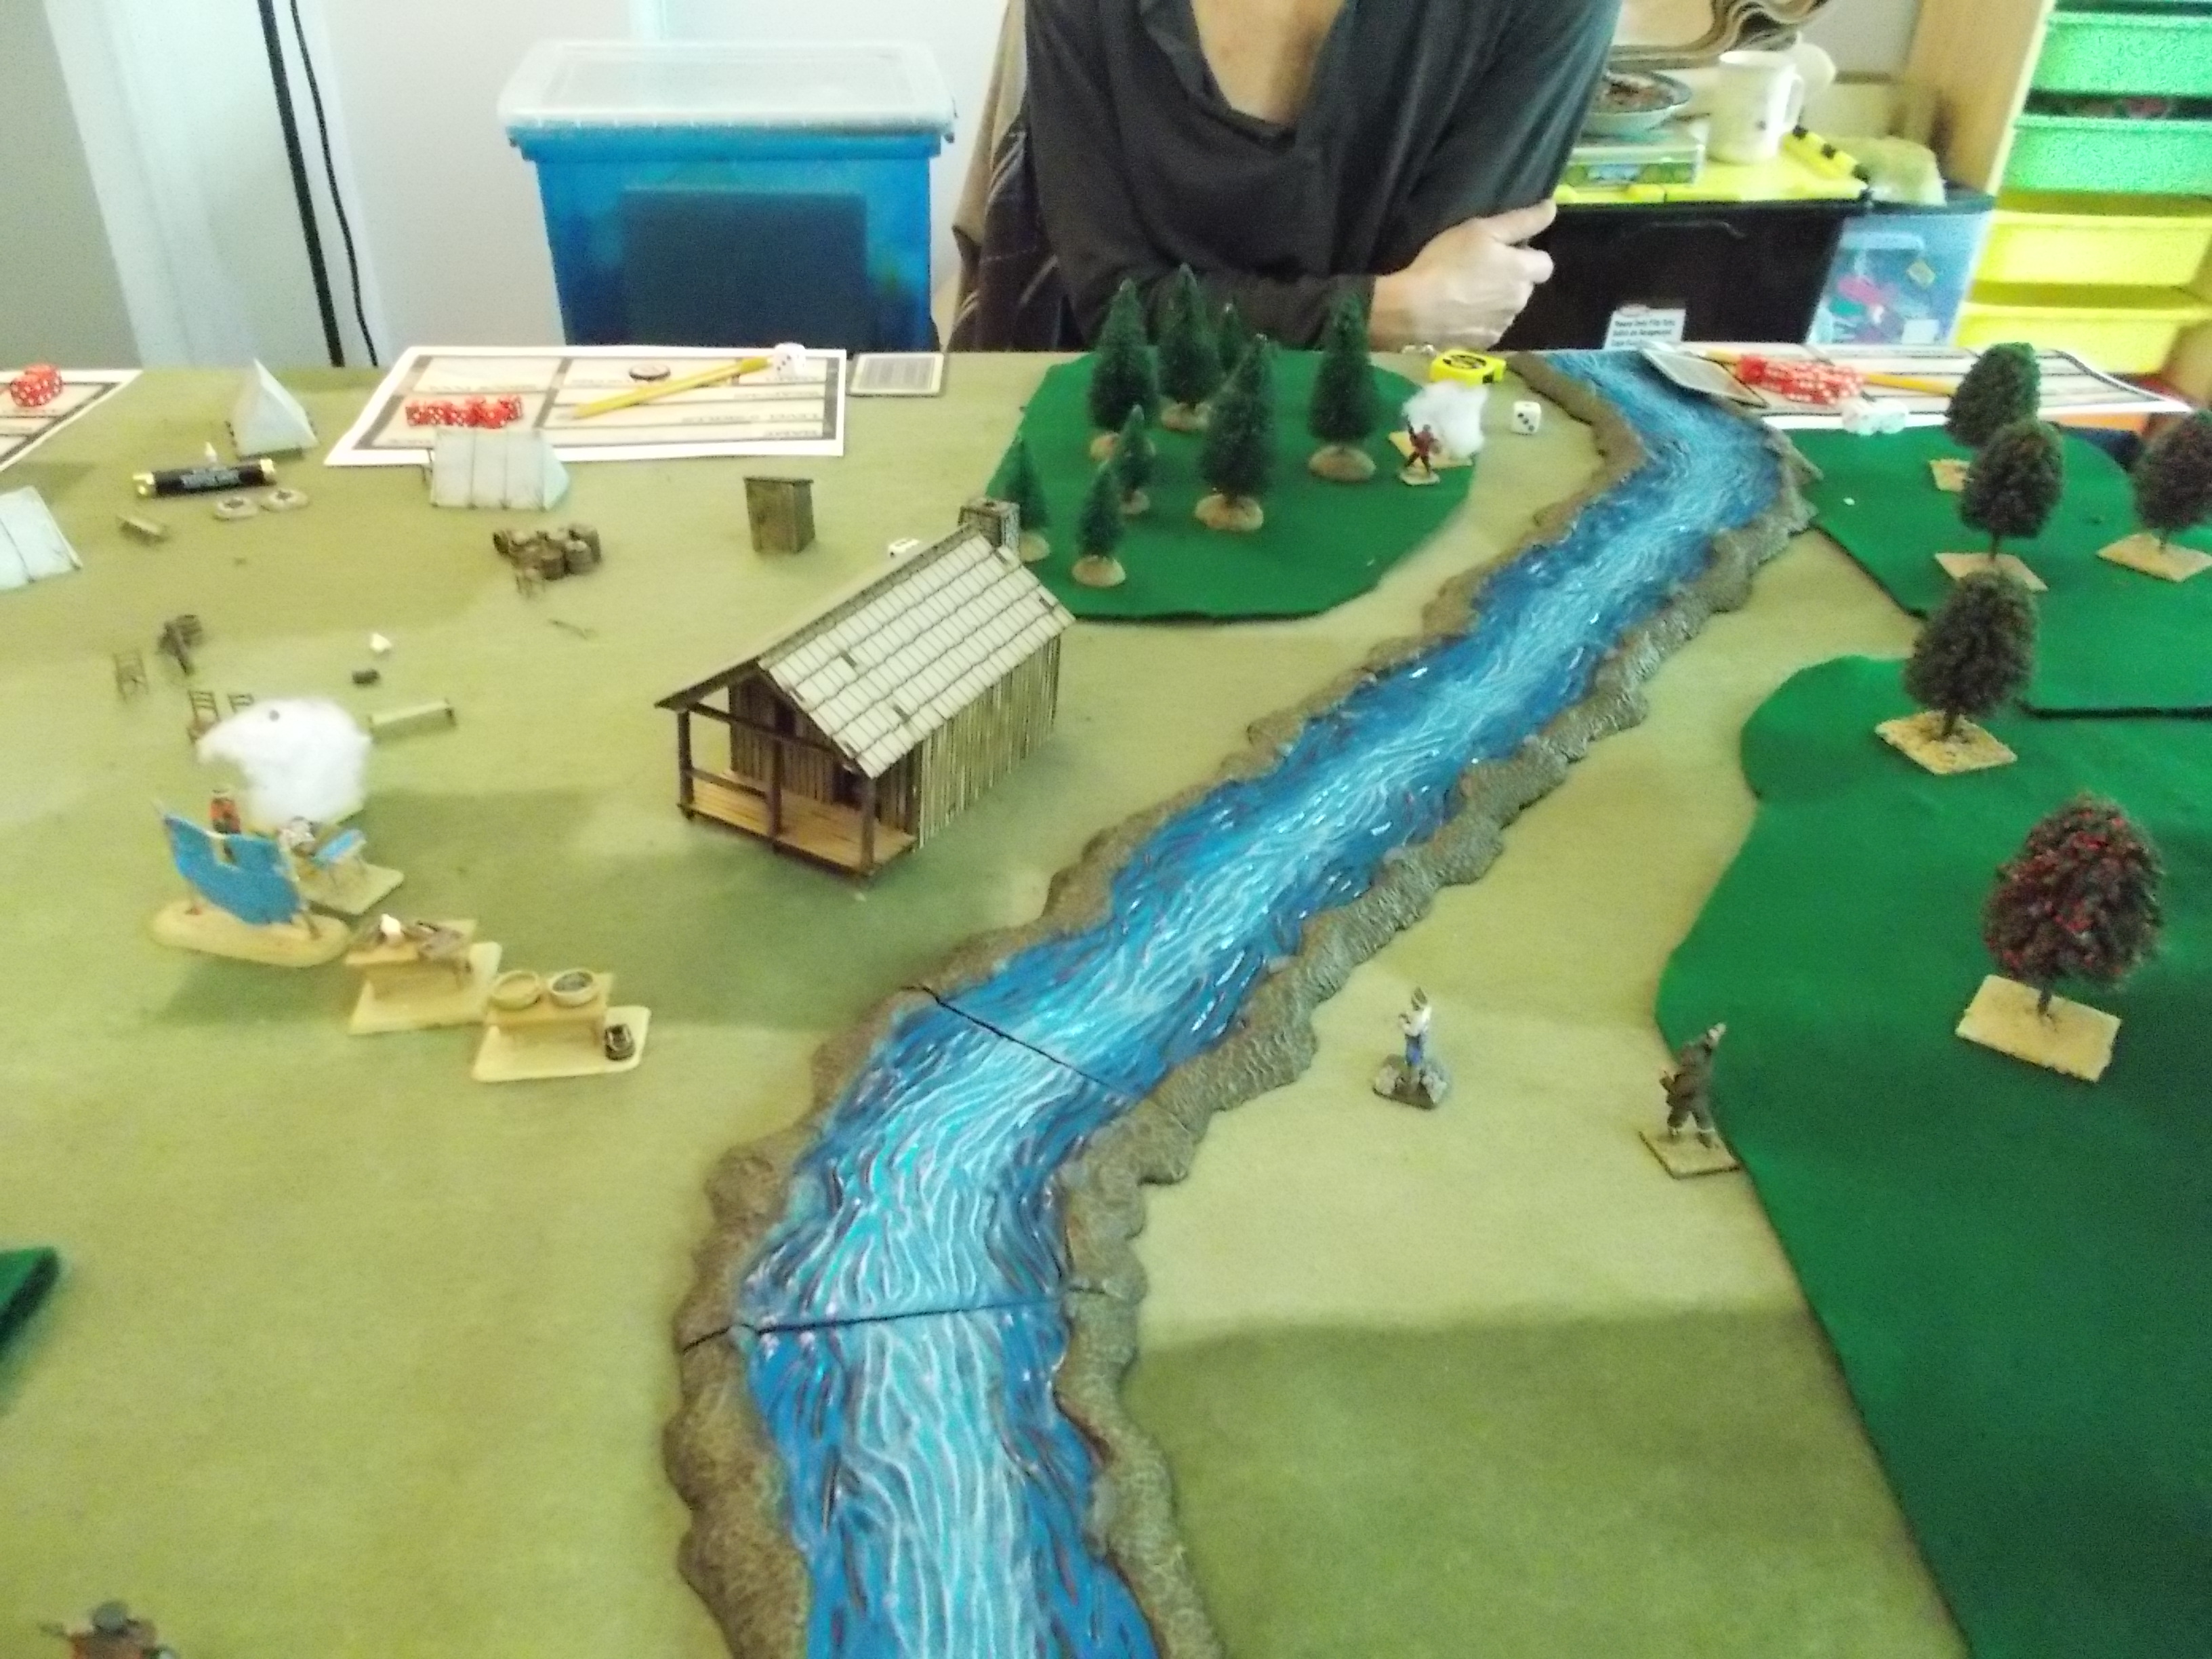
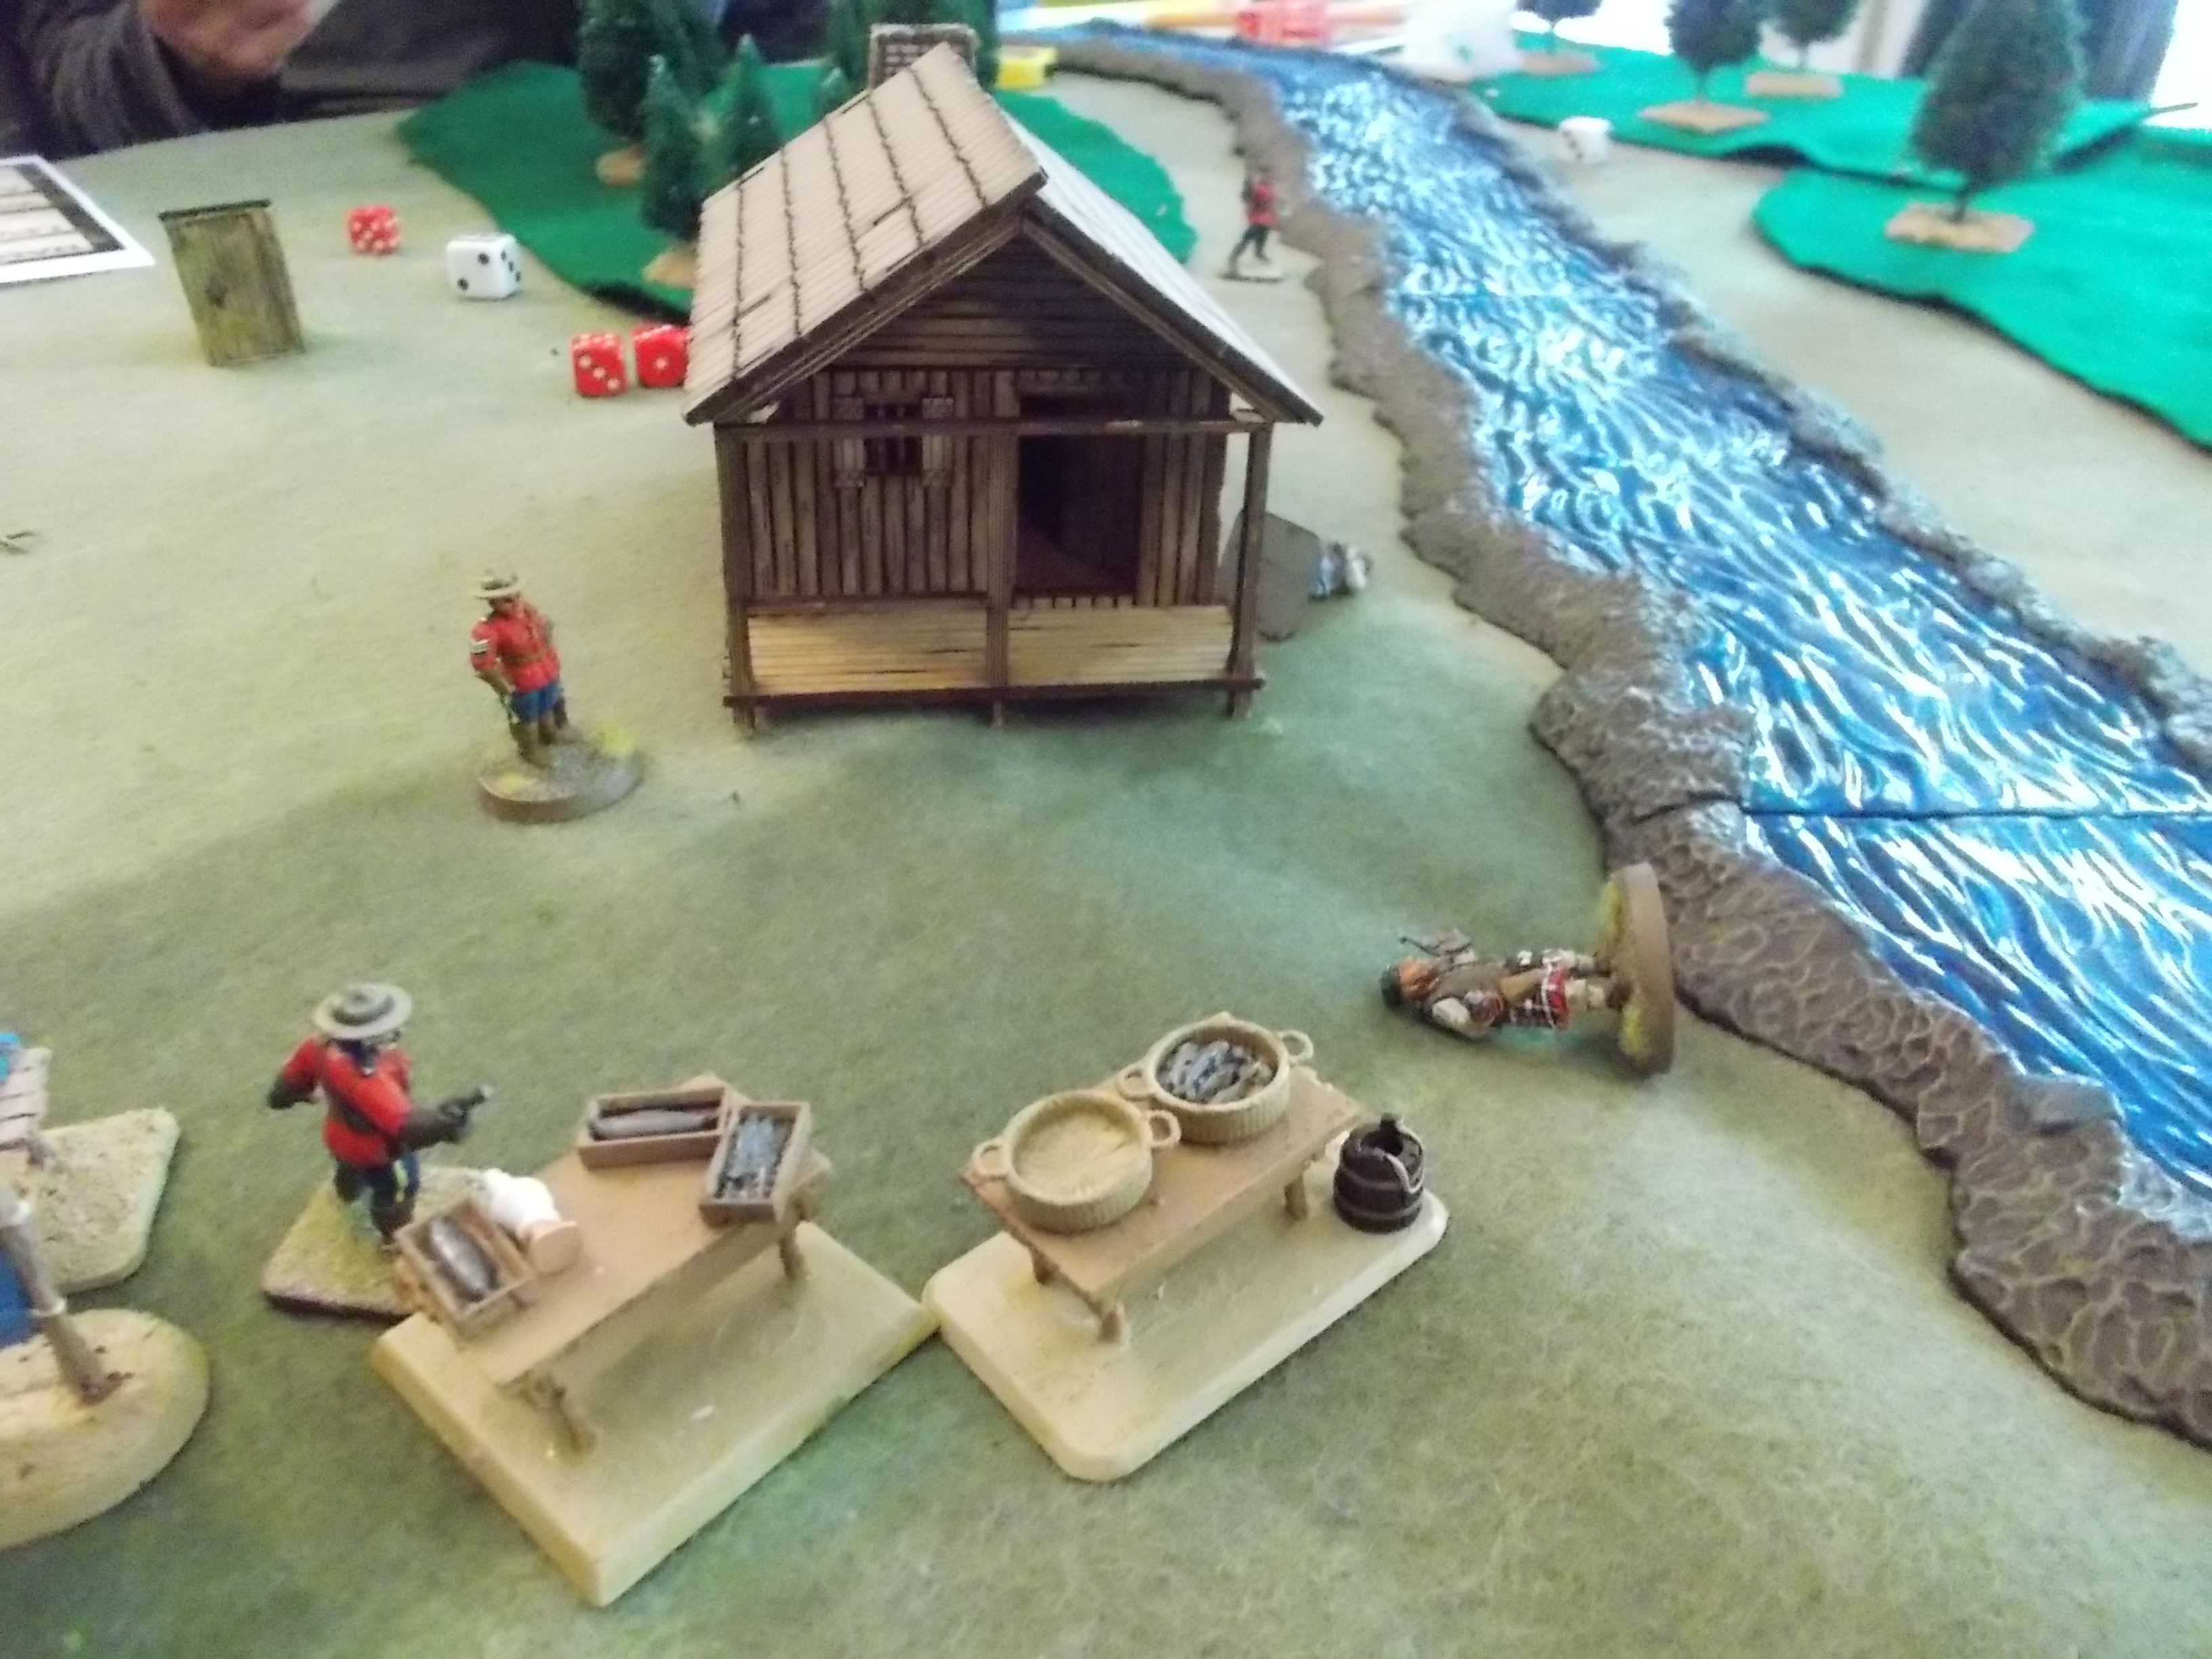
I diced for the scenario, and for the table layout. The brown felt is a marsh, there are forested hills on either side of the table, leading to a small settlement. The Gauls are to escort a wagon carrying barrels of wine to the village, and the Belgae intend to stop them.
Gauls deploy at the end of the table furthest from the village. The Belgae have a deployment area along one of the long edges, but also have a selection of 'ambush points' from which they can also deploy warriors. The solid red disks below show the locations of the ambush points.
What follows is a quick pre-game test where various factors are considered, such as how strong each side is in skirmishers and cavalry, who can be counted on to counter or neutralise the other side's ambush points.
And then the game begins! Blue Leader II starts things off, deploying a classic swine's head formation with his noble warriors up front backed up by two groups of warriors in support. First lesson learned: build some movement trays! The bases of the individual figures catch too easily on the Hotz mat, and they fall over far too easily on the sides of the hills. Movement trays will speed up the process of moving troops around.
Blue IV comes up next, and out leap his light tribal cavalry from their ambush point in the marsh!
Not to be outdone, Blue Leader I (the warlord, status III) deployed next, taking full advantage of the cavalry's increased deployment distance to push ahead of the lowly walkers.
And finally the Belgae get a chance to deploy some troops, when Red V comes up, bringing the tribal levy maneuvering through the woods.And the Tempus Fugit card is dealt (Latin for "time flies"), and the first turn ends. For those used to CoC, the terminology is a bit different in I,I. Where CoC has phases and turns, I,I instead has turns (which end when the Tempus Fugit card is dealt) and Acts. The end of an Act is analogous to the end of a CoC turn.First card up in Turn #2 is for Red IV, and his Gaesatae. These mighty warriors spend a signa card to allow them to ambush (from the disk with a '1' on it), and they rush down the slope to attack the Gallic noble warriors. 
Strictly speaking, that ambush point had been converted to a normal deployment point during the pre-game scouting phase, but I decided to overlook that to see how the ambush rules work. And so, on to the first combat of the game! On review afterward, I found that I made a few mistakes, so bear with me as I try to correct them through the narrative.
Firstly, all units, foot or mounted, are supposed to have approximately the same frontage, so the two units of Gaesatae attacking the one cavalry unit is not correct, it should be either two groups of foot against two of horse, or one unit of foot against one unit of horse, each with another unit in support. But as I played it, two groups of naked, screaming fanatics barreled down on the front group of horse, while the nobles in the second rank supported their mates.
As it played out, the Gaesatae killed all the nobles in the front rank, and inflicted so much shock that the remaining group of horse fell back behind the rest of the Gallic horde. Had I played it properly, the balance of dice would have been a bit less favourable to the Gaesatae, but it would still have been in their favour. As Fanatics conducting an ambush, they started out with 6 points of fervour, while the Gallic nobles didn't have any. Fervour is a characteristic that only barbarians get to use - the warriors get riled up, and fervour is a measure of their enthusiasm. Fervour gives bonuses for movement and fighting, and also allows the warriors to soak up shock (they don't count any shock until all their fervour is used up).
Here are the remaining nobles, with their shock (the livestock) and their warlord (in the blue cloak), he is trying to rally them so they will return to the fight.
Meanwhile, having pushed back the nobles, the surviving Gaesatae in their wild frenzy pushed on against the warriors on foot. This next combat didn't go quite as well. The Gaesatae are hard hitting, fighting as elite warriors in the first round of any combat, but their numbers are few, and, being naked and all, they tend to take a lot of casualties. This makes them pretty brittle.
This second combat went much worse for the nekkid blokes, and the survivors were pushed back off the table. Losing the fanatics had an impact on the Belgae force morale, a bigger hit to their own side than they had managed to inflict on the Gauls.
Next, the Belgae deployed some slingers to harass the Gauls. More a nuisance than a threat, but none the less a way to whittle down the enemy before the main engagement.
The Gallic response is to send their tribal skirmish cavalry to chase away the slingers.
While the skirmishers battle on the flank, the Belgic warlord advances his big horde of warriors slowly along the valley. He has been gradually building up fervour among his warriors, so they will be ready for the coming fight. The white dice in front of the warriors show that fervour is now up to 5 points for each group, while the levy groups (red dice) are down to 1 point of fervour each.
On the flank, the Gallic tribal cavalry chase down the Belgic slingers. I made some mistakes with the skirmish cavalry, allowing them to move together. Skirmish cavalry groups should move separately, they can't coordinate as mounted warriors, so each group should have rolled separately for movement, which would have led them to spread out. Also, skirmishers can't support each other, whether on foot or mounted, so that was another advantage that I mistakenly gave the Gauls.
After this, I stopped taking photos. The Gallic tribal cavalry eventually circled around the back of the Belgae, then attacked the tribal levy in the flank. As I mentioned, they were more effective than they should have been, as they nicely coordinated their actions and supported each other. My intention was for the tribal cavalry to throw javelins and harass the Belgic levy, but I rolled high for movement and assumed that they were required to charge. Not so, skirmishers may always stop short of formed enemy groups. However, since I pushed them in, they ended up punishing the levy, and further whittling away at the Belgae.
In the end, the Belgae had a strong force of foot warriors in a mob in the centre of the valley. They were still very strong, but all of their support had been stripped away through the encounter. Each group (and each leader) that had been killed or chased away reduced the Belgic force morale, so that by this time they only had one point left on their FM table. Considering that the Belgae were surrounded, and the Gallic morale was still high, I decided to call the game there and give the victory to the Gauls.
Infamy,Infamy is a good, solid set of rules, with many mechanisms which will be familiar to TFL fans. I'm going to try again sometime soon, maybe try against a Roman force so I can see how the silly Roman tricks work out.