Today is a lovely, warm and sunny spring day, so I was able to set up the tables on the patio and get started on building the hills. 😃
Over the past couple of days, I managed to get some paint on the Bailey Bridge, allowing it to take pride of place to test fit the hills to ensure that I build a gap that it will fit. Even though it's just green and brown, it was a real nuisance to paint. Getting paint inside the tiny bits was no fun at all: when (or if) I build its sister, I'll paint first and assemble after!
Following the plan I'd prepared, I set out the insulation board and got to work. (and reminded myself to take photos to document the build process 😉)
I checked my assumption that 2" was enough height for the bridge over the gorge.
Looks OK to me!
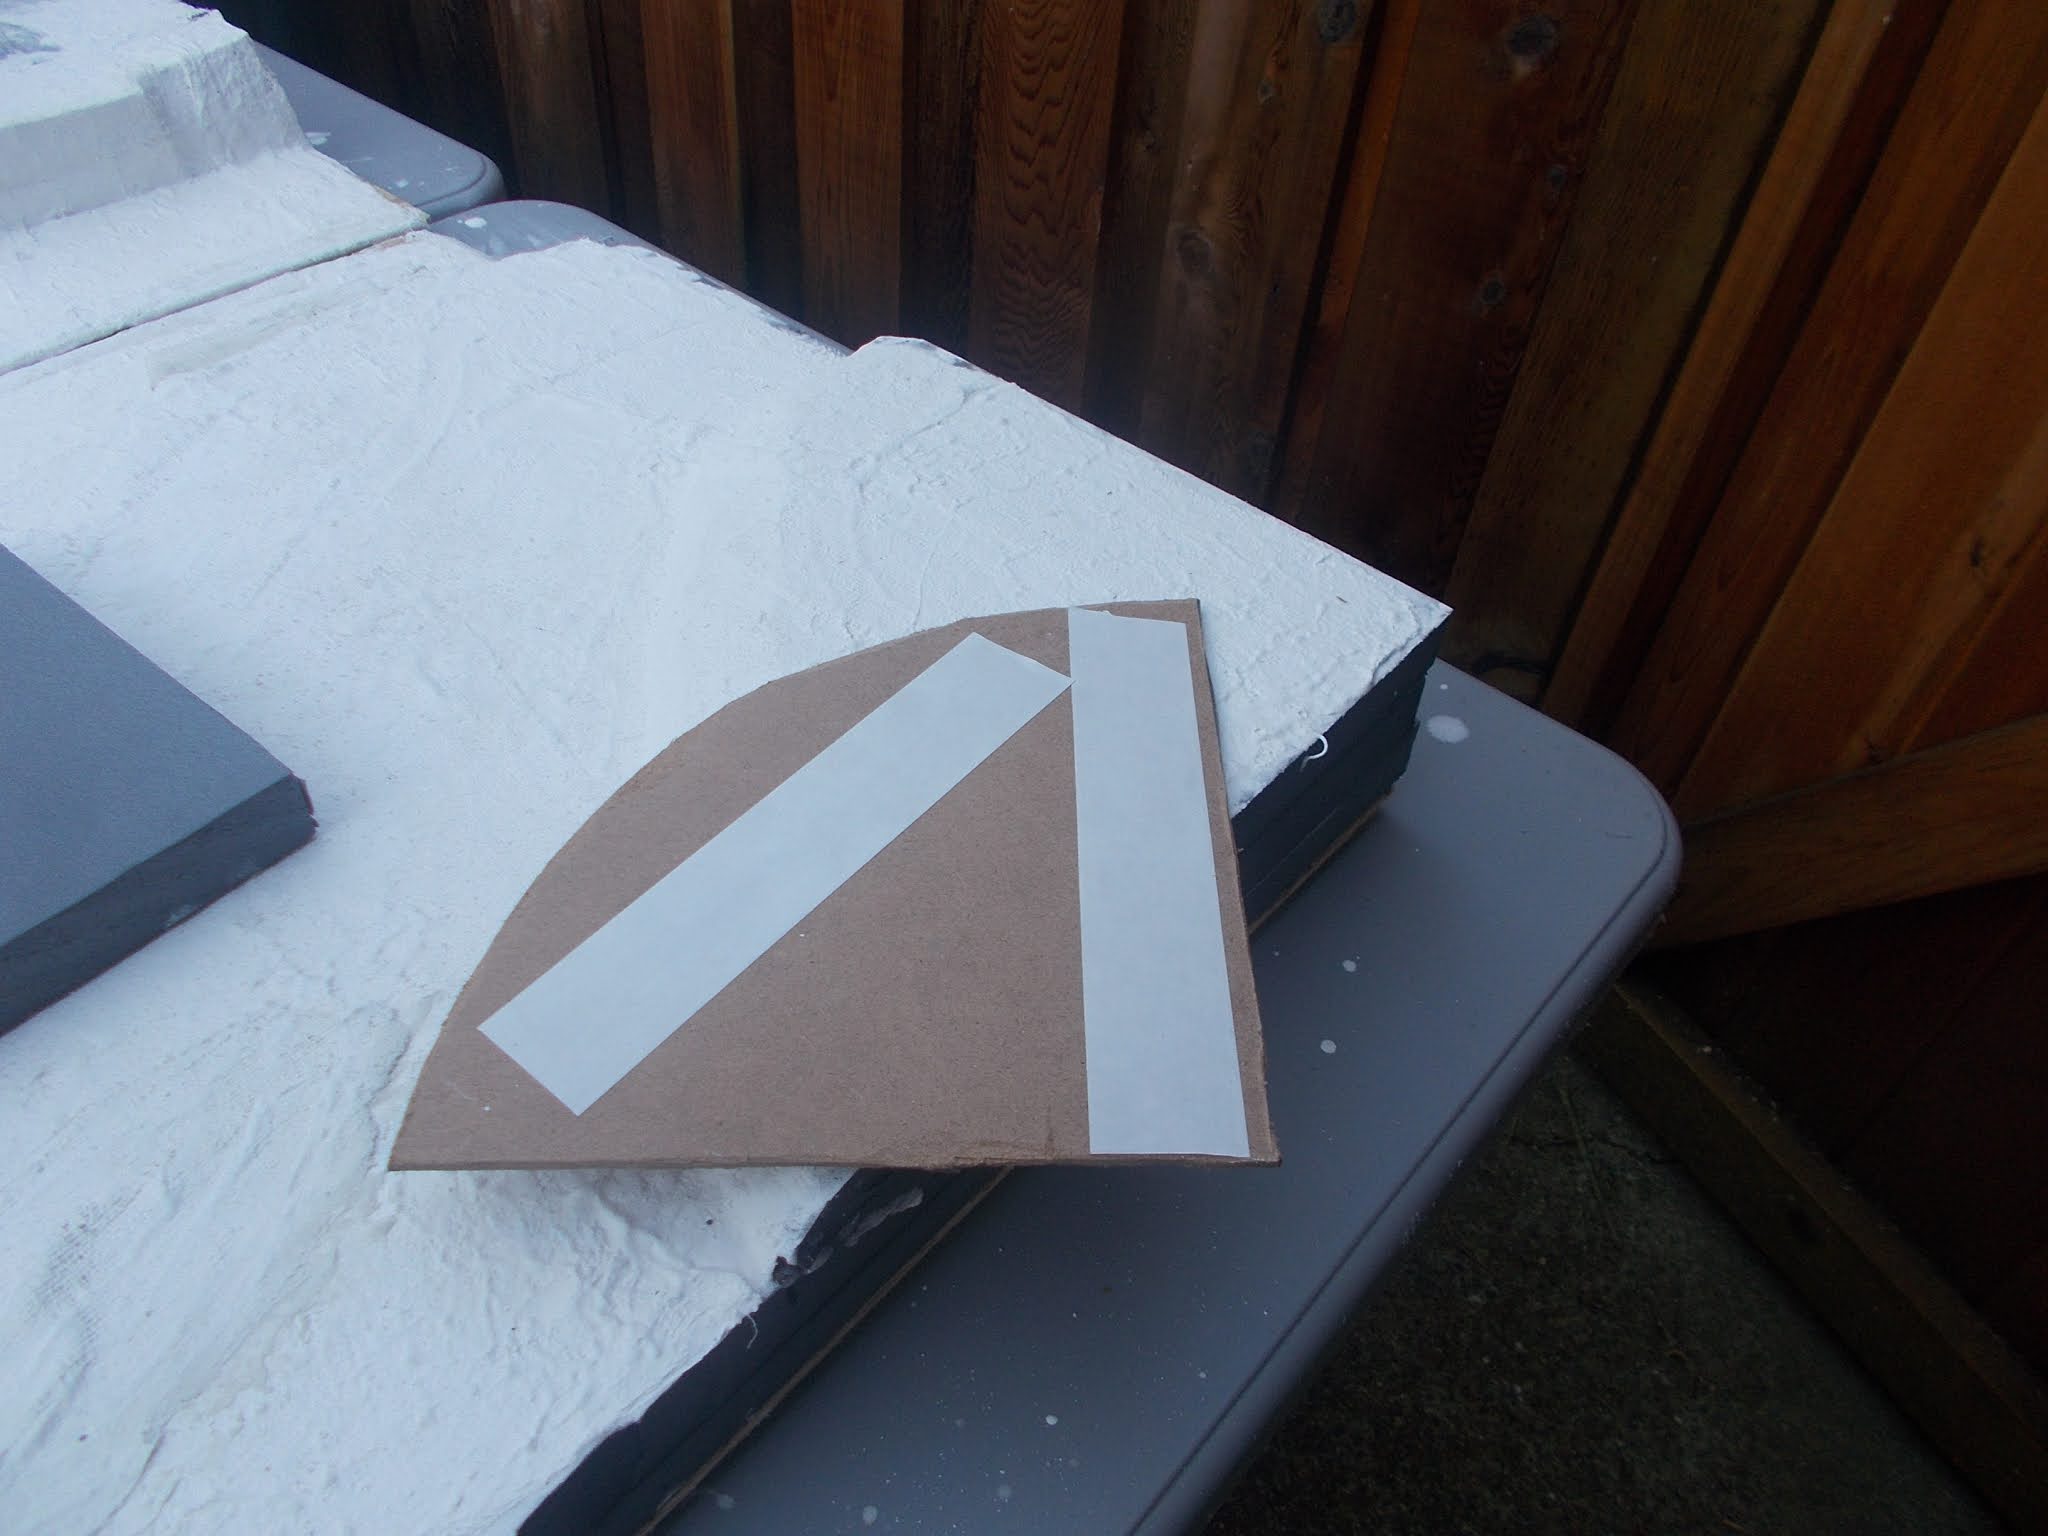
I started cutting:
Following the advice from Pat Smith's "Setting the Scene", I was careful to just use points of glue - he points out that if the entire surface is covered in glue (especially with white glue), it will not create a bond.
Moving on, I traced the desired cut lines on the next hill as the glue was setting for the first.
It was about now that I realised the white glue was not creating a bond between the insultation board and the plywood base. So I decided to try an alternative: double sided carpet tape!
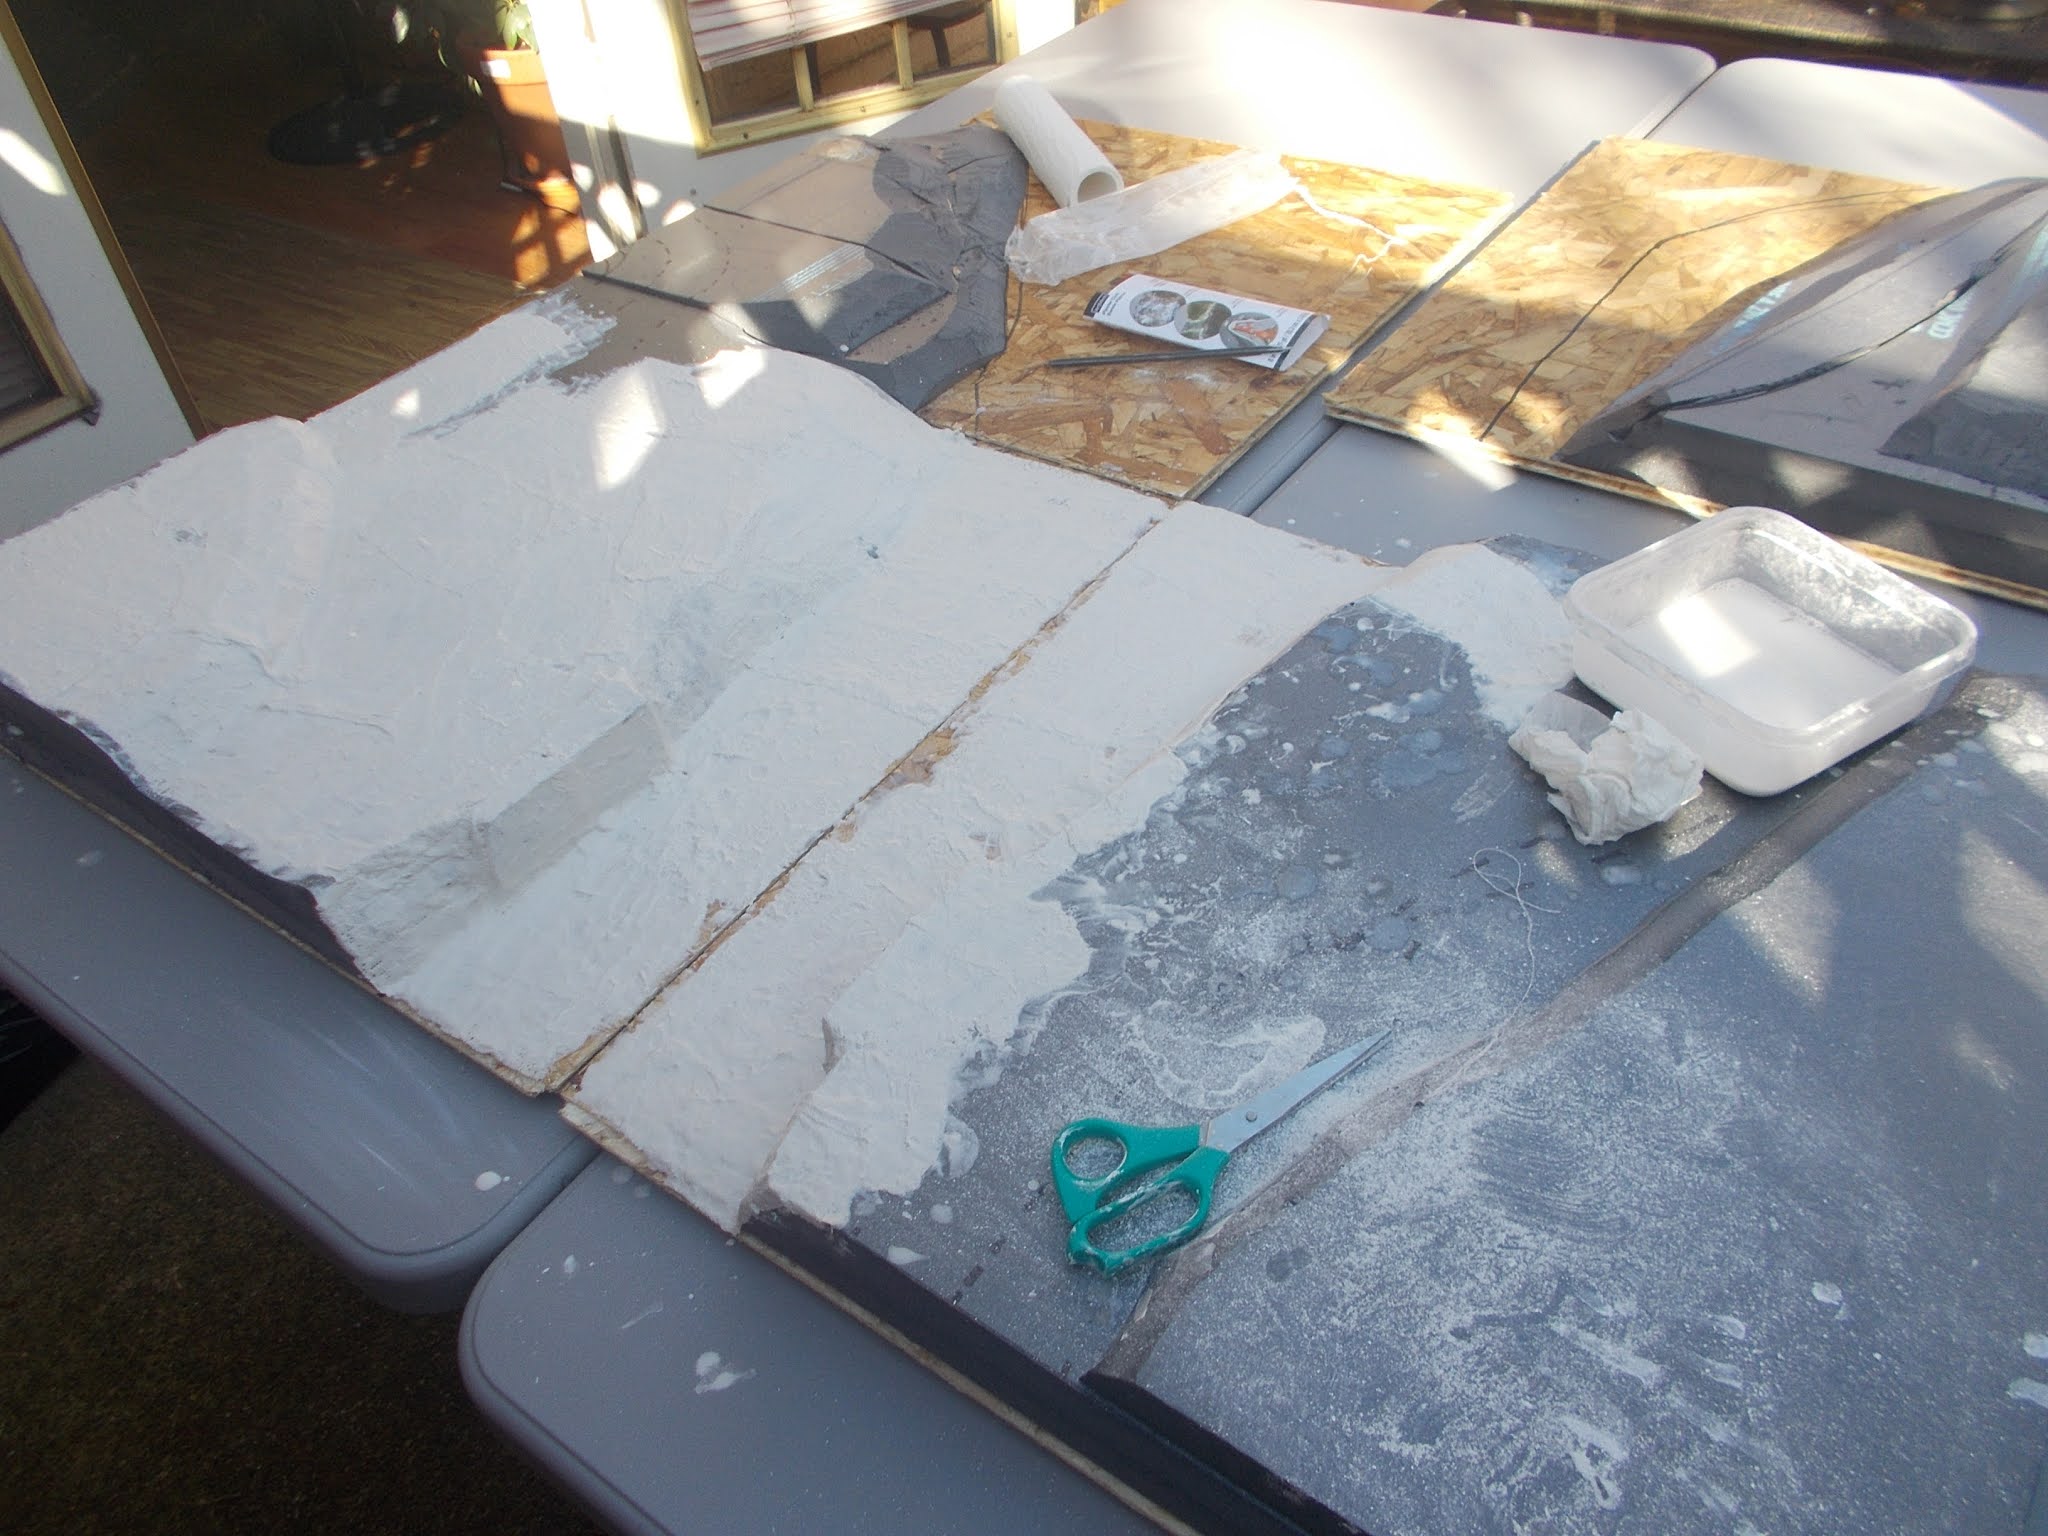
Carpet tape turned out to be just great. I probably overdid it, but the only way those boards will shift is by tearing them apart.
To mask where two boards come together, I decided to put a mini-gorge. Not the best photo, but the gorge can be seen in the shadow. Hopefully it will be a bit clearer as the build progresses.
I got into the swing of things, and didn't photograph everything. This is how the boards looked at the end of the day.
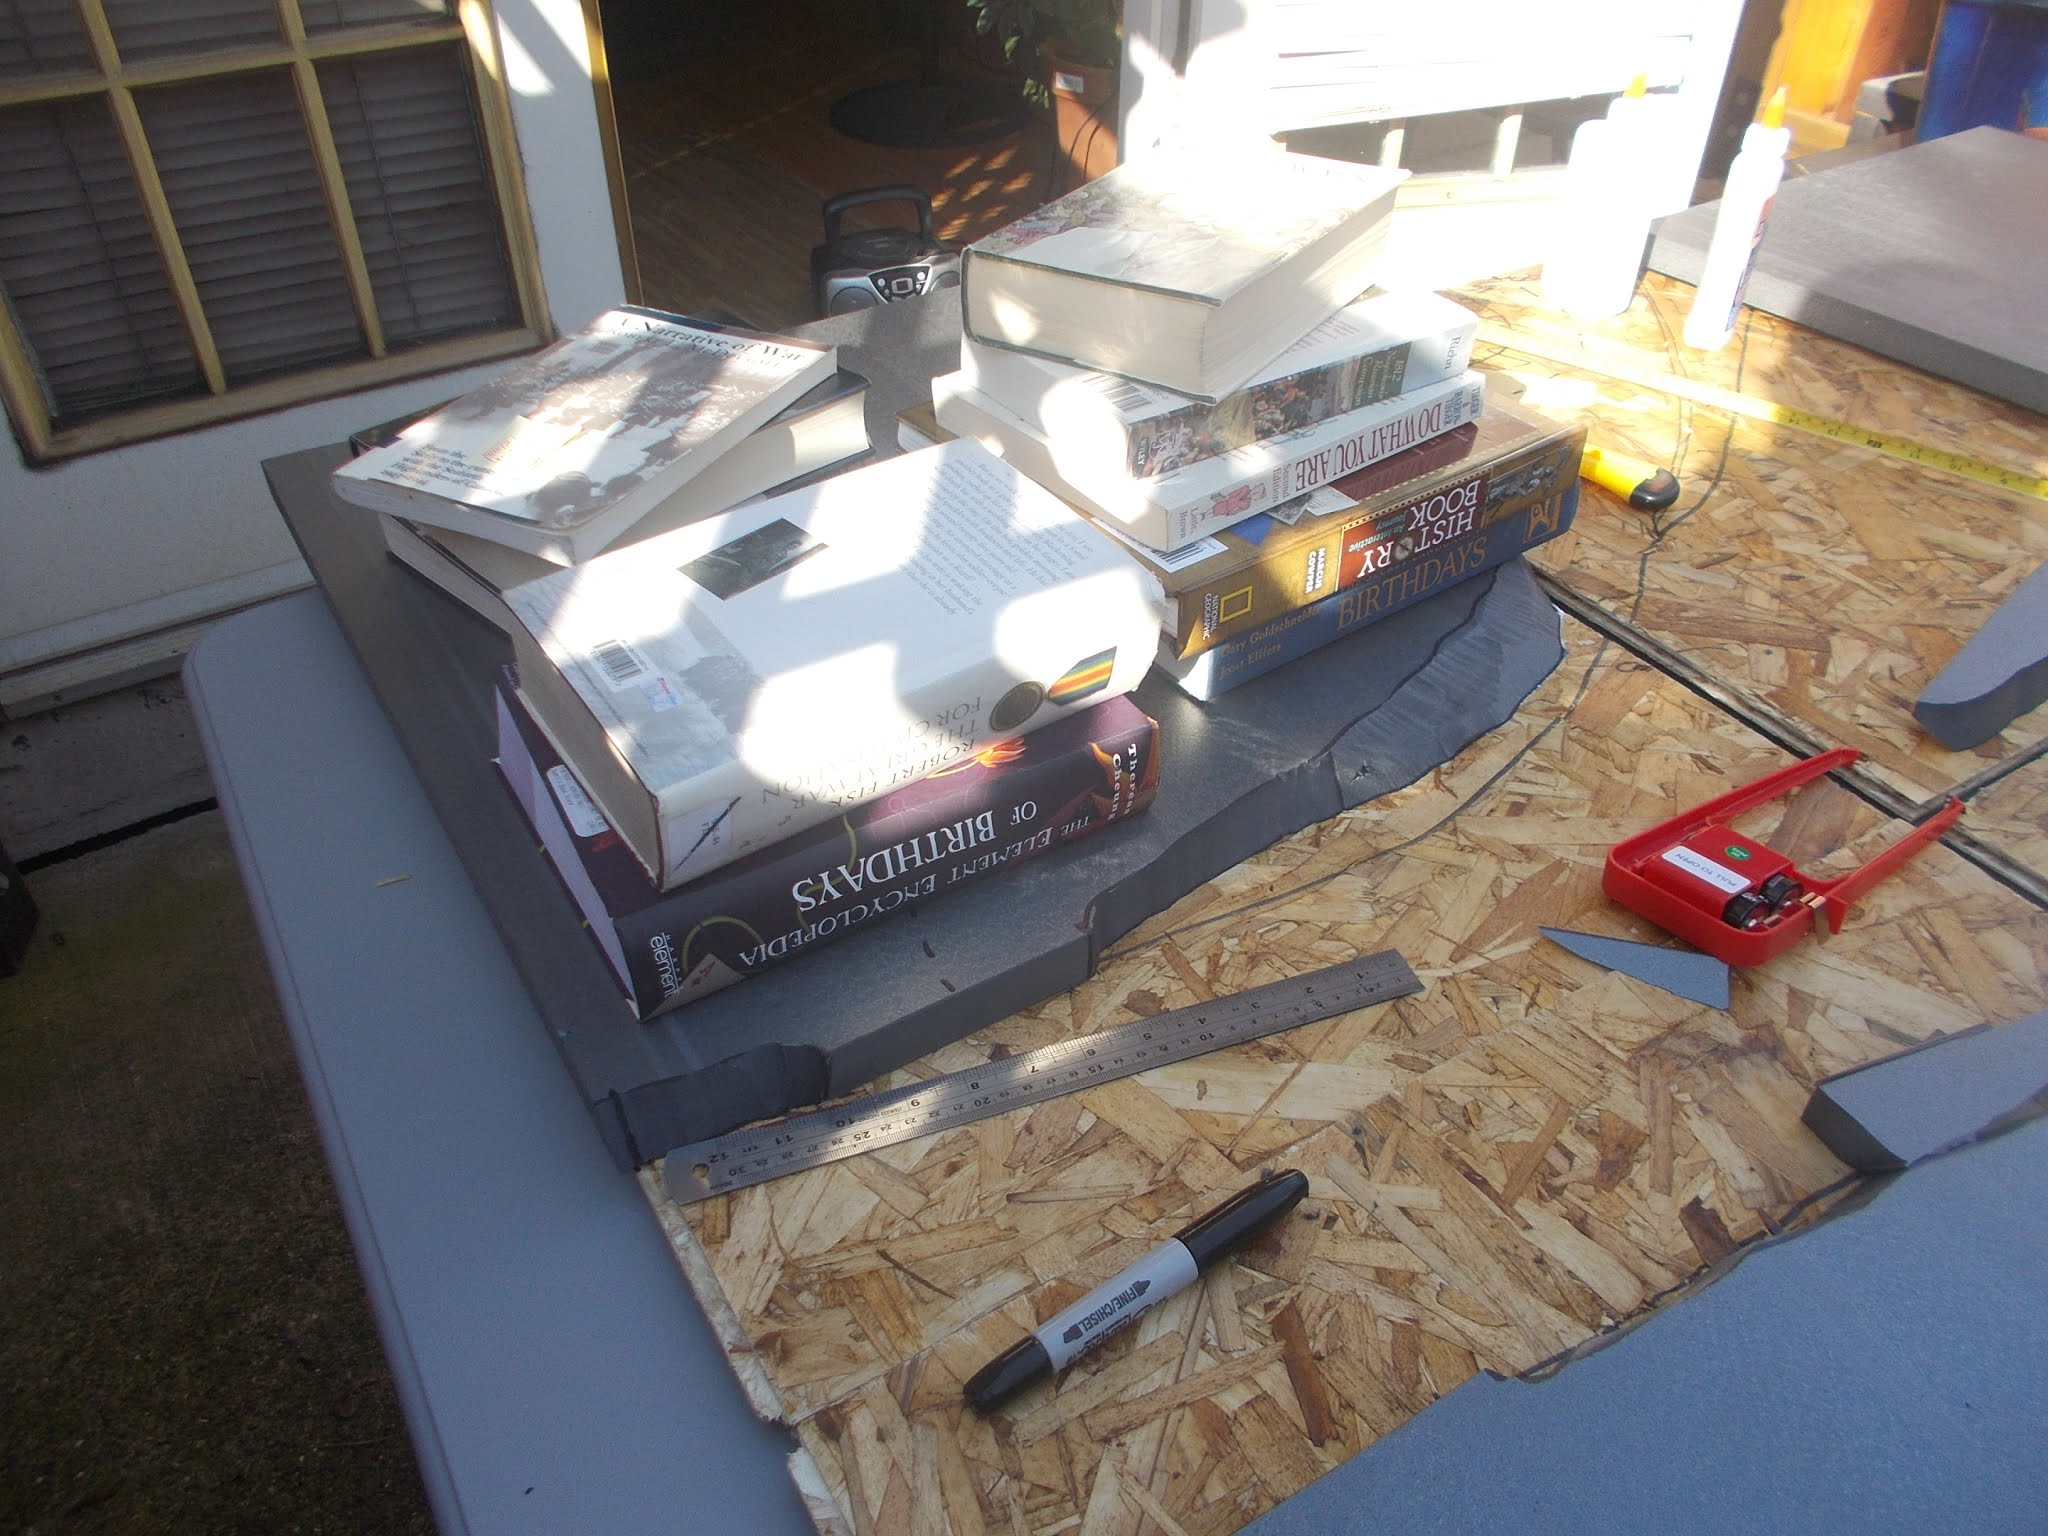
My original plan was to go for a 4" maximum height with the boards, but I now think that 3 layers (3") will be enough. Compare the current progress with the photo of the valley.
I keep reminding myself that this is a representation for gaming on, not an exact scale model. If I need additional height on the side slopes, I might add some removable hills to fit the corners. Any comments greatly appreciated!