Showing posts with label Operation Husky. Show all posts

Sunday, 28 May 2023

WWII Italians

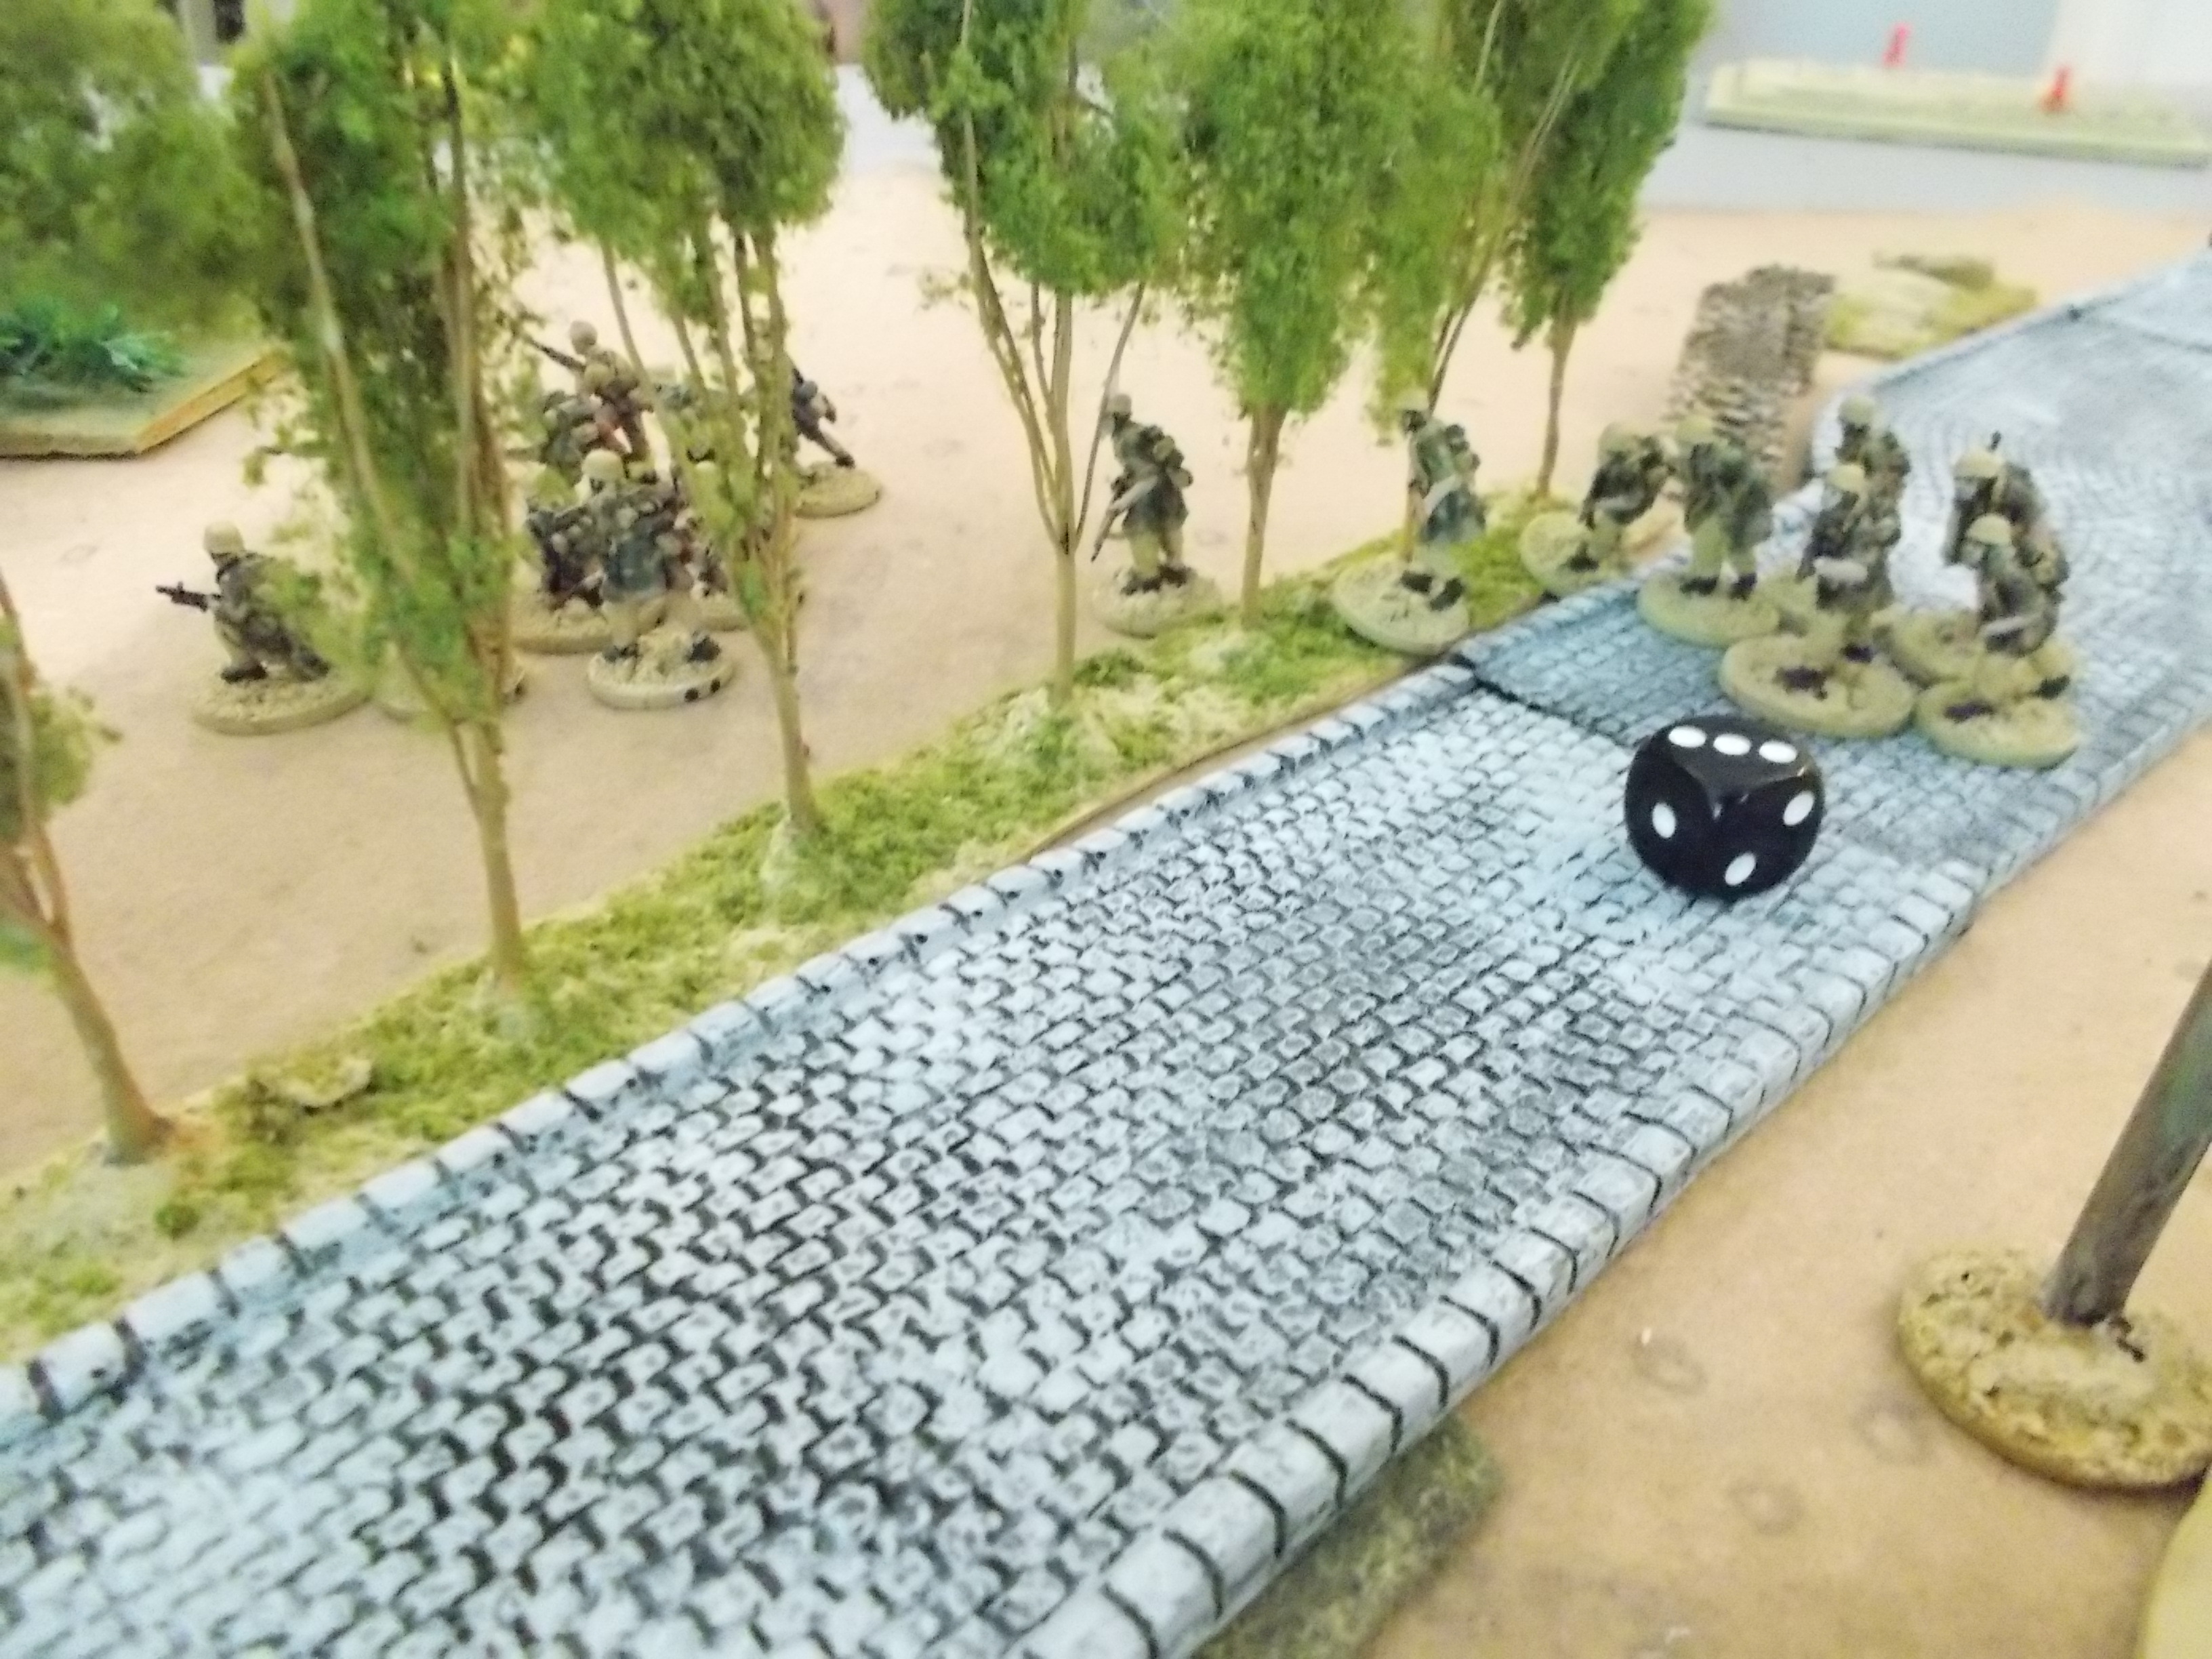
 Here is the start of an Italian force to participate in WWII battles.  I am basing them to match the terrain I've prepared for Op Husky, the 1943 Allied invasion of Sicily, but they should be flexible enough to allow me to deploy them to other theatres, such as the Italian participation in the invasion of France in 1940 or the Italian soldiers who were deployed to the Soviet Union.

These are from the Wargames Atlantic Italian Infantry plastic box.  As with other WGA products, the box includes an incredible variety of options for assembling the soldiers.  However, there are also some frustrating aspects with the selection of items.  On the positive side of things, each frame includes four different headwear options, including steel helmets, sun helmets (for North Africa or Ethiopia), Bustina field caps and Alpini 'capello alpino', as well as Bersagliari feathers that can be added to any of the other headgear.  Each sprue includes 7 of each head, providing loads of options to personalise figures, especially considering there are 6 figures per sprue.  As for weapons, there is a great selection of rifles (with and without bayonets), carbines, Beretta SMG, and Breda light machine gun, plus several of the uniquely Italian 'red devil' grenades..  The command sprue includes a tripod-mounted Breda M37 MMG.   The box also includes a great selection of axes and shovels, and 7 backpacks (for 6 figures).  On the other hand, there are only 5 haversacks (the soft sack that sits on the left hip), and only 3 bayonets (or possibly these are some other sort of knife - I am definitely NOT well versed in Italian kit).  

My initial plan was to simply paint these figures in Italian grey-green (grigio-verde), and dived into some research to come up with as close a match to that shade as possible. These are the troops in green-grey, including the officer on a square base to help make him stand out from the rank and file. 


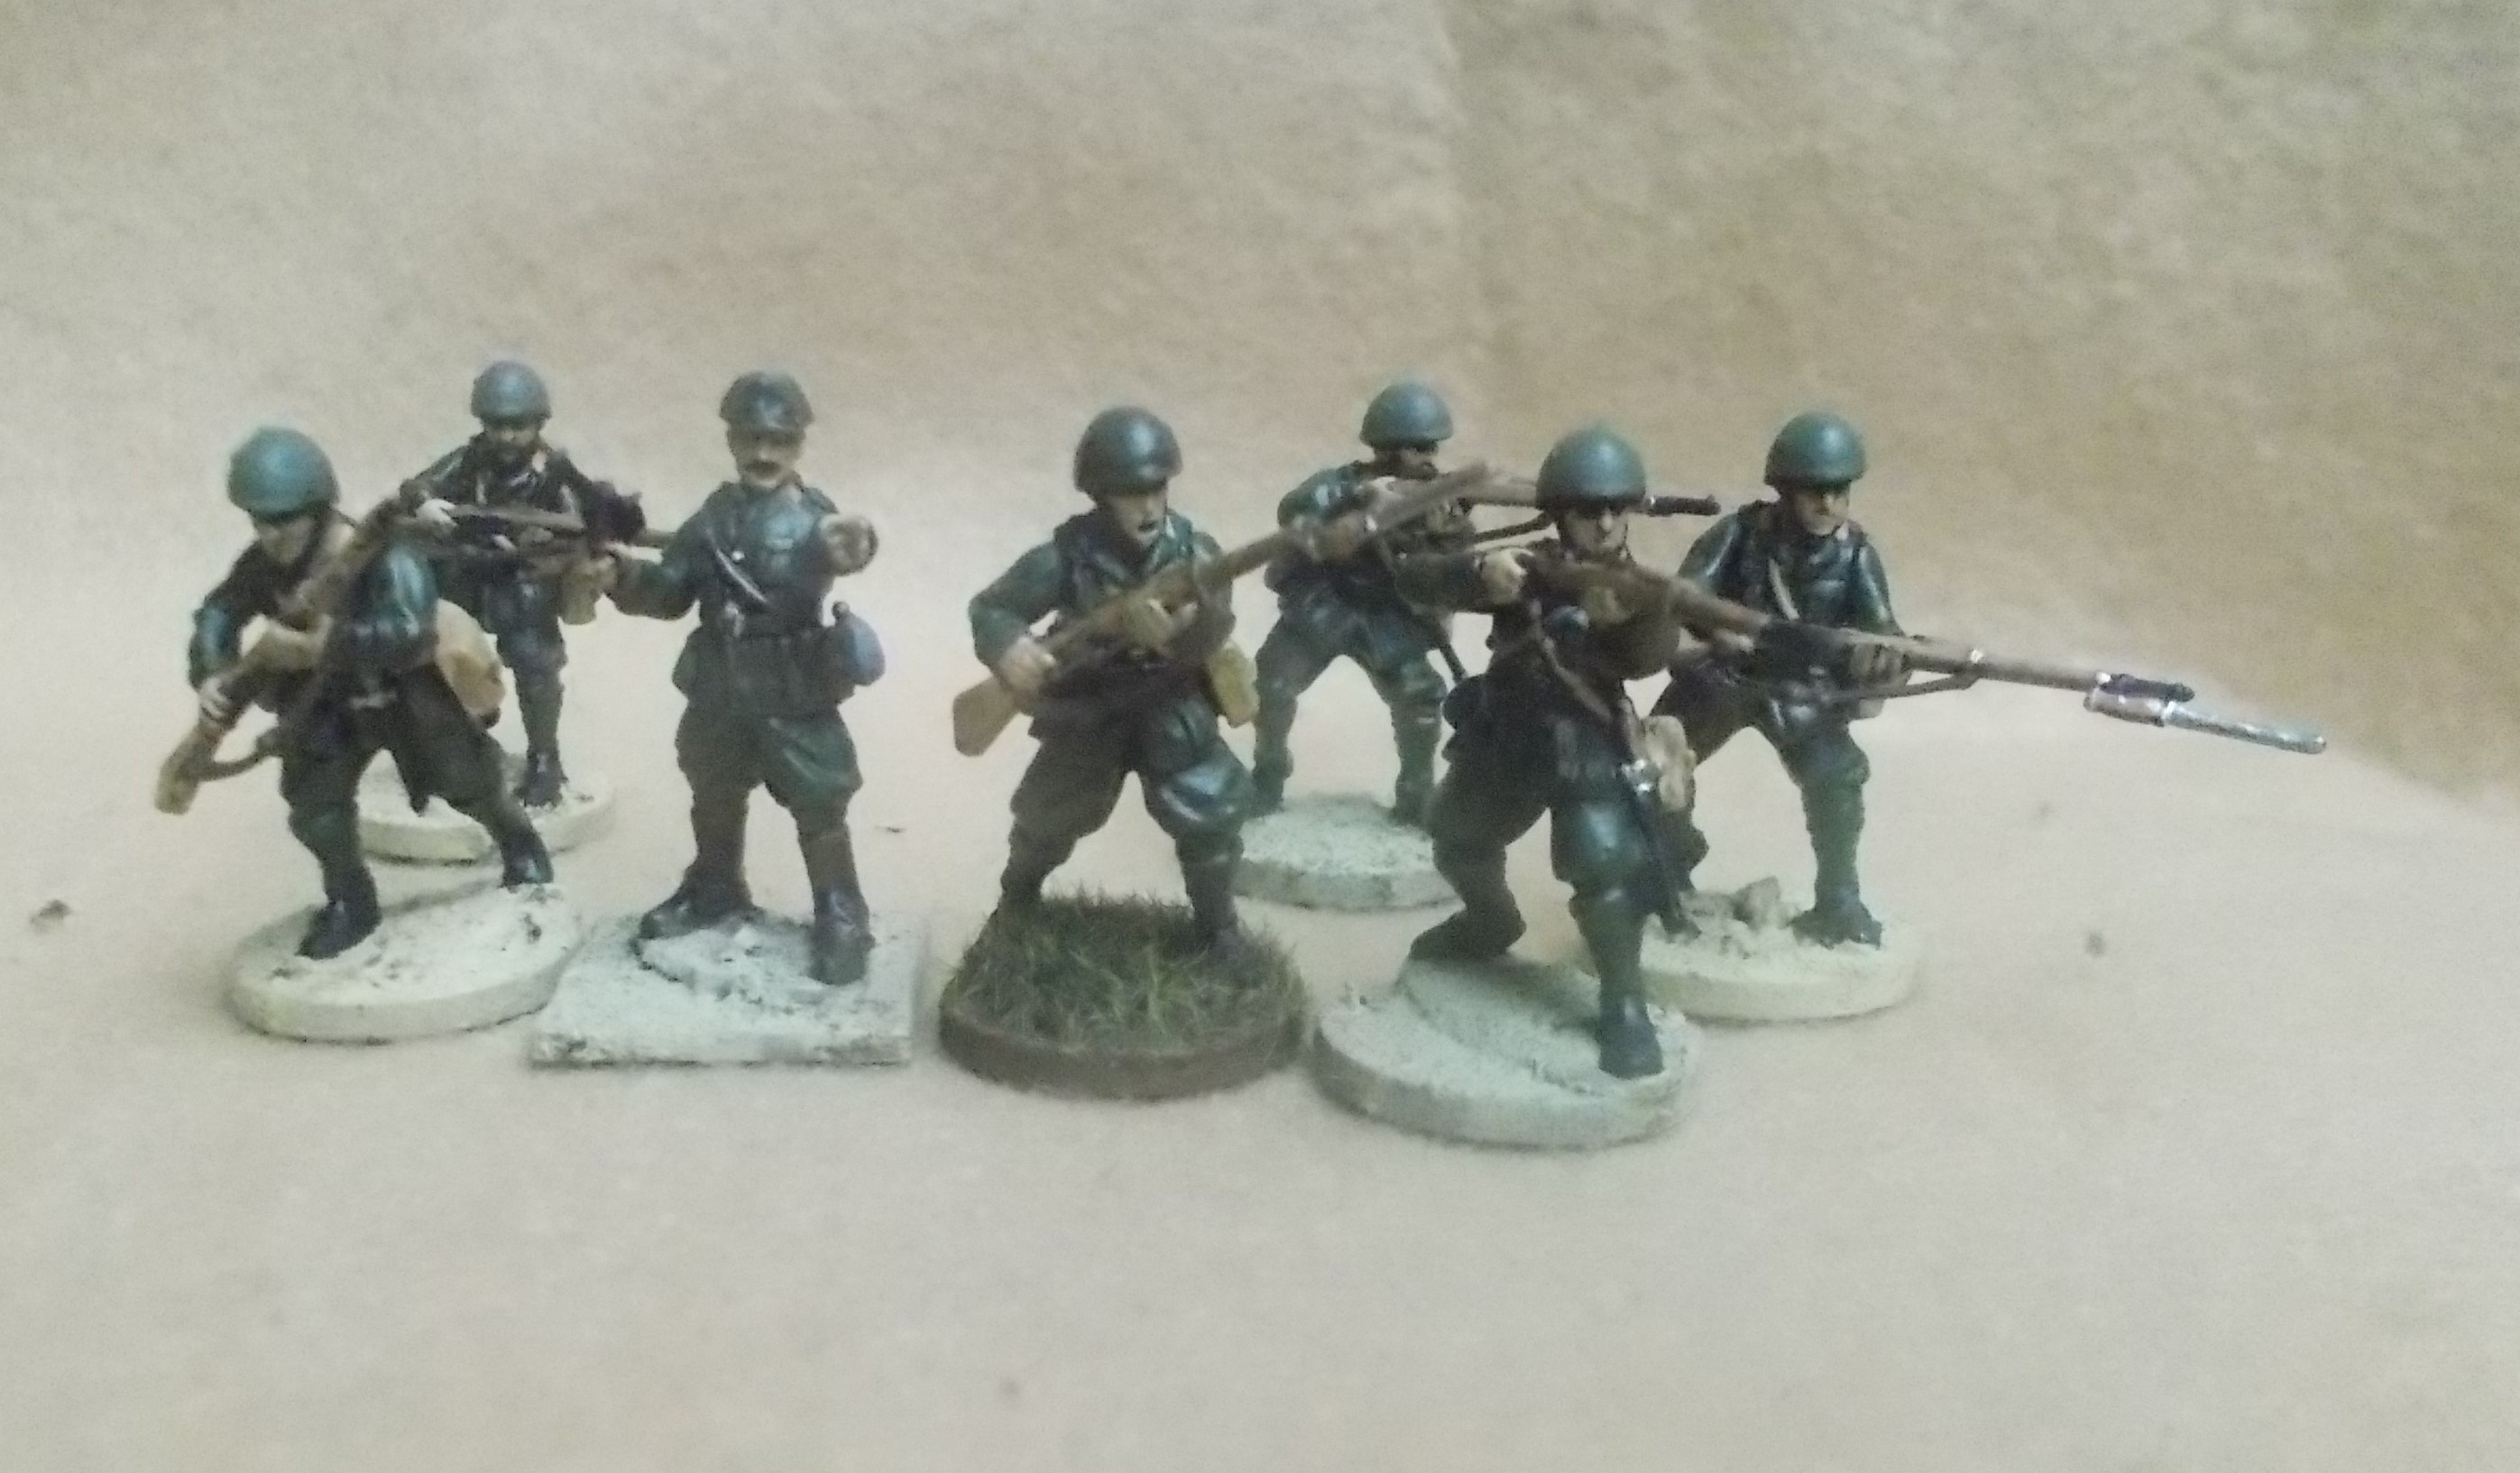
As I was reading up on Italian uniforms, however, I found that many soldiers, especially the Coastal Divisions in Sicily, were never even issued this uniform, and instead were issued the light grey fatigue uniform.  I have had great difficulty finding out much about this uniform, but as best I can tell, it is of the same cut as the grey-green uniform, and of a pretty light shade of grey.  So I painted roughly half the troops in each colour.  If you have more info on either uniform I'd love to hear about how I can improve the presentation! The grenadier is throwing a red Italian hand grenade!


Here is the LMG gunner, plus a loader to support him.  I sort of made up the spare magazine in the loader's hand, as I understand that the magazine cannot be removed from the Breda M30, instead requiring a stripper clip of ammo to be fed into it for reloading.  The loader also has a spare barrel and parts kit over his shoulder.  Both gunner and loader are on larger bases to help distinguish them from the riflemen.


This is the tripod-mounted M37 Breda MMG.  It is also fed by stripper clips, which greatly reduced its rate of fire compared to belt-fed MMG used by other powers.  Loader is on a square base to keep him distinct from other riflemen.


Doug recently gave me another 25 shock or pin markers. I suspect that this is part of a subtle campaign on his part to shift me away from using livestock as pin markers!  He assembled these himself from spare rifles and a bunch of sun helmets.  Amusingly, the rifles are a mix of mid-20th century bolt action rifles, with some 19th century (or earlier) flintlock muskets!  The older weapons will only be noticed by someone who looks at the markers very closely.  Thanks for the gift, Doug!  (Doug also gave me an R35 Renault tank, painted up as part of the troop of Italian armour that attacked the American landing at Gela at the start of Op Husky - that tank will be a subject for a future blog post).


Monday, 22 May 2023

Chain of Command - A Delaying Action

This afternoon, I had a few friends over for a game of Chain of Command, my first in many months.  This was the first game of CoC for Sam, a new member of the Trumpeter wargaming club.  Gord and Doug also participated. Of the gaming theatres I was able to offer, Sam chose Op Husky, so I set up the board accordingly.

The scenario was the Delaying Action from the basic rulebook.  Sam took German infantry, and the dice dictated that he would be the defender, to Doug's Canadian infantry attackers.  Based on my own frustration taking on German Panzergrendiers in my own games, I downgraded them to ordinary infantry with just one LMG per squad.  Plenty of time in future games to bring in the challenge of battling against the overwhelming firepower the Germans get with 2 LMG per squad!  

The Canadians, as attackers, had the objective of capturing the rearmost of the German jump-off points, on the right side of the photo below.  The Germans would win by preventing this.

At the end of the Patrol Phase, the two sides had met more or less in the centre of the board.  The Germans placed one of their JoP in the orchard, a second up against the farm building on the right, and the third (the objective of the scenario) just behind the small grain storage tower at the rear of the farm.  The Canadians had one JoP at the board edge where the road crossed off the board, and two more within the small farmyard on the left.


Although he was nominally the defender, Sam determined that the best defence was a good offence, and moved his forces forward to take the prime terrain in the centre of the board.  He deployed a squad in the orchard and left them on overwatch, so that anyone who entered the orchard would receive fire at full effect, but were well placed far enough back that they could not be targetted by anyone outside the orchard.  On his right, he moved squads out of the farmyard to occupy the treeline across the paved road.


Superior German firepower pushed the Canadians back into the left farmyard, despite the effort to use smoke to block the German line of sight.

Germans advancing across the road. Sam was fortunate to roll a number of double phases (two sixes on the command roll) which made this crossing easier as it limited his exposure to flanking fire from Doug's section up the road!


Canadians had set up a good base in their own farmyard, but could not easily move past the stone wall without being exposed to heavy fire from the German MG42s.  


Sam brought up his SdKfz 221 armoured car.  This AC had replaced the MG with a Panzerbusch anti-tank rifle, which was a threat to Doug's universal carriers, but only posed a limited threat to the infantry.


With his infantry bottled up in the farmyard, Doug brought his carriers out to flank the German infantry.  Sam was able to damage one of the carriers, but did not take it out of action, so it was able to continue the advance.


Carrier busts through the rough ground to threaten the German infantry behind!  The Germans managed to throw a grenade into the carrier, but it did not cause any significant damage.


The first carrier charges to the German JoP behind the tower.  Anti-tank rifle tries to take it out, but the small, low profile carrier behind the cover of the wall ends up being a difficult target!


There was actually a bit of back and forth before the next photo.  The carrier was hit but not destroyed, and forced to fall back.  The carrier opened fire on the German 5cm mortar team and drove them off, then dismounted and captured the JoP.  Doug then played a Chain of Command die to end the turn, and thus the game as he had uncontested control of the JoP!


Overall, it was a fun game and a good introduction to CoC for Sam.  For most of the game, it looked like the Canadians were on the back foot, but the flanking move by the carriers ended up turning the tables and gave a surprise win to the Canucks.

I still feel that the carriers are not quite represented correctly in Chain of Command - their invulnerability to infantry fire feels a bit wrong.  The carriers were open-topped, so should be more susceptible to fire.  We are all looking forward to trying another game soon!

Tuesday, 3 August 2021

More Chain of Command on the BSC2021 Boards - Picture Heavy!

 Craig, Doug and Gord stopped by on the holiday Monday to try a game of Chain of Command on my BSC2021 game boards.  Thanks to Doug for contributing some photos to this report!

To shake things up, I teamed up with Gord to play as the HG PanzerGrenadiers as the attackers, while Doug and Craig set the Canadians to defend.  The scenario selected was 'Flank Attack'.

To allow for a full 4'x6' table, I purchased another couple more floor tiles.  For these ones, I left the extra treatment to an absolute minimum, just a thin layer of plaster and a couple coats of paint (yellow ochre base, dry brushed with Camel).  Eventually I may add some static grass and other vegetation, but for this game it was enough to cover them with other terrain - the village and some plowed fields.


What's going on here?  It must be market day!


Lots of lovely scatter terrain!


But then gunfire is heard and the civilians run for shelter.


Most of the JOP (Jump Off Points) are small, but here you can see the mule cart in the orchard that represents one of the Canadian JOP.  The two bicycles in front of the church represent another JOP, and there is a German JOP tucked beside the minefield behind the church.  That minefield was placed by the Canadian defenders to limit the space available for the German attack!  The two strips of barbed wire represent another minefield.


These two trucks represent a couple of German JOP.  The PanzerGrenadiers advanced as far as they could in their vehicles, then dismounted to advance the rest of the way on foot!


Barely visible under the bridge, the Germans begin their advance through the heavy brush.


Canadian section deploys in the orchard.
 

The defenders strike:  the white smoke shows where a ranging shot from the mortar battery has landed.  Right on target!


Knowing that the Canadian mortar battery has their range, the PG hustle away from the danger zone!


Back in the village, the Canadian FOO is joined by an infantry section in the church.  


They are about to engage with a gruppe of panzergrenadiers across the minefields!


The mortar bombardment begins, pinning one of the German gruppe and catching part of the other gruppe.  


Shortly afterwards, the FOO adjusts the barrage to pin the lead gruppe as well.  And so they remained for many, many phases, as the barrage continued and all the panzergrenadiers could do was hunker down and endure it. 


Just outside of the barrage area of effect, the Canadians are ready to pick off any Germans that escape the barrage.


At the other end of the battlefield, the Germans deployed another gruppe and put pressure on the Canadians in the church.


Here you can see Craig pulling more shock markers from the tub. One thing about CoC, you can never have too many shock markers!  As a change from my habit of using livestock, for this game we used the 'helmet on rifle' markers from Warlord Games.


A brisk firefight continues.  The Germans are taking some shock, but have brought their feldwebel into the game to ensure that the troops remaining motivated.  They've laid smoke to block fire from the orchard to the left, and with two MG 42 machineguns are steadily winning the firefight with the Canucks in the church.


The Canadians drop smoke to block the German MG fire.  Elsewhere, the mortar barrage has ended, and the two gruppe there dust themselves off and continue their advance.


It was about here that the game petered out.  The firepower of the German panzergrenadiers was too much for the Canadian defenders.  The mortar barrage was very effective at pinning half the German force for much of the game.  The Germans were not blessed with the command rolls they needed - they accumulated their command points slowly, and when they finally had enough to earn a Chain of Command point to end the turn, the Canadians simply played their CoC die to continue the barrage.

Finally, the Canadians rolled the infamous triple 6 to end the turn, and with it their barrage and smoke.  The Germans under the barrage only held out because they had their leutnant (SL) with them to rally shock.  Their numbers were reduced by the bombardment, but in the end they withstood the barrage.  But while under the barrage, their advance was halted.  A valuable lesson learned about the dangers of bunching up, so that two gruppe were caught in the same barrage.

Some thoughts on CoC:  Panzergrenadiers are deadly.  It's a big challenge to find a way to overcome the firepower they bring with those belt-fed MGs.  The barrage was a good start to trap the PG, but the firefight at the other end of the table was very unbalanced.  I think one of the answers, at least for Commonwealth armies, is to use the 2" mortar to lay smoke and force the PG to relocate:  when they are moving, they aren't shooting.  

We had a few questions about interpreting the rules.  There were a few things that didn't seem natural, so I think we may need to discuss them and decide on house rules for when the rules seem to defy common sense.  Some possible rules modifications to consider:
1. If an infantry LMG team is reduced to just the gunner, the JL should be able to join him and act as loader to keep the full set of fire dice.  (if the rifle team is still around, the JL could assign one or more riflemen to be gunners, but in case of necessity, he should be able to load).
2.  (This if from last week's game, which I may eventually write up!)  Universal carriers are not mini-tanks!  They should be vulnerable to small arms fire.  For starters, infantry should be able to close assault them, treating the crew as if in hard cover.  It may be worth allow infantry to shoot them as well, also considering the crew as hard cover.  
3.  Soldiers in a building should be able to move away from the windows, so that they can not be targetted by soldiers with small arms.  Basically, use a principal that if the troops can shoot out, then they can be shot at.  Otherwise they can hunker down in their hard cover.