Showing posts with label Pikeman's Lament. Show all posts

Friday, 21 September 2018

The Brigadier for Pikeman's Lament

No, not Lethbridge-Stewart.

In our most recent game of Pikeman's Lament, Kevin was frustrated that his three infantry units didn't advance across the field in a nice column.  The first would move, then the second would fail its move activation roll.  The result was that the first unit got multiple turns of defensive fire, while the follow-on units dawdled in the rear.  Doug had previously noted something similar in his playtesting of his Napoleonic variant of Lion Rampant, which he call 'Hussar Rampant".  Doug's solution is to allow each force an officer, whose only function is to coordinate movements by a group of cavalry units.

For Pikeman's Lament, I think we can try a hybrid between the PL officer rules with Doug's Hussar Rampant officer.  

Brigadier (Pikeman's Lament)
Each force is entitled to an officer.  The officer is to be individually mounted, either as a single model or as a small vignette (see Kevin's version of Carl XII on his blog here).


  • The officer is not part of a unit. 
  • Officers can move up to 12" in a turn.  Officers move at the end of the turn, without testing for activation, unless they moved as part of a group move.
  • The officer can order a group of units to move together.  All units performing the group move must be within 6" of the officer before the move order is given. 
    • Test for activation (Move) as normal.  If the units have different activation numbers use the highest (most difficult) target number.
    • Move is limited by the slowest movement rate of the units, including penalties for moving in difficult terrain.
  • Officers do not fight and do not shoot.
  • Officers cannot be targeted for shooting or charges.  If one of the officer's units is shot at while he is within 4", however, check for a 'lucky blow' to determine if he will be a casualty. 

Otherwise, officers are as in the Pikeman's Lament rulebook.  (i.e., officer gives +1 to activation tests, +1 to morale tests, and can have officer traits, honour, duels etc.)


Wednesday, 19 September 2018

GNW/WSS foot ideas for Pikeman's Lament

After our game of Pikeman's Lament on Friday, we discussed ways to better differentiate between raw, regular and veteran foot, as well as for grenadiers and mixed pike/shot units.  I've been thinking about these ideas for a few days, and this is what I've come up with so far.  Please feel free to leave your comments!

For this post, I'm only looking at regular foot units from established armies.  No highlanders, tribesmen, clubmen or the like, not even skirmishers or commanded shot (at least not yet).

The thing that really jumped out at us in our game was that all units of a type have the same chance to activate.  This didn't feel right, as raw troops should be hard to motivate to move around, while veteran troops should almost anticipate their orders.  In game terms, raw troops should have a higher activation roll than veterans.

My feeling is that raw troops should have target numbers around 7+, and veterans around 5+ for most activation rolls.  An exception is for shooting, where a slightly higher target number can reflect all sorts of things that could slow down reloading and firing muskets.  For shoot value, I'll stick with 7+ except for veterans who will get a 6+ to reflect their experience (always having an extra flint, clean barrels, spare powder and whatnot that less experienced troops won't).

Grenadiers should be capable of the same things as line infantry but should be hard core at attacking, much like clansmen or forlorn hope.

Attack value, defence value and shooting value will be adjusted as well.  I think shot in PL is intended only for defence, so have a very poor attack value, but by this time shot will be expected to carry out assaults on enemy positions (once they have been suitably softened by shot and artillery).

Morale values for the game currently vary from 3+ for highly motivated types (eg gallopers) to 5+ for least motivated (clubmen, artillery).  I'll stay within these limits as well.

Here are the trial values I am considering:

Line Infantry (raw)
A7+                                                        AV6
M7+                                                        DV5+
S7+                                                         SV6
Morale 5+                                             Move 6"
Stamina 2
Close order, first salvo

Line Infantry (regular)
A6+                                                         AV5+
M5+                                                        DV5+
S7+                                                         SV5+
Morale 4+                                             Move 6"
Stamina 2
Close order, first salvo

Line Infantry (veteran)
A6+                                                         AV5+
M5+                                                        DV4+
S6+                                                         SV5+
Morale 4+                                             Move 6"
Stamina 2
Close order, first salvo

Grenadiers
A5+                                                         AV4+
M5+                                                        DV4+
S6+                                                         SV5+
Morale 3+                                             Move 6"
Stamina 2
Close order, first salvo, ferocious

Mixed pike and shot units should be better at close combat with reduced effectiveness at shooting.  Kevin's suggestion was that P&S units will only roll 8D6 for shooting (4D6 at half strength).  My proposal is that they roll 9D6 at full strength and 6D6 at half strength.

Pike and Shot
A5+                                                         AV4+
M5+                                                        DV4+
S7+                                                         SV5+
Morale 3+                                             Move 6"
Stamina 2
Close order, first salvo, 9D6/6D6 for shooting

As I mentioned, these are my preliminary ideas.  Some things to consider further:
Should raw shot get the close order and first salvo?
Should there be a veteran pike and shot?  Kevin probably thinks so, but the profile above is pretty hardcore already IMO.

I haven't suggested any points values yet.  I'd like to playtest these and see how they go.  

Boring statistics stuff follows:

I ran a few numbers to figure out the odds of getting particular results.  For starters, the easy numbers were odds to activate with different target numbers:

Target Number Probability (%)
2+
100.00
3+
97.22
4+
91.67
5+
83.33
6+
72.22
7+
58.33
8+
41.67
9+
27.78
10+
16.67
11+
8.33
12+
2.78


From the above, a target number of 5+ will let the troops activate most of the time (>80%).  6+ activation will be successful almost 3/4 of the time, and 7+ will activate more often than not.  8+ (used by artillery, for example) will fail more often than it succeeds.  I am content to stay within this range for the activation rolls.

For morale tests, they seem very good until you realise that there will usually be penalties associated with them (-1 for each casualty!).  And a bad roll can still upset your plans, as I found out when my grenadiers rolled snake eyes on their first morale test and fled the table.  So I'm going to follow the lead from the rules and keep morale levels in the 3+ (for the most confident troops) to 5+ (for the unsteady ones, like clubmen).

 A trickier calculation is the number of successes one can expect on 12 dice (or 6 dice when half strength).  I can figure that out without much bother for up to three dice, but after that the math gets really complicated to figure exactly.  But using approximations, I figure that this table should be reasonably close:

Target number:           Successes with 12 dice:           Successes with 6 dice:
3+                                           around 8                                around 4
4+                                           around 6                                around 3
5+                                           around 4                                around 2
6                                             around 2                                around 1

Target number:           Successes with 8 dice:           Successes with 4 dice:
3+                                           around 5                                maybe 3
4+                                           around 4                                around 2
5+                                              2 or 3                                  1 or 2
6                                                1 or 2                                  1 if you're lucky

I could have done a bunch of math with regressions and things to get percentage chances of getting at least 1 success up to 12 successes for each roll (the odds of getting 12 sixes with 12 dice is about one in 2 billion), but for practical purposes the above should be good enough.  

So, if your opponent has stamina 2 (like most infantry) rolling 12 dice needing 4+, you'll likely take out 3 troops, but only 2 if he's stamina 3 and only 1 if he's stamina 4.  Raw infantry needing 6 to hit will probably only get two hits, which could only take out a single infantryman in the open, and would need to be lucky to take out a stamina 3 cavalryman or infantry in cover.  And once you are at half strength and rolling 6 dice, then your chance of hurting your opponent really drops off.

When we look at the reduced number of potential successes for shooting with 8 or 4 dice, then success rates really drop off.  Reducing number of dice for shooting really penalises the pike and shot unit.  I would argue at least that the half strength shooting should still roll 6 dice (on the theory that everyone who can will pick up a musket when the unit takes casualties, and when shooting is needed) and reduce full strength shooting dice to 9 rather than 8.

Note that these are preliminary ideas and I welcome all comments!

Saturday, 15 September 2018

Great Northern War playtest for Pikeman's Lament

Last night at Bonsor, Kevin and I hosted our first playtest of Pikeman's Lament for the Great Northern War.  We ended up having three commanders on each side:  Kevin, Jim and Colin for the Swedes, while Doug and other Jim (Jim F) joined my Russian force.  We didn't worry too much about balancing points, but we had more or less similarly sized forces.  I forgot to bring my camera, so photos in this post are generously provided by Doug. Many thanks to Doug as well for the last minute contribution of a second field gun for the Russkis!

Russians had 10 units (including allies!):  three units of line infantry (raw shot, two from my collection and one from Kevin's), one unit of grenadiers (veteran shot), two field guns (one Russian and one allied Saxon gun provided by Doug), three units of dragoons and one dismounted dragoons (deployed as commanded shot).

Swedes had similar numbers.  There were three units of what Kevin termed his "Ga Pa" infantry (mix of pike and shot, for which he developed some special rules), one unit of grenadiers (veteran shot), two field guns, three units of horse (gallopers) and one dragoons.

We decided to set down lots of terrain, including a small village, two or three woods, some fields and quite a lot of field works. Both sides had fences, while the Russians had four redoubts (based on old CDs).

Here is a view from the middle of the Russian line mid-battle, with Swedish infantry and grenadiers advancing against the dug-in Russians.


Here are a couple of Russian gunners showing off their kartuz hats (modified from floppy hats by me).


Russians preparing for the onslaught of the Swedes. The orange cube is a marker to show that the infantry have not yet used their first salvo special rule.  In future games, we will have more aesthetically pleasing markers (like barrels of gunpowder or piles of shot).

All the players were familiar with various versions of the Dan Mersey XXX Rampant rules (Lion Rampant, Dragon Rampant, The Men who would be Kings) but this was the first outing with Pikeman's Lament.  We had read the rules in advance, and came to the table with house rules that we were ready to implement.

Kevin wanted to develop a troop type to better represent the aggressive nature of Swedish infantry, and so developed his "Gå På" profile. This profile is also intended to present a blended shot and pike force, that benefits from the pike in close combat but can still  


Name:  Gå På Foot (Blended Pike & Shot) (12 figures) 
Attack:  7+ to activate
Move    5+ to activate
Shoot:  7+ to activate
Morale: 4+
Stamina: 2

Attack Value:  4+ (roll 12x1D6; 6x1D6 at half strength) 
Defence Value:  4+ 
Shoot Value:  5+ (roll 8x1D6; 4x1D6 at half strength) Musket Range 18”; range over 12+” minus 1 from 1D6s 
Maximum movement:  8” (6” when in Close Order) 

Special Rules
Close Order
 ATTACK and MOVE 6+ to activate
 Attacks +1 (Hits with 3-6)
 Defends +1 (Hits with 3-6)
 Wins ties vs. non-Close Order
 Must be 6 figs min. to form
First Salvo Gets +1 for first attack value, defend value or shoot value roll


As for me, I'm not content with the way dragoons are presented in the rules.  As written, the PL dragoons are likely a good representation of irregular skirmishing cavalry like cossacks.  However, for dragoons, who were more or less infantry who'd been put on lower quality horses than those provided to 'proper' horse regiments, the idea of them skirmishing and evading on the fastest horses in the game just feels wrong.  So instead I pretty much copied the mounted crossbowmen variant of sergeants from Lion Rampant.  The profile I used was this:

Name:  Dragoons (GNW or WSS) (6 figures) 
Attack:  5+ to activate
Move    5+ to activate
Shoot:  7+ to activate
Morale: 4+
Stamina: 3

Attack Value:  5+ (roll 12x1D6; 6x1D6 at half strength) 
Defence Value:  5
Shoot Value:  5+ (range 12")
Maximum movement:  10"

Special Rules:  none


I didn't take notes so I won't be able to write a proper report on the action.  We divided each of the armies into three commands, so that each player was responsible for a number of units.  We modified the "failed activation ends the turn" rule so that it applied to each command individually.  This meant that each player got at least one chance to activate troops, and thus for each army there were at least three chances to activate each turn.

With the division of commands, there was a mix of action happening across the table in every turn.  

Here is a shot of the right of the Russian line, showing Repnin's Grenadiers and Kevin's regiment of Russian line, with a couple of units of dragoons in reserve.  This was my command.  Facing me, I had only a single unit of Colin's Swedish dragoons sitting in a wood to my front (left of the Swedish line).  Foolishly, I decided that I would advance my infantry, push the dragoons out of the wood and then roll up the Swedish line.  Unfortunately for me, things didn't go according to plan.


I managed to get both my infantry advancing in line across the field, but with some good shooting, Colin knocked down two grenadiers.  My morale test, which ought to have been an easy pass, failed dismally (I rolled snake eyes) and Repnin's grenadiers were removed from the table before they even had a chance to shoot even once!  Colin subsequently managed to shoot up the other infantry unit and one of the dragoon units before I gave up on my attack.

In the centre, Doug had a relatively easy time of things for the first part of the battle.  He just stayed behind his defensive works and let the artillery crews blast away at the enemy opposite them.

On the Russian left, Jim F had a great deal of fun playing cat and mouse with Swedish Jim's impetuous horse (gallopers).  We joked that the Swedish horse didn't really need to have 'wild charge' tests since that's what Jim would have done with them anyway.  Russian Jim started off with dismounted dragoons hidden away in a small wood (these were fielded as 'commanded shot' in Pikeman's Lament terms).  He made good use of his evade and skirmish rules to harass but avoid contact with the Swedish Horse.  Meanwhile the Swedish Horse chased him into the woods, where they were out fought by the lowly dismounted dragoons!  Meanwhile, the rest of the Swedish horse chased the rest of the Russian dragoons as best they could, but they also were shot up and then badly mauled (again in the woods) by dragoons that they would easily have dominated in open ground. The last of the Swedish Horse impetuously charged the Saxon field gun in a redoubt, and were also sent running, this time by gunners fighting with ram rods and buckets.  It was a valuable lesson that Horse has no business chasing anyone into forests or fortifications.

The battle was very bloody.  By the end of the action, most of the units still on the table were severely depleted for both armies.  One of the Swedish infantry units managed to enter the Russian defensive lines, but there weren't any more units in the army left to support it.  However the Russians left facing it were quite depleted and probably wouldn't have been able to force it out.  So most likely it was a Swedish marginal (or Pyrrhic!) victory.  All players enjoyed the game, though, even our suicidal Swedish cavalry commander!

Some thoughts that we shared after the game:

Brigade Orders:  We want to add a rule allowing a senior officer to brigade units together so that they can all be activated (or not) at once.  Kevin's advance with his infantry was dogged by one unit advancing while the follow-on units failed their tests.  The basic rule will be that a group of units will be limited by the worst unit in the group (i.e., whichever unit has the hardest test to make).  Brigade orders can only be made for units that are not in close combat.

More granularity for raw or veteran troops:  We generally felt that the differences between normal, raw and veteran units was not really what we wanted to see.  Raw shot had a higher target number for shooting, and veterans a lower target, and that was it.  We want to play around with the activation rolls.  Raw Russian infantry are going to be great once plunked down behind fieldworks, but will be harder to activate to get them to move anywhere (i.e., give them a higher Move number to roll against), while Swedish Gå På Foot should have a relatively low number to test for an attack, to reflect their historical enthusiasm for getting in close with the enemy. We're going to have more detailed discussion about all the profiles, and as it progresses I'll be tracking the decisions here on this blog.

Generally we enjoyed the game, it ended up being a very close contest.  Doug will no doubt say that the ridiculously high number of very bad rolls was due to having two 'unblooded' armies on the table at once!  But I feel that this is a game we can modify to bring it closer to what we want.  Kevin and I will carry on the discussion about whether we give PL another try, or if we look at testing out other rulesets.  Some of the games we've contemplated include Black Powder (not feeling much love for BP, though), Thomas Årnfelt's Gå På rules, and Beneath the Lily Banners (neither of us have a copy of BLB).

Meanwhile, I'm going to increase the size of my Russian army!

Sunday Update!  Doug has sent me a few more photos to add to the post.  Thanks!

Russian dragoons move up (including horse holders!)


Near the end of the battle, one unit of Swedish Gå På Foot has pushed into the Russian lines, supported by the sole survivor of the Horse regiments.


Russian gunners in action.  These turned out to be an effective unit, as they got off quite a few telling shots in the early part of the game.


Another view of the Russian lines early in the game.


Monday, 11 June 2018

Peter the Great - Russians finished!

Here's something you won't have heard me say very often:  I finished an army!  Hopefully I'll get better at this - I just need to learn to say, "enough is enough"!  I've reached a point where I don't need to grow my army of Peter the Great.

Here are the last couple of figures finished.  Here is Tsar Piotr Alexeyevich Romanov, aka Peter the Great.  The figure is from Reiver Castings, and I picked him up after doing a search for a PtG figure and this was the only one I could find in 28mm!  He is here with a mounted officer from the Warlord Games WSS plastic artillery set.  


And here he is with a Ebor Dragoon.  Flag is also from Reiver, and is the standard of the Ingermanlandski Dragoons.


A group shot to show relative size.  Peter is much more massive.  Of course, he was over 2 metres tall in real life, but was lanky, as opposed to this fairly hefty fellow.  He's also got a suitably massive horse to ride.


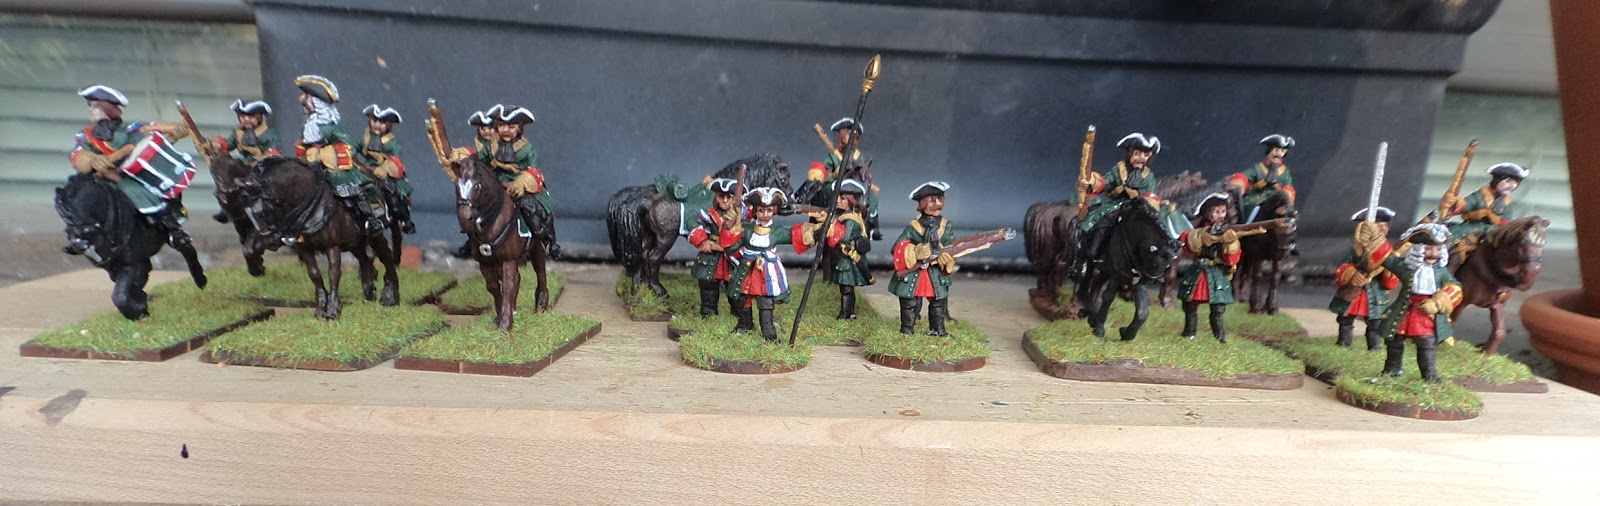
With these figures completed, I now have enough figures to field a fairly balanced force for Pikeman's Lament with a mix of cavalry (dragoons only, which was normal for Russia), infantry, grenadiers and an artillery piece.  Here are a couple of group shots of the entire force.  


Due to points limits, I would not field the entire army.  With what I have available, I can mix and match a bit.  Most likely, I'd field something like this, unless there were scenario specific reasons to change the selection.  The force would include 2 units of shot, 1 forlorn hope, 1 commanded shot (dismounted dragoons) and two units of dragoons - note that I would ask my opponent to accept my proposed rule amendments for dragoons that I presented here:  http://willstoysoldiers.blogspot.com/2018/05/thoughts-on-cavalry-for-pikemans-lament.html


Monday, 4 June 2018

Fieldworks

In conversation with Kevin and Doug at Trumpeter's Bonsor night, Kevin mentioned that the Russians in the era of Peter the Great were quite keen on fieldworks.  They seem to feature in every pitched battle, especially when artillery was present.  I'd go further and add that fieldworks seem to have been part of Russian army activities through time, such as the great redoubts and flèches constructed at Borodino, and other fieldworks and camps that were constructed for the 1812 campaign, right through the Second World War and beyond.  "Sweat saves blood." 

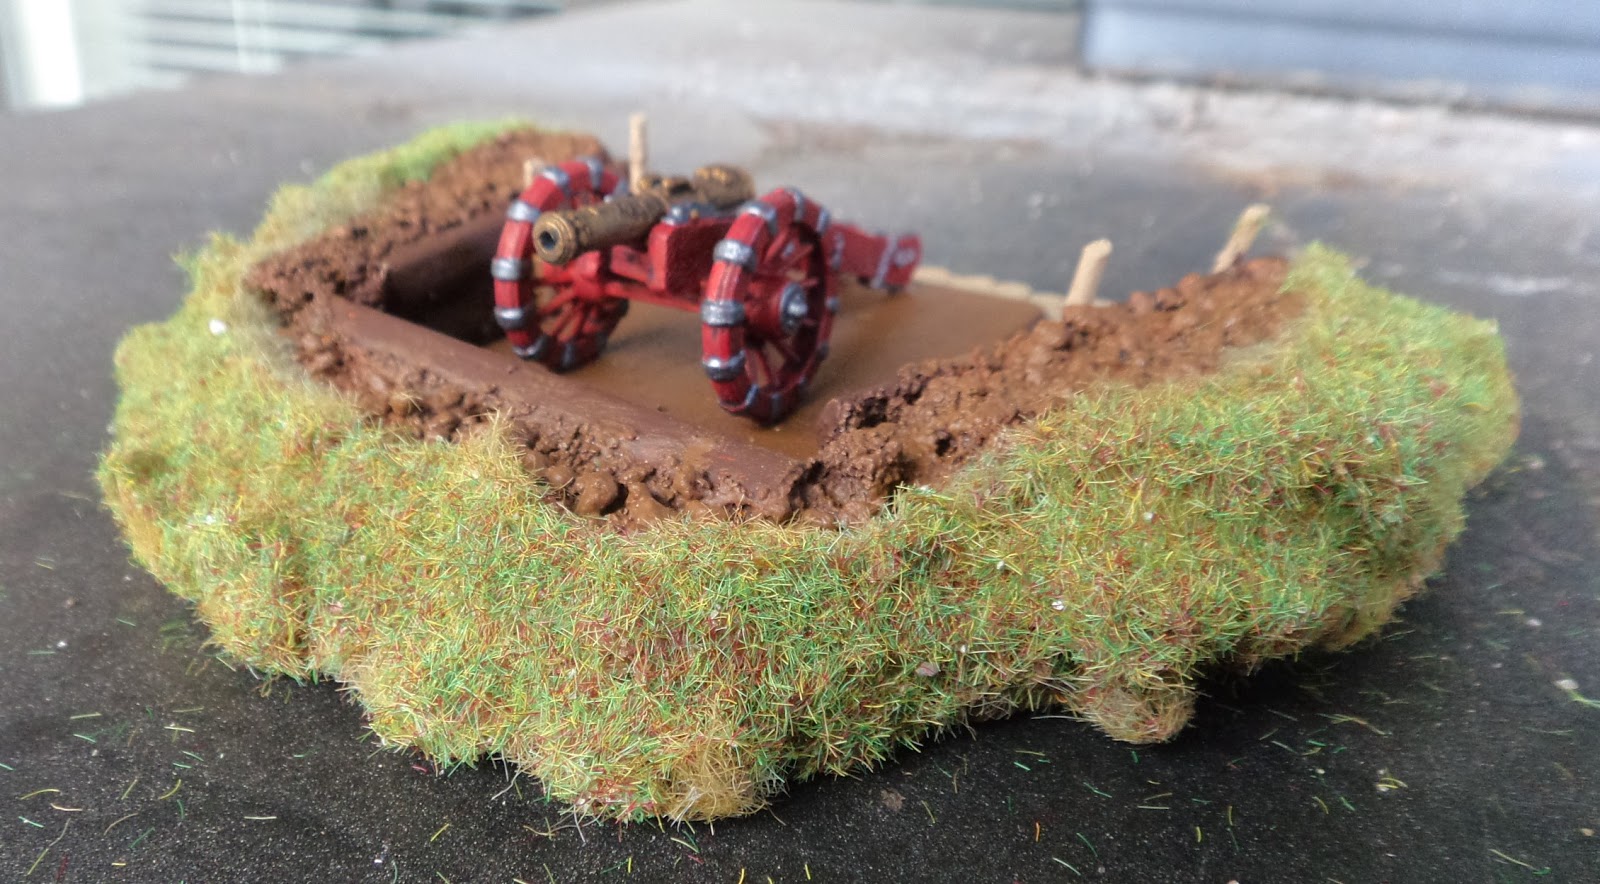
So when I got home, I went through my various arts and crafts supplies, and pulled together a simple little field work.  The base is an old CD.  I built up some layers of cork board, and chopped up a pencil to use as the 'logs' on the inside, and laid down some stir sticks as base boards.  Slathered it first with sand and ballast, then with paint, and finally dusted it with static grass.  

Here is the bottom, showing the CD used as a base.

A few different views of the finished piece:


It's just the right size to take the cannon including the base:


But it gets a bit crowded when the artillery crew all attempt to squeeze in... 

If you look carefully, you can see that I've changed the stockings to blue, as the white that I originally painted them was not correct.


It's not just for the gunners; it could be held by dismounted dragoons


Or a forlorn hope of grenadiers


But it's not quite big enough for a full unit of 12 shot :) 


All in all, a fun little weekend project.

Sunday, 3 June 2018

Russian Artillery

Following on my review of the Warlord Games/Wargames Factory WSS Artillery Box, here is my painted version of the gun and crew.

First the gun.  The gun comes with a choice of two barrels, nominally 8-pdr and 12-pdr. I went with the slightly smaller barrel.  As I mentioned in the review post, there are some small bits that can be a bit fiddly such as the dolphins (handles) on the gun barrel as well as the trunnion plates. But all in all, a nice wee model.


Wargaming convention is that artillery pieces should have 4 crew each, and so there is a tendency for miniatures companies to sell sets that include 4 crew with each gun.  Warlord Games is no exception.  However, Pikeman's Lament calls for each gun to have 6 crew.  Accordingly, I assembled 6 artillerymen.  I ran out of tricorne hats, so I attempted to convert a couple of the plastic heads from wide-brimmed floppy hats to Russian kartuz caps. 

Reading a bit further into Russian artillery uniforms, I realise I should have painted the stockings blue rather than white.  


And finally here are a couple shots of the men serving their gun.


4th August edit:  now looking to find one of these in 28mm!  Bombardier with hand mortar, possibly more dangerous for the user than the enemy...


Sunday, 27 May 2018

Grenadiers for Peter the Great's army

As you may have seen from my previous posts, I now have painted enough figures to make three units of dragoons and two of infantry (aka 'shot') for my Pikeman's Lament Russian company.  In order to bring the total to 24 points (which is standard strength for a one-off game), I wanted to add one more unit, so I decided that a 'Forlorn Hope' was needed.  In TPL, a Forlorn Hope is a small group of elite soldiers.  So I decided to get some grenadiers!

I ordered Swedish grenadiers from Ebor, as I wanted the tall cloth mitre cap that is shown in the Osprey MAA 260 Peter the Great's Infantry.  As it turns out, the Swedish figure is not quite right for a Russian grenadier - the thing I really noticed was the fall down collar, where Russian uniforms didn't have collars at all (at least not until 1720).  As it turns out, Ebor has Russian grenadiers in their unit pack, but it didn't occur to me that I could ask for them separately.  I also got 12 grenadiers, when I only need 6 for a Forlorn Hope.  

Anyway, these arrived in the mail on Thursday, and I had a mad painting spree over the weekend!  The uniform is supposed to be that of Prince Repnin's Grenadiers. I decided that due to their elite status, red coats would be a nice distinction from the green coats of the dragoons and the shot.

They are on a mix of single and double bases.  I can field one or two Forlorn Hopes, or combine them all as a single unit of Veteran Shot.  Either way, they certainly look like they mean business!


Tuesday, 22 May 2018

Russian Dragoons for Pikeman's Lament

Here are 18 Russian dragoons ready to use for Pikeman's Lament.  Figures are by Ebor.  If I can convince my opponent, I'll use the WSS/GNW dragoon profile from my last post.


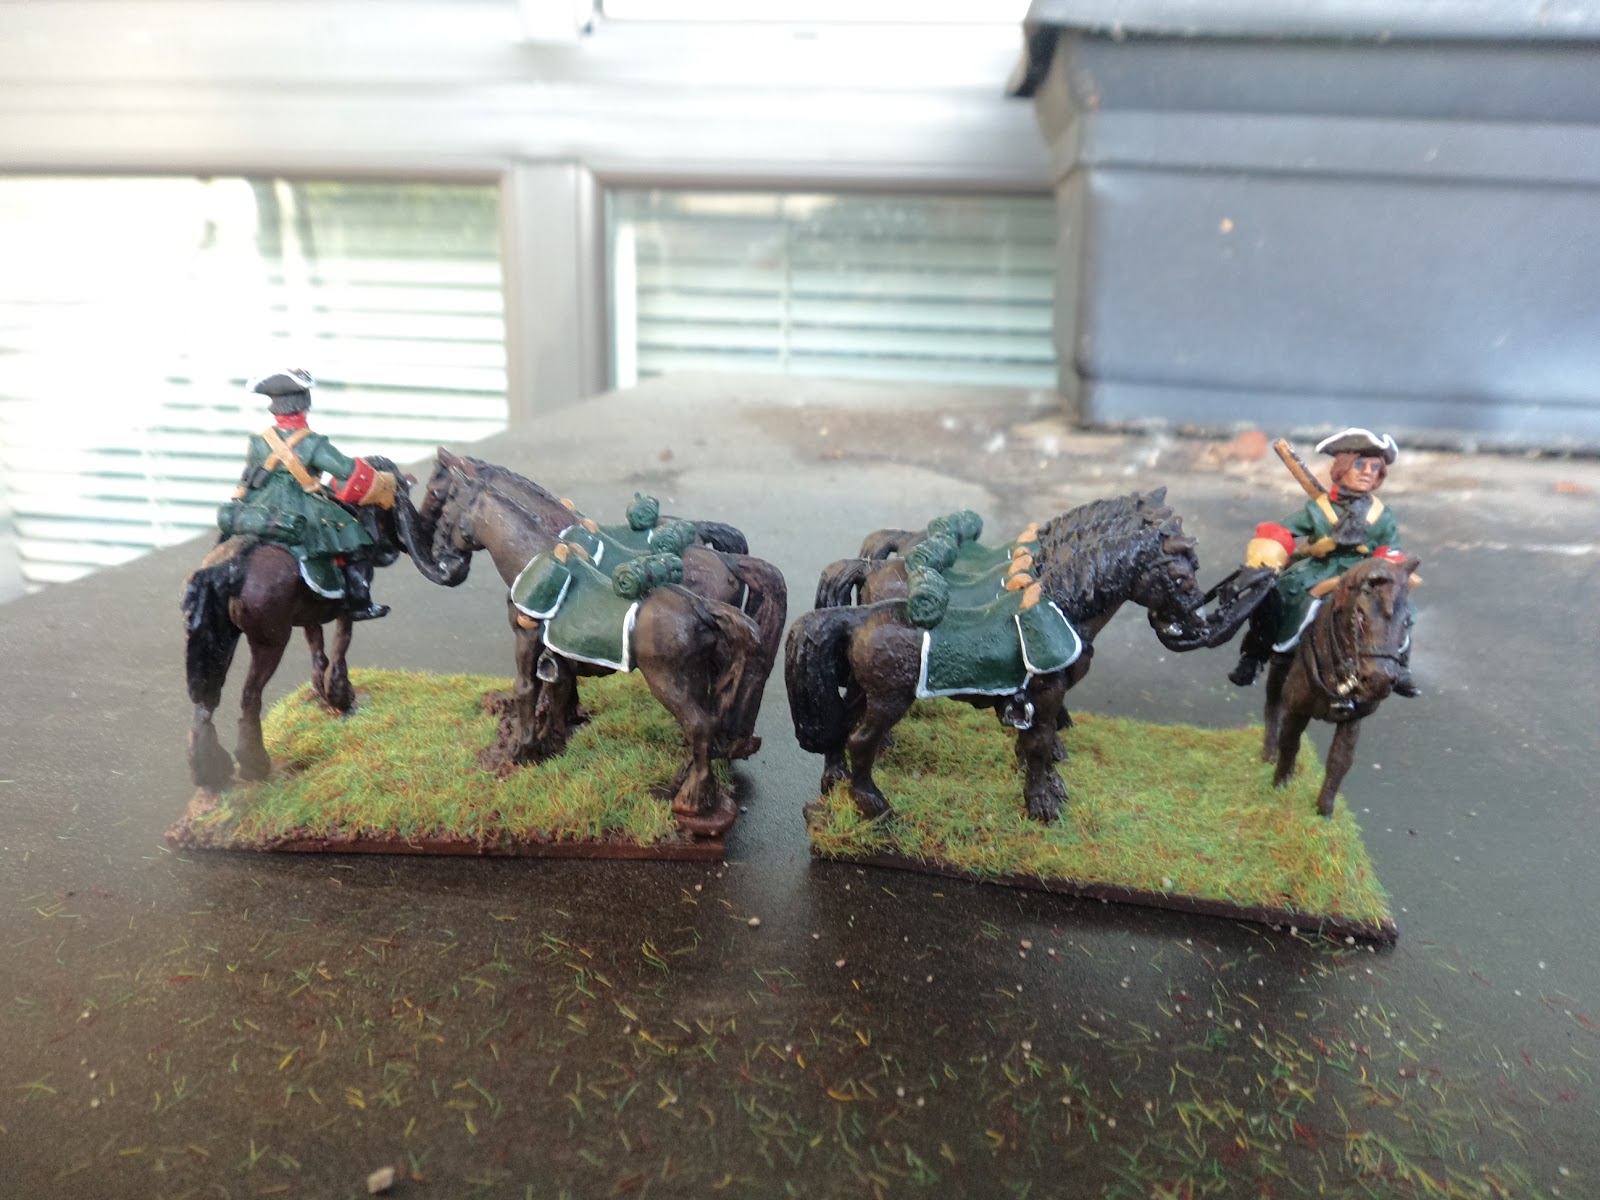
The dragoons will be in units of 6.  I can mix and match of course, but I have the idea that one unit will be fully mounted, one dismounted (except for the horse holder) and one mixed mounted and foot.  Alternatively, I could field the foot unit as 'Commanded Shot', depending on how the PL company comes together.

Mixed mounted and foot:


Foot plus horse holder:


All mounted:


These are the two horse holders that I completed.  


Mixed foot and mounted stands


These figures were a bit less fun than usual, for a combination of reasons.  The figures are nice enough, sculpting is ok, but there is only one pose for the mounted trooper.  As a result, the troops look a bit unnatural when you see that each is holding his musket on his right thigh exactly the same way.  Another problem is that the metal is a bit brittle:  three of the troopers' muskets snapped off at the hand, so are waiting in my lead pile to be converted (I'll see if I can clip off what's left of the muskets and give them swords instead).  Yet another problem came from when I primed them. Something went wrong with the primer, and several of the figures ended up covered in a bumpy, textured surface, as if they were layered in coarse sand.  I tried to soak off the primer using Simply Green, but the primer wasn't going anywhere.  I painted over the mess as best I could, but they aren't the prettiest.

I have enough bits in the pile for another six dragoons (five mounted, one foot), which I will eventually get done.