Showing posts with label Bailey Bridge. Show all posts

Saturday, 3 July 2021

WWII Canadians on parade

 My Canadian forces for Operation Husky are sufficiently built up for now, so I can move on to work on other forces.  (for example, I need to add some German opposing forces to fight these Canucks!).  My original intent was to have just a single platoon of infantry, but as you can see, miniature megalomania set in and the force has grown.


The force is based around an infantry platoon.  I was inspired by Farley Mowat's memoir, And No Birds Sang as well as his WWII regimental history of the Hastings and Prince Edward Regiment, The Regiment.  While this platoon is inspired by the Hasty Pees, the only insignia that I added is the 1st Canadian Division's red patch, so these soldiers could represent any of the 9 battalions in the 1st Division.  I've added a 4th section to allow me to choose more soldiers as a support option.


I have four different PIAT teams, even though I'm unlikely to ever take more than one.


I have a recce section of the Princess Louise Dragoon Guards, consisting of 2 Otter LRC armoured cars and 2 universal carriers (with their dismounted Bren gun teams).  Also, another carrier with a .50 caliber MG!


 Some artillery pieces.  The 25-pounder is unlikely to appear in a CoC game, but could show up if I play a fantasy game like Bolt Action.  The 6-pdr anti-tank gun has seen action on the table, though!


I don't see any game purpose for my Pipes and Drums, but as a piper, I'm just pleased to have them in my collection.


My medical section, with half a dozen nurses and an ambulance jeep.  


From the 1st Canadian Army Tank Brigade, which became the 1st Canadian Armoured Brigade in August 1943, I have tanks from C Squadron of the Three Rivers Regiment, as well as a Dingo from the HQ Squadron.  The motorbikes are available to carry messages around the force as needed.


The army has a much bigger logistics section than most wargames armies.  In most wargames, the action starts after the forces have reached the table, so the details of how they got there are often unimportant.  Nonetheless, I can add a logistics element to my army, including both the lorries used on the roads as well as the mule-carried equipment that was able to carry supplies off road throughout Sicily and the Italian mainland.


And finally, my sappers!  For starters, I have three teams that can be Engineer Teams for CoC.  The teams are a wire cutting team with wire cutters, a demolition team with Bangalore torpedoes and a mine clearing team, with a Polish mine detector and two sappers probing for mines with bayonets, plus an engineer officer to serve as the Engineer Section's leader.


And the pride of my collection, my bridging platoon, with sappers building a Bailey bridge.


Next up, I'll have some photos of my BSC terrain with figures from a few different historical eras.

Tuesday, 4 May 2021

3rd Field Company RCE - Bridge Builders

I'm still working on my LAF BSC2021 entry, but the contest rules are that I cannot post photos once I start painting.  I've got the base coat on the boards, so no more photos for a while.  Don't worry, I'm still taking photos and I'll post an update after the contest is resolved.

In the meantime, I've been assembling some sappers, aka the 3rd Field Company RCE.  These lads will be responsible for building the Bailey Bridge across above-mentioned the terrain boards.

For starters, they do some surveying.  These figures are kitbashed from the Perry Miniatures Desert Rats with extra bits from the Perrys' Zulu War British. The Dumpy level is assembled from two heliographs.  These men take arms and equipment (like the notebook and binoculars) from the Zulu War pack but are based on the Desert Rats.  The level rod started as a pair of arms carrying the colours.


And here they are with some paint:


These men are carrying a 600-lb bridge panel.  They make it look easy!  They should be standing straight, like these ones from the manual:


My modelling skills being a bit limited, my lads look like this:


These men are carrying the transom:  it is normally an eight-man load, so these four men are obviously quite buff.


When I started on this project, I posted about the Wespe Models Bailey Bridge here:  https://willstoysoldiers.blogspot.com/2021/04/bsc2021-background-and-plans.html

To add some interest for gaming purposes, I've taken the extra sprues and built an 'under construction' version:


The angled portion in front is called the 'launching nose'.  It consists of a couple of bridge panels, and is lighter to help the sappers on the receiving end to direct it onto the base plates on the other side of the gap.  

I added some sprue segments to transform the base plates into rollers:


Here are the bridge building sappers in action:


Saturday, 24 April 2021

BSC2021: I Like Big 'But(ments) and I Cannot Lie

After enjoying lovely sunny and warm weather all week (when I was stuck at work!), we are experiencing a rainy weekend.  No hope of working outside on the patio, and there is no way that I'm going to be sanding off the plaster indoors!  Instead, I've found some detail work to keep me occupied. 

Throughout Sicily, and onto the Italian mainland and also in NWE, the German army routinely destroyed bridges.  As far I can tell, though, they mostly destroyed the bridge span, but often the bridge abutments and piers were left in place.  For example, here is a painting of a Bailey Bridge in Italy:


This was painted in 1944 by Captain Lawren Phillips Harris in Italy, and is part of the Canadian War Museum's collection:  https://www.warmuseum.ca/collections/artifact/1018653/

As you can see, the Bailey bridge has been installed on the previous bridge's abutments. I was not able to find any pre-war photos of the Leonforte bridge, but this screen capture is from Google Earth and shows a hint of the current bridge's abutments.  I don't know when the current bridge was built - most likely it was built long after the war ended, but nonetheless I'm going to use it as inspiration for my project.


I'd previously picked up a cobblestone-printed sheet, originally intended for the streets in my Sicilian village.  I've repurposed it for the bridge abutments!


Cut to size, set in place with some carpet tape and then add some sidewalls.
North side:


South side:


I mixed up some plaster of Paris to fill in behind the wingwalls:


I'm going to let the plaster set overnight.

Saturday, 17 April 2021

BSC2021 - Getting Started

 Today is a lovely, warm and sunny spring day, so I was able to set up the tables on the patio and get started on building the hills.  😃

Over the past couple of days, I managed to get some paint on the Bailey Bridge, allowing it to take pride of place to test fit the hills to ensure that I build a gap that it will fit.  Even though it's just green and brown, it was a real nuisance to paint.  Getting paint inside the tiny bits was no fun at all:  when (or if) I build its sister, I'll paint first and assemble after!


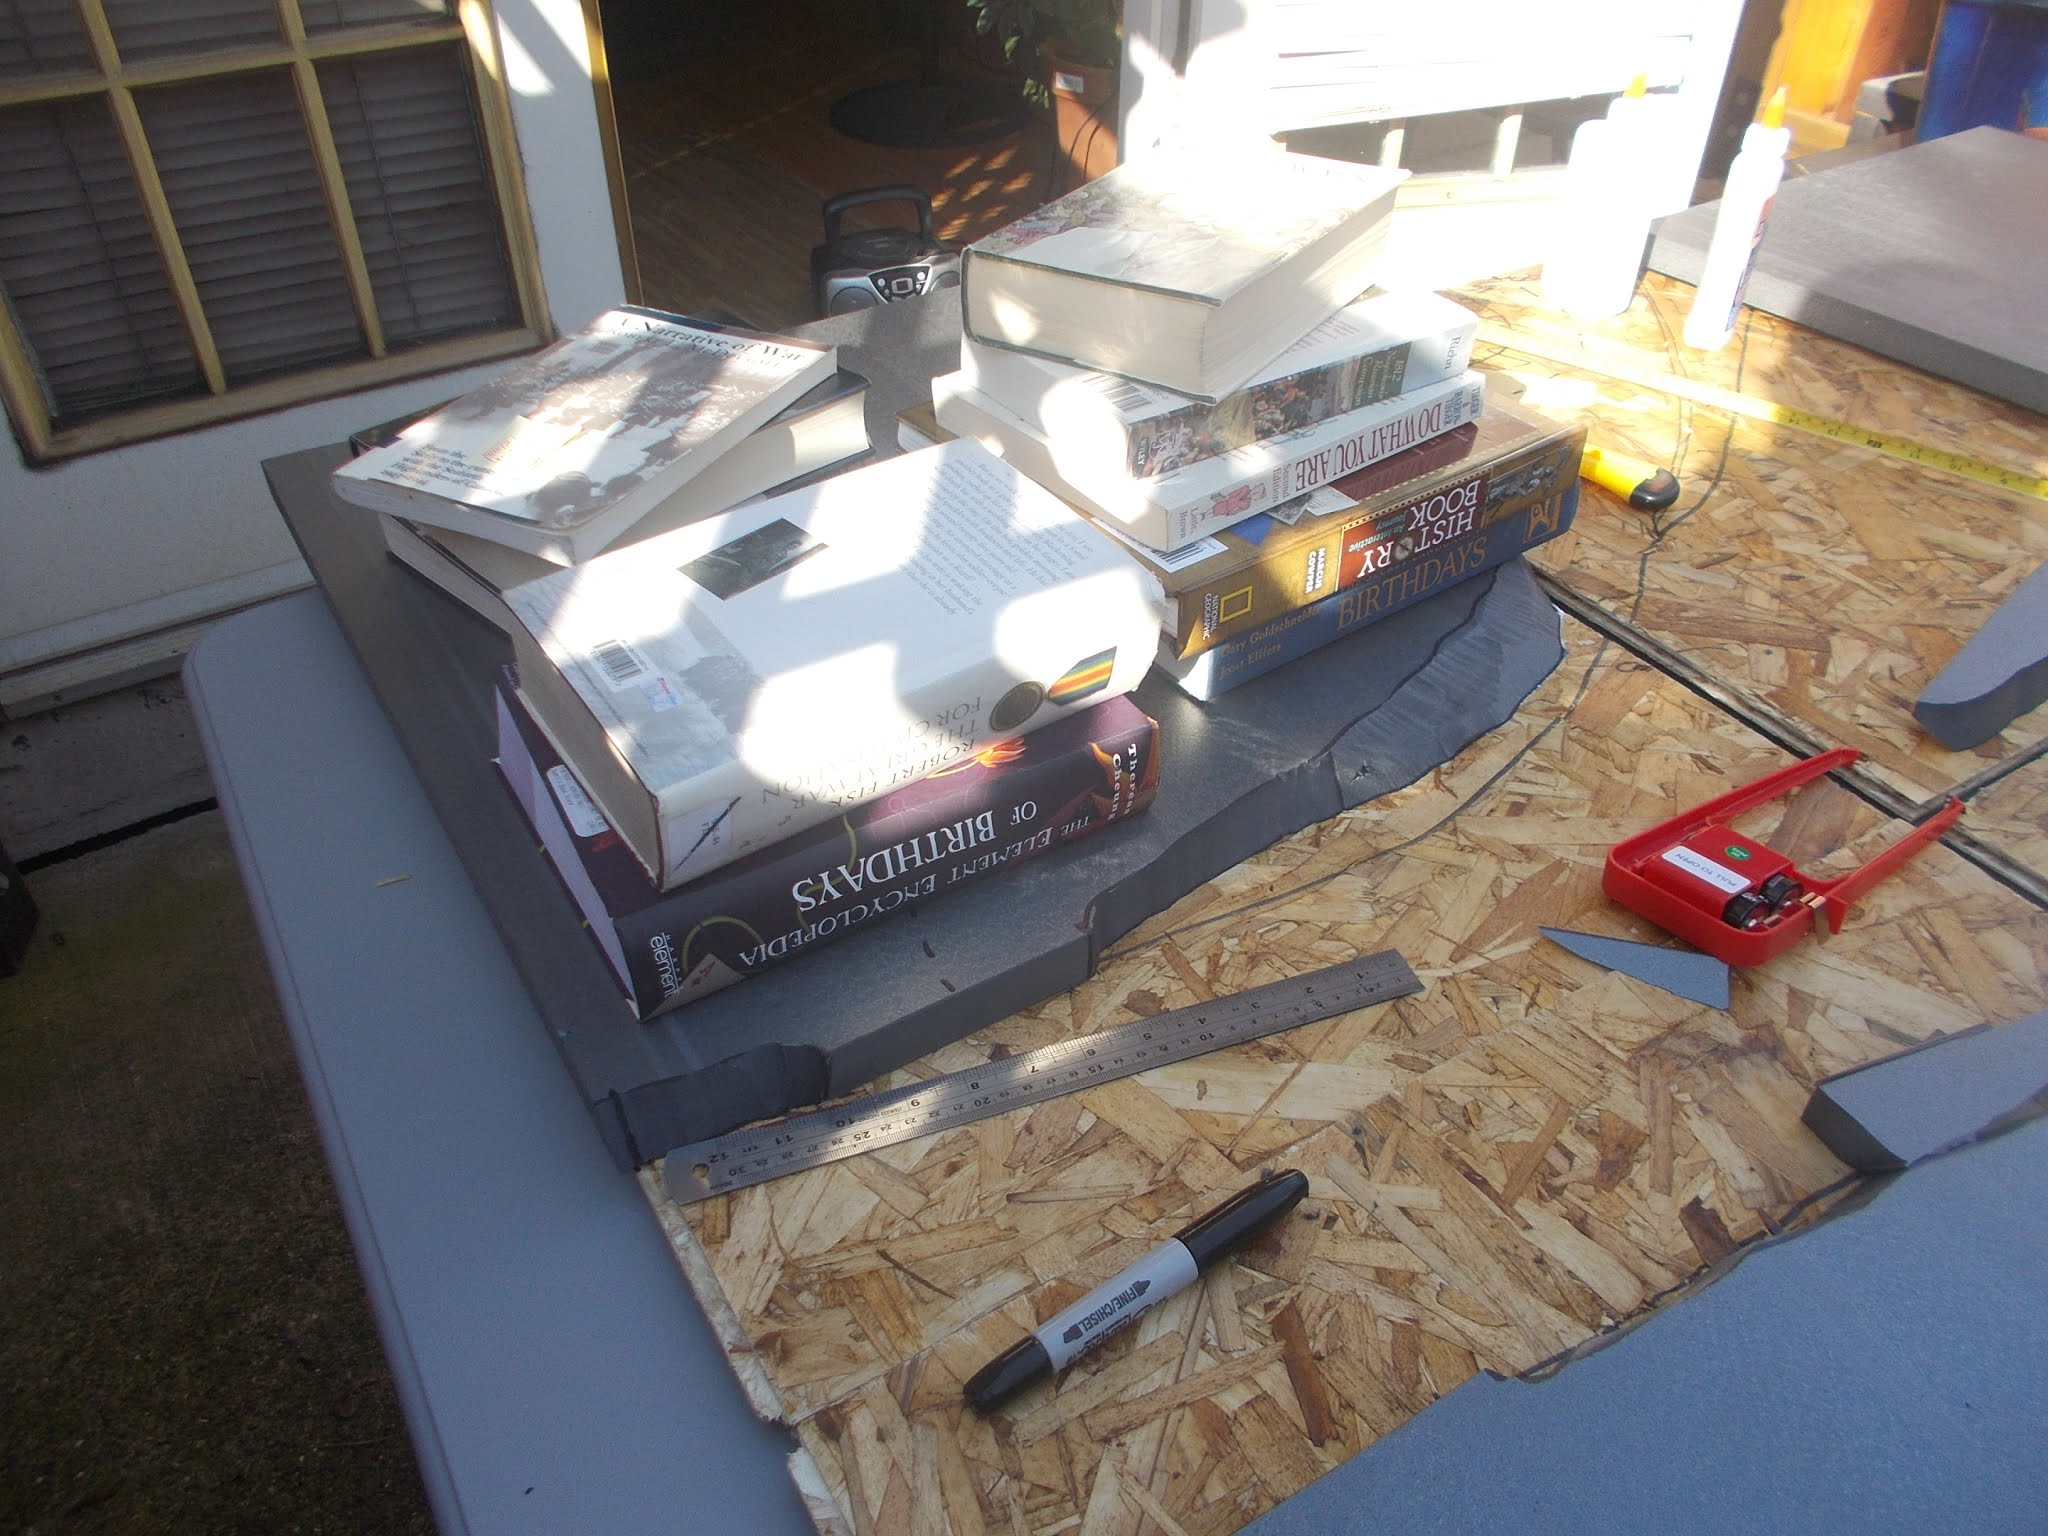
Following the plan I'd prepared, I set out the insulation board and got to work.  (and reminded myself to take photos to document the build process 😉)


I checked my assumption that 2" was enough height for the bridge over the gorge.


Looks OK to me!

I started cutting:


Following the advice from Pat Smith's "Setting the Scene", I was careful to just use points of glue - he points out that if the entire surface is covered in glue (especially with white glue), it will not create a bond.


Moving on, I traced the desired cut lines on the next hill as the glue was setting for the first.


It was about now that I realised the white glue was not creating a bond between the insultation board and the plywood base.  So I decided to try an alternative: double sided carpet tape!  


Carpet tape turned out to be just great.  I probably overdid it, but the only way those boards will shift is by tearing them apart.


To mask where two boards come together, I decided to put a mini-gorge.  Not the best photo, but the gorge can be seen in the shadow.  Hopefully it will be a bit clearer as the build progresses.


I got into the swing of things, and didn't photograph everything.  This is how the boards looked at the end of the day.


My original plan was to go for a 4" maximum height with the boards, but I now think that 3 layers (3") will be enough.  Compare the current progress with the photo of the valley.


I keep reminding myself that this is a representation for gaming on, not an exact scale model.  If I need additional height on the side slopes, I might add some removable hills to fit the corners.  Any comments greatly appreciated!