Today, Lisa and I playtested another of her scenarios featuring Locker-Lampson's armoured cars on the eastern front in 1917. In this one, the Austro-Hungarian troops (again proxied by my WWI Germans) must cross the table (bottom to top in the image below) as Locker-Lampson's cars try to stop them.

KuK troops - officer, three teams of 10 riflemen and a 2-man flamethrower team.

The armoured cars. Ford Model T armoured car, which can only fire to the rear, plus the Rolls Royce and the Lanchester, all three armed with machine guns.

Lanchester AC advances on the table.

KuK move up, working up the nerve to cross the open ground.

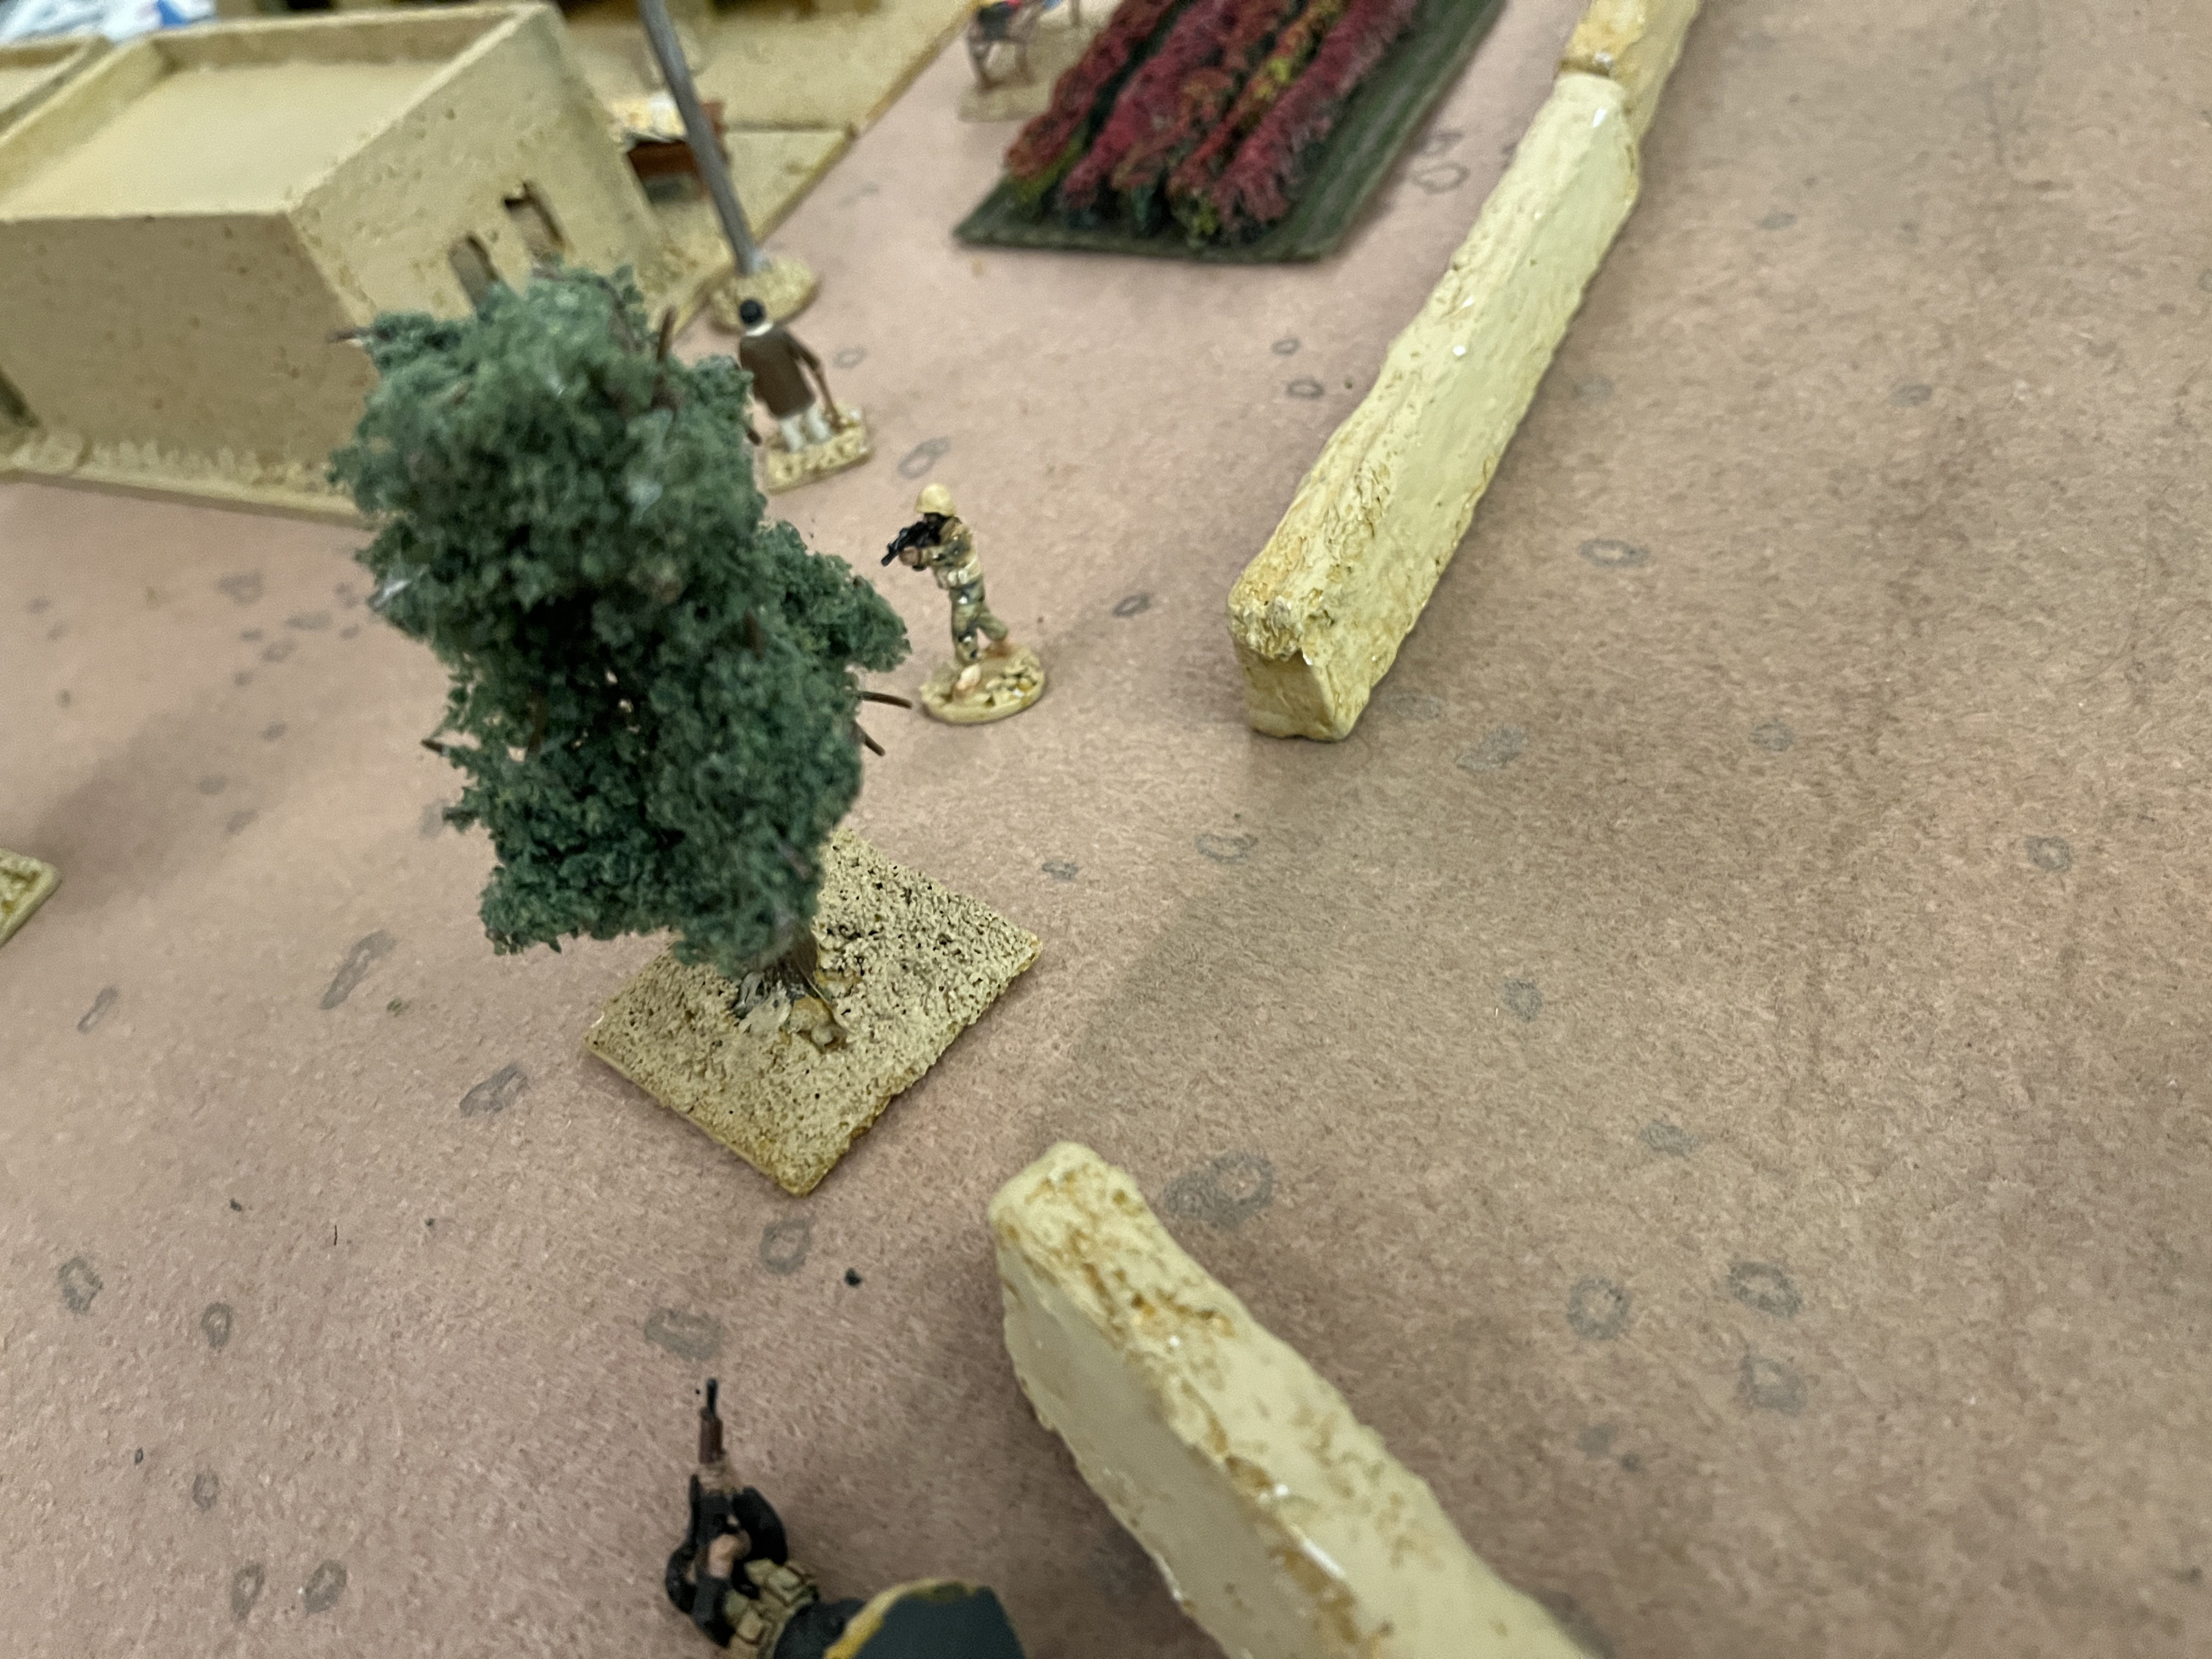
KuK take advantage of the cover provided by the woods.

Infantry unnerved by the approaching cars open fire, and disable the Ford.

The Lanchester focussed its fire on the flamethrower team. The flamerthrower was disabled before they had a chance to fire, so unfortunately we didn't get to see how devastating it could have been!

The infantry laid down fire on the Lanchester, imposing shock and forcing it to fall back. They then attempted to dash across the open ground, thinking that the car was too suppressed to act. Turns out they were wrong! The crew made all their saves, and opened fire on the infantry when they were in the open.

Things went a bit better on the other side of the table had more success. Heavy rifle fire managed to disable the Roller.

The Lanchester saw that the first group of infantry were making a break for the table edge. It rushed forward to fire on them, but its fire was not enough, and the KuK got their first team off the table.

The last squad of infantry managed to disable the Lanchester.